
How to Draw a Turtle
- 8 steps
- Ages 5 and up
- About 15 minutes
- easy
This turtle is a nice easy drawing for children who are learning to follow simple shapes. You start with a big shell, then add the round head, the legs, and the little tail. The pale dotted lines are light guides to help with size and placement. The black lines show what to draw in each step. At the end, go over the lines you want to keep and rub out the dotted guides. A pencil and eraser are all you need.
What you need: a pencil, an eraser, black crayons or pens, paper.
Print this guide as a PDF, 277 KB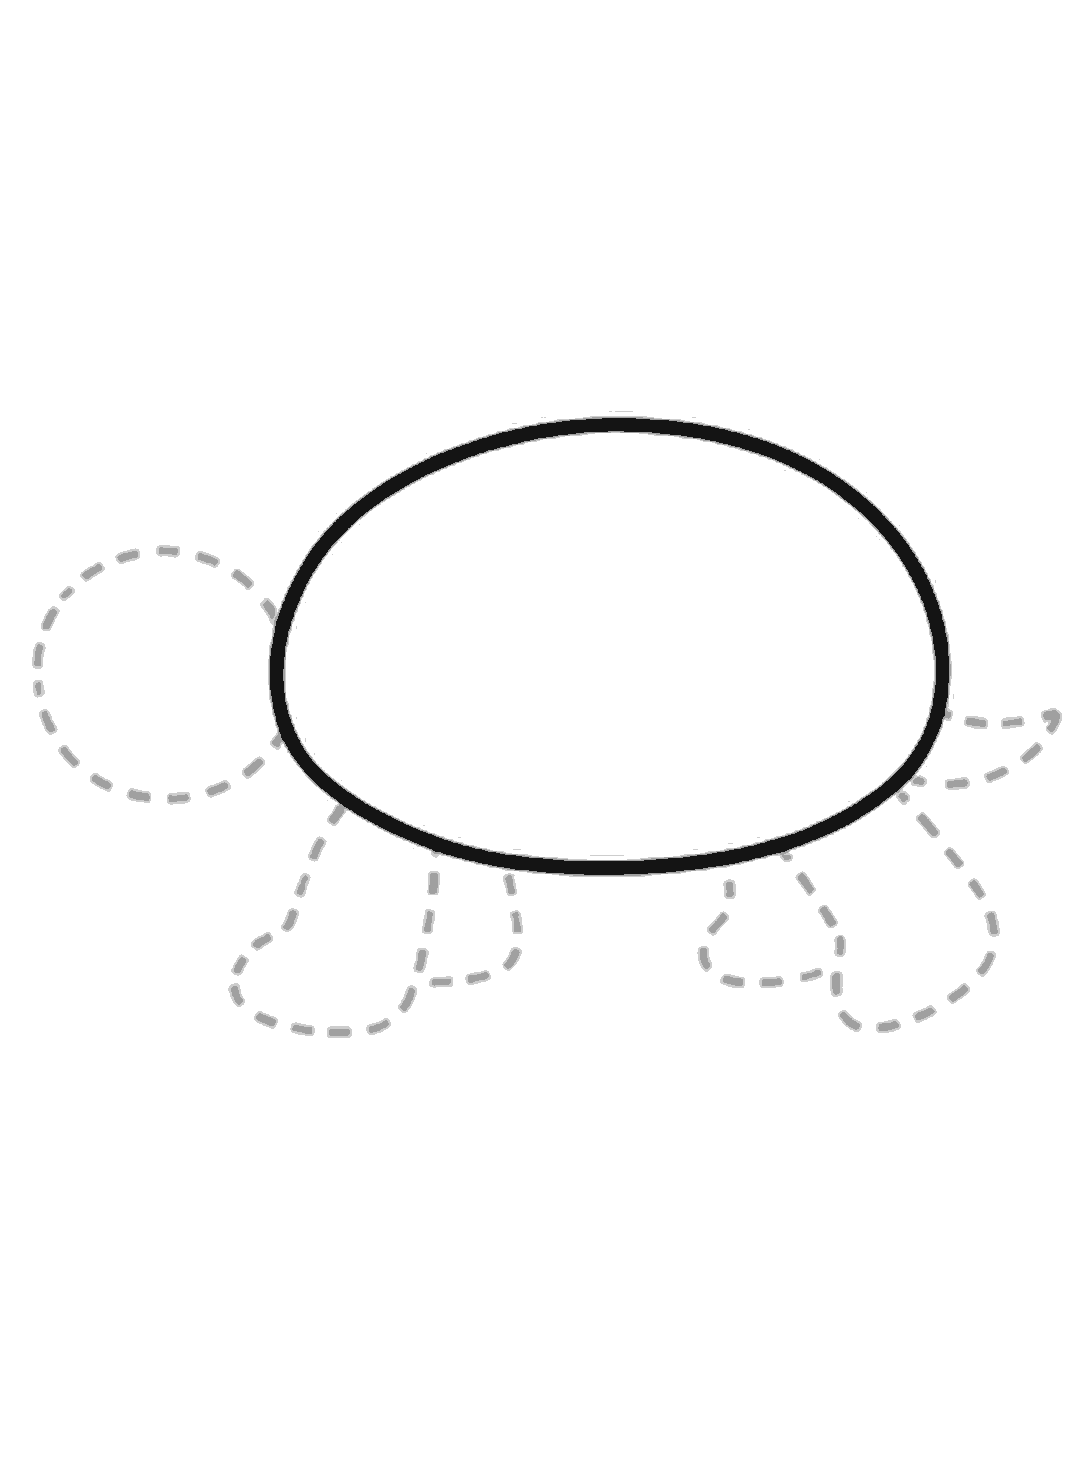
Step 1
Draw the shell
Draw a big wide oval for the turtle's shell. It sits in the middle and is a little flatter along the bottom.
Step 2
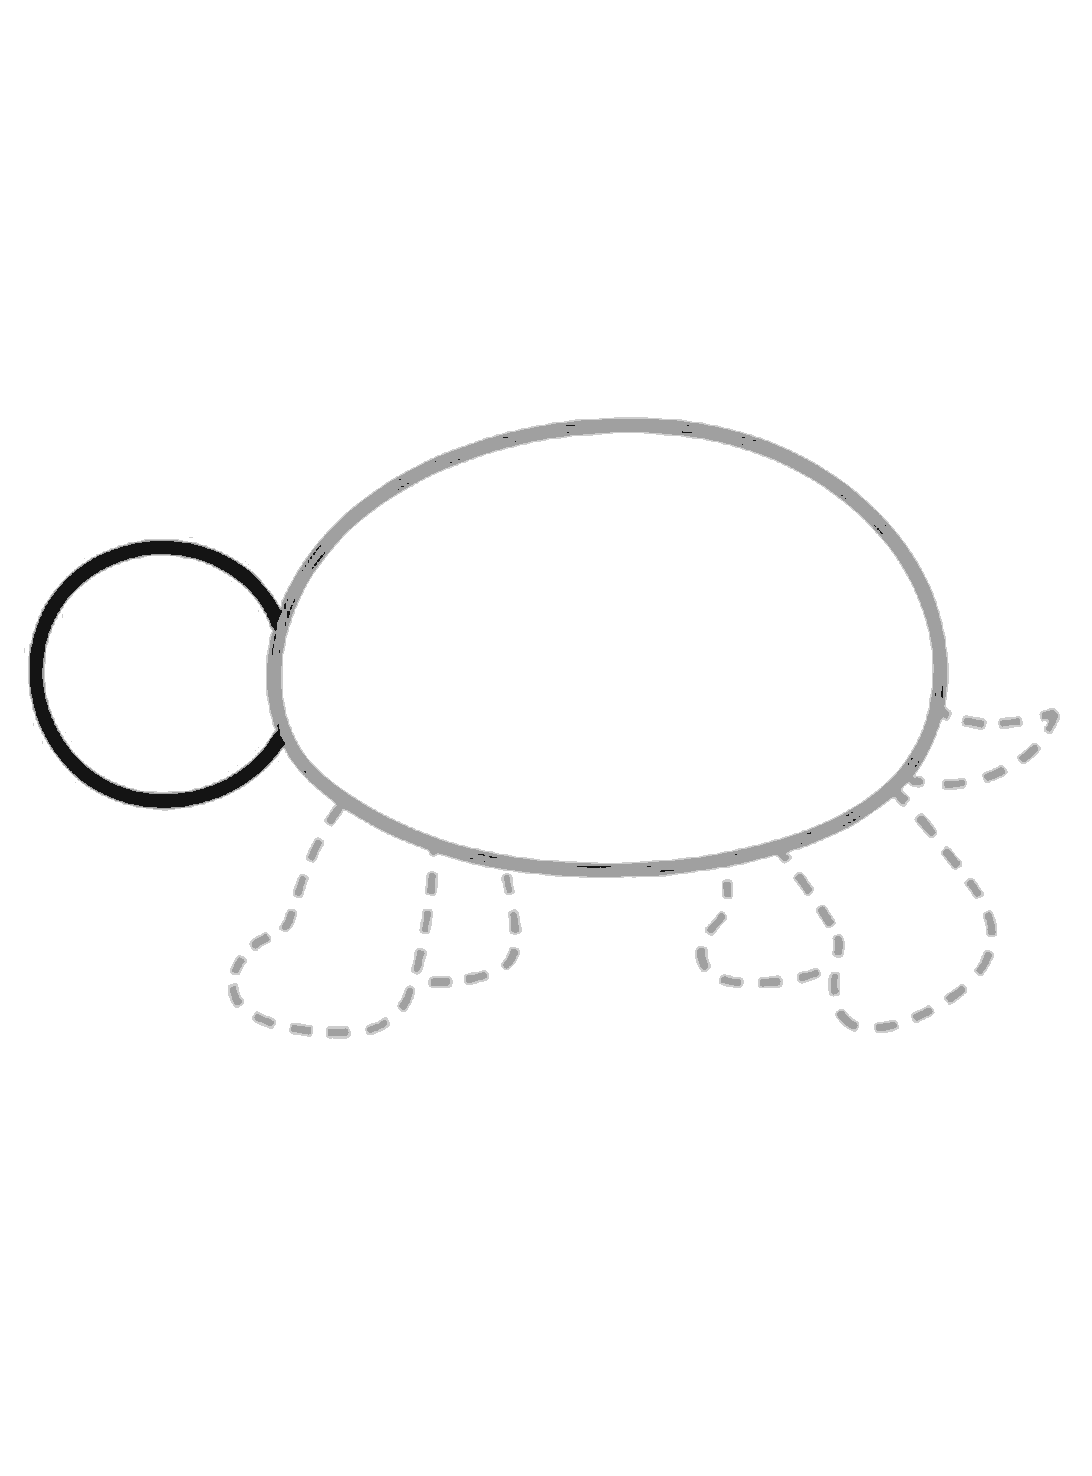
Add the head
Draw a round head on the left side of the shell. Let the circle touch and slightly overlap the shell.
Step 3
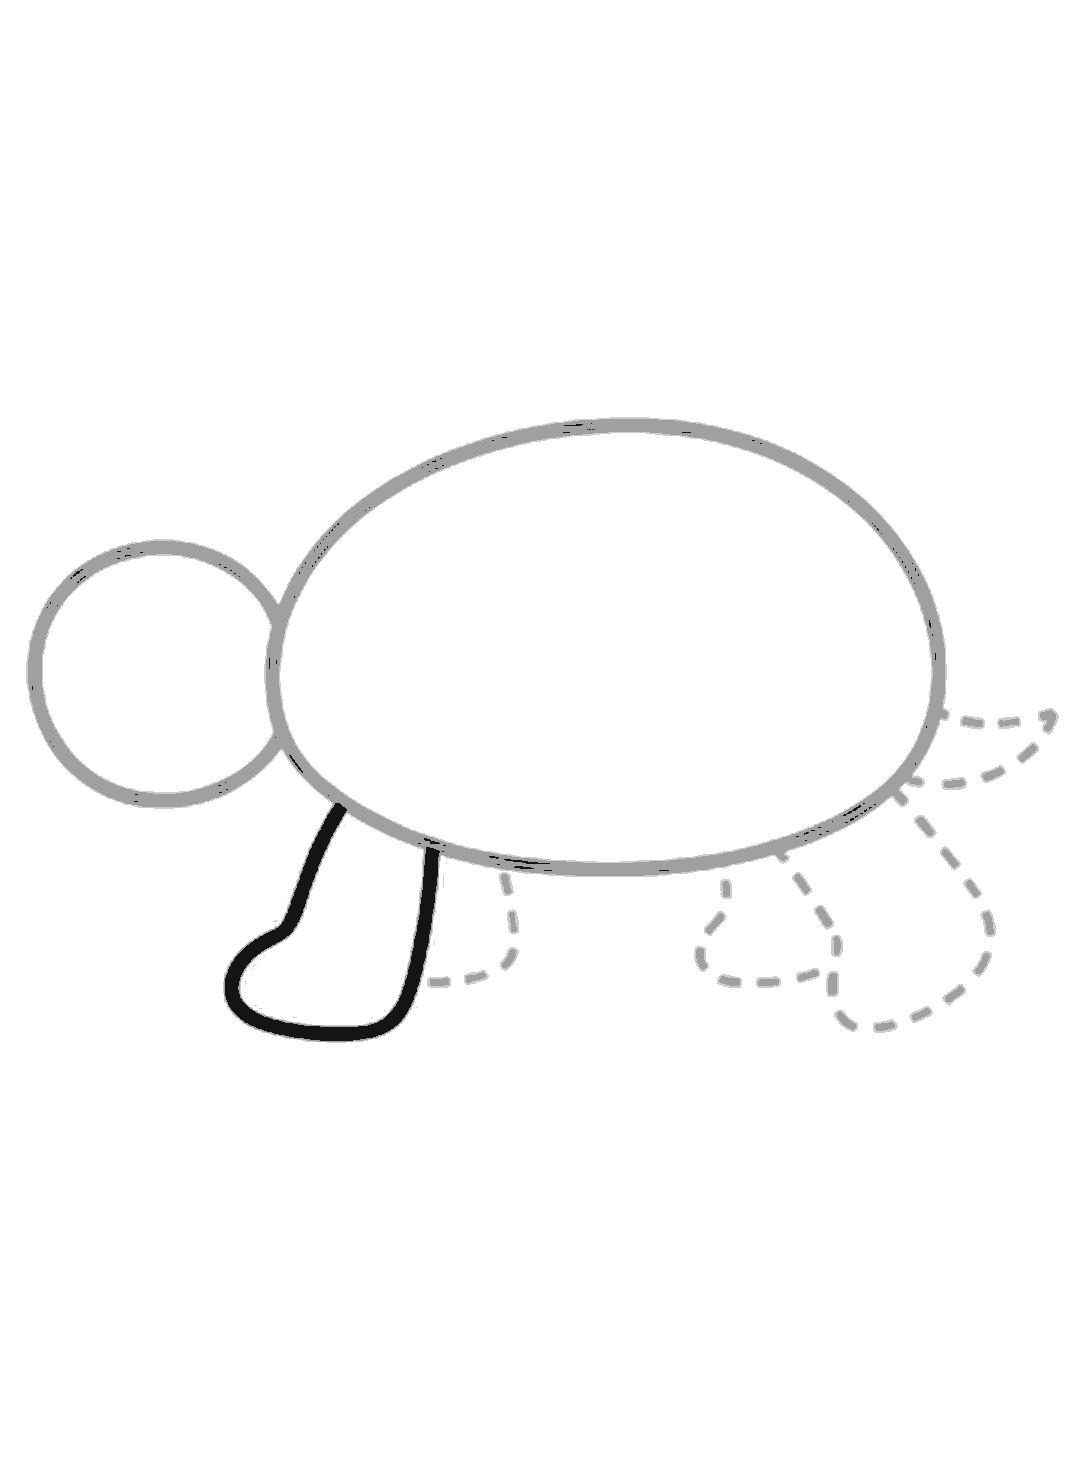
Draw the front leg
Draw the front leg under the left side of the shell. Make it long and rounded, with a wider foot at the bottom.
Step 4
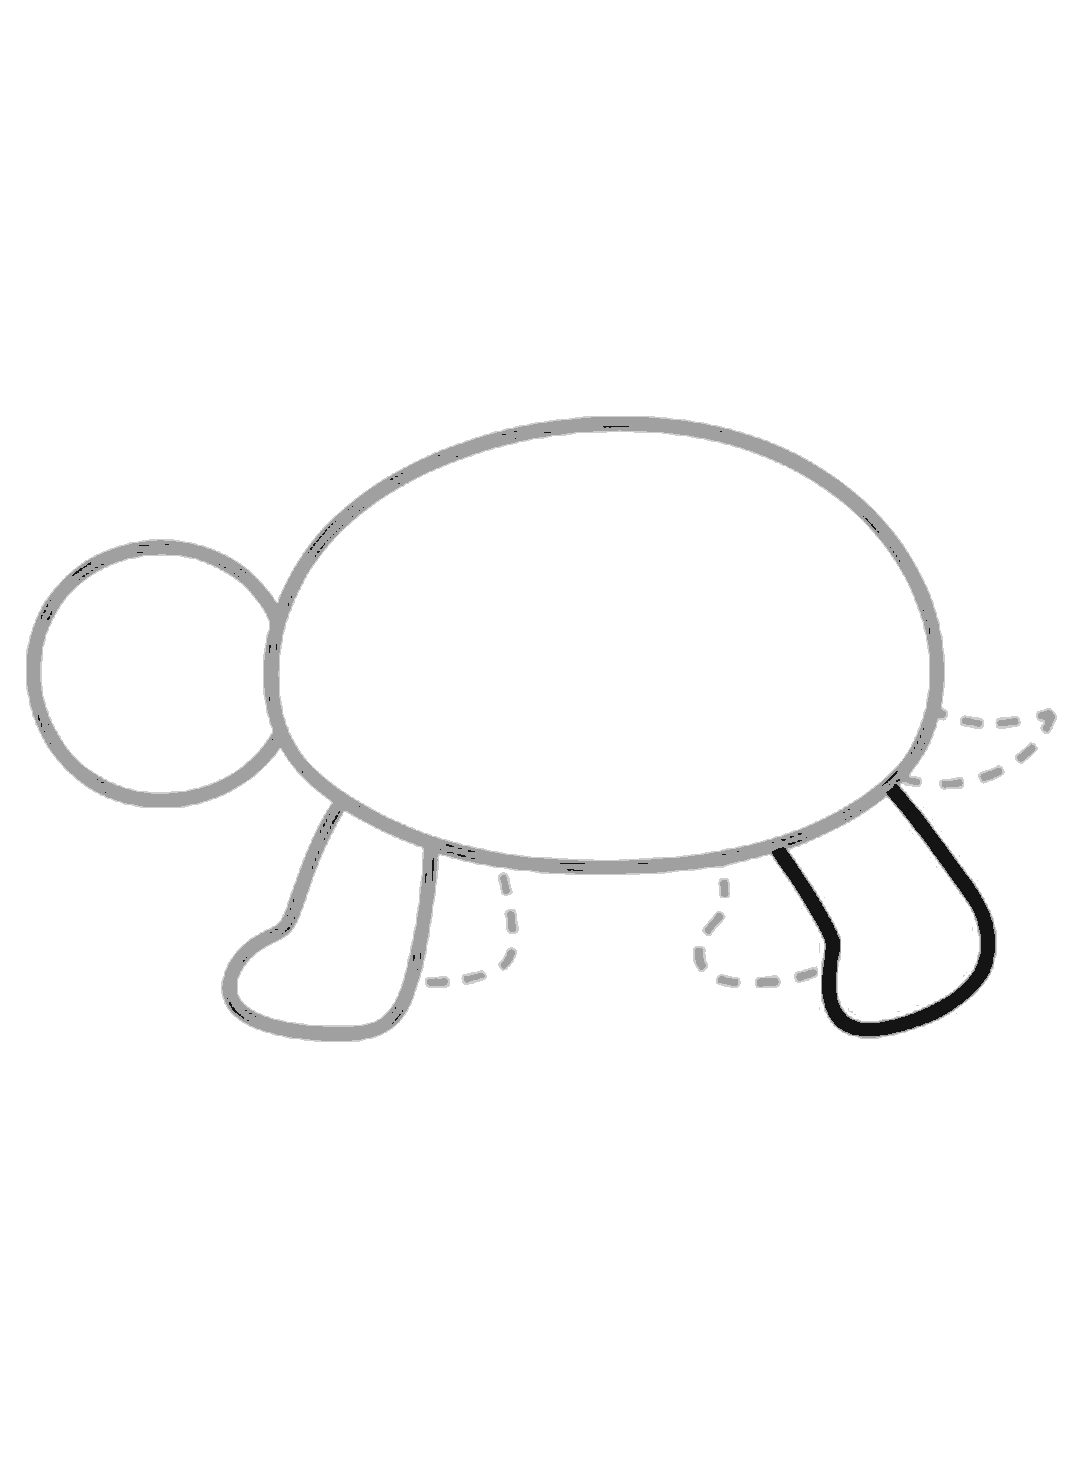
Draw the back leg
Draw the back leg under the right side of the shell. Shape it like a rounded flap with a soft curved foot.
Step 5
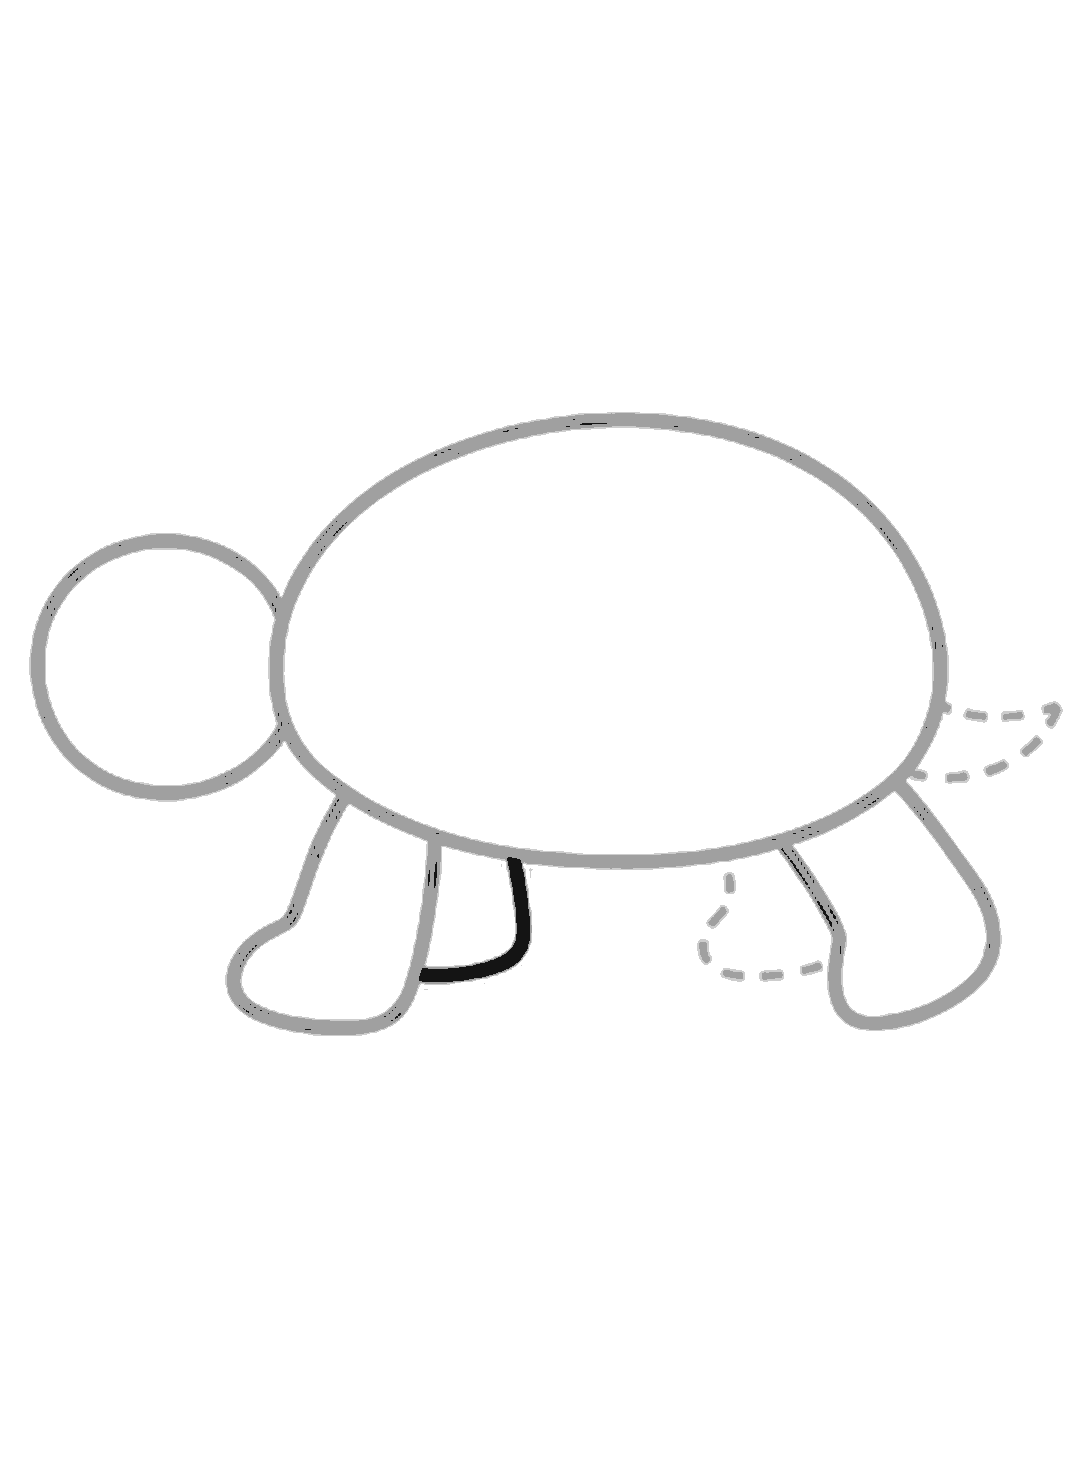
Add the middle leg
Draw the small middle leg under the shell near the front. Use a short line down, a curved foot, and a line back up.
Step 6
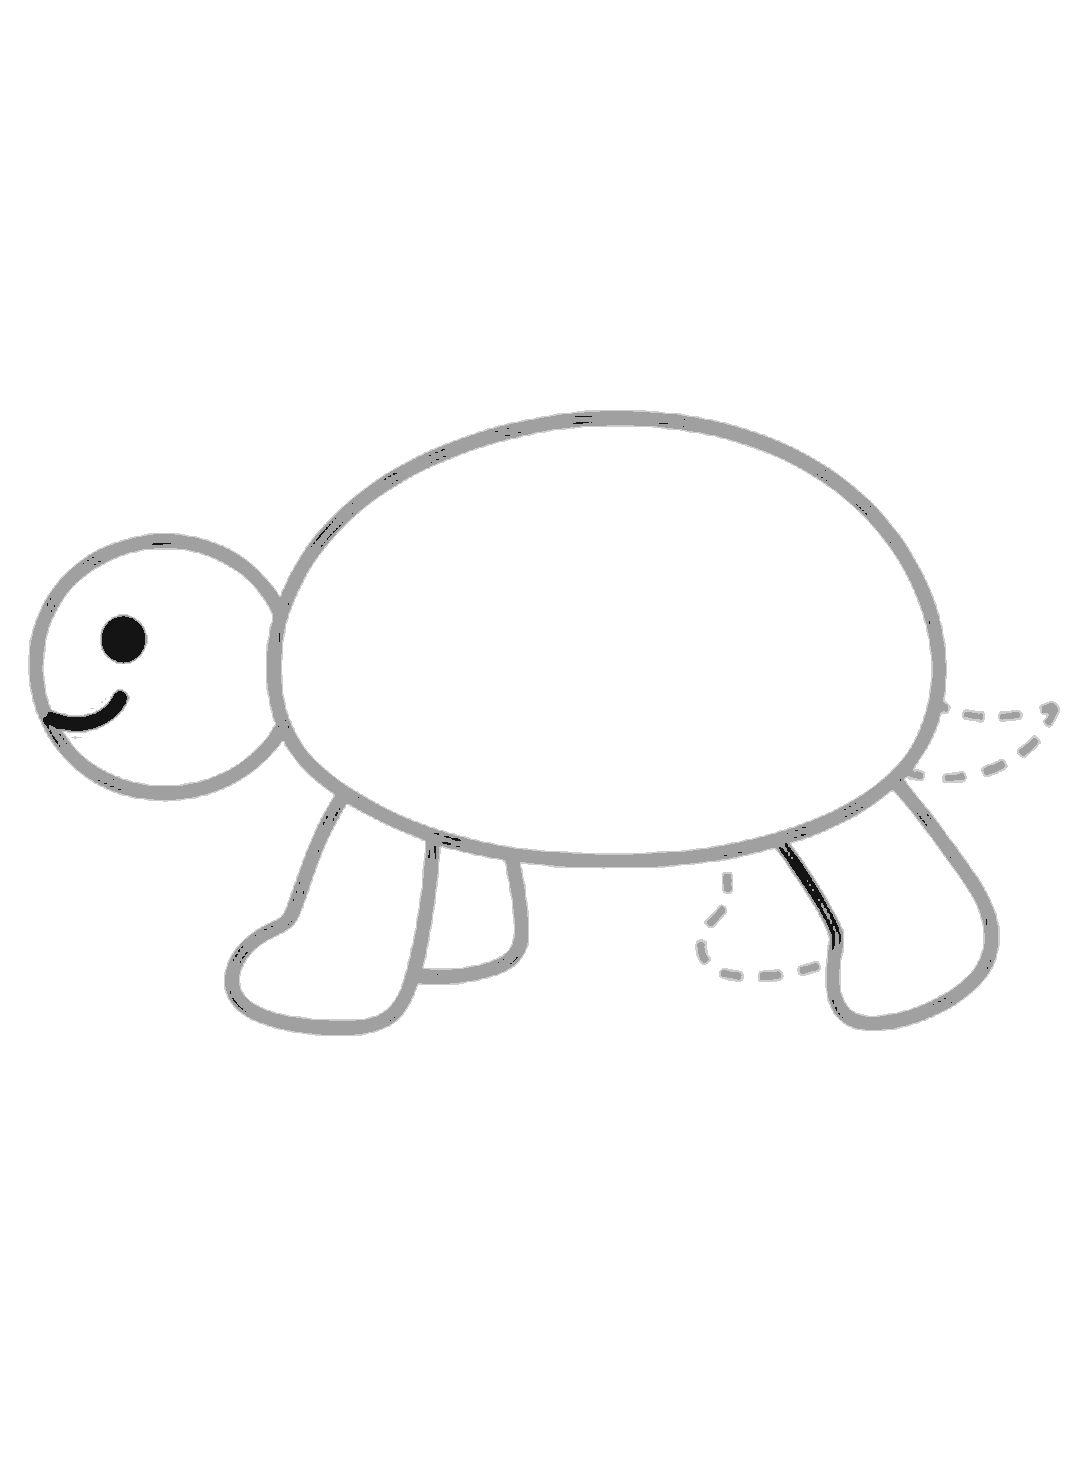
Draw the face and leg
Add a dot for the eye and a small curved smile on the head. Then draw the inner right leg under the shell with a short slant, a rounded foot, and a line up.
Step 7
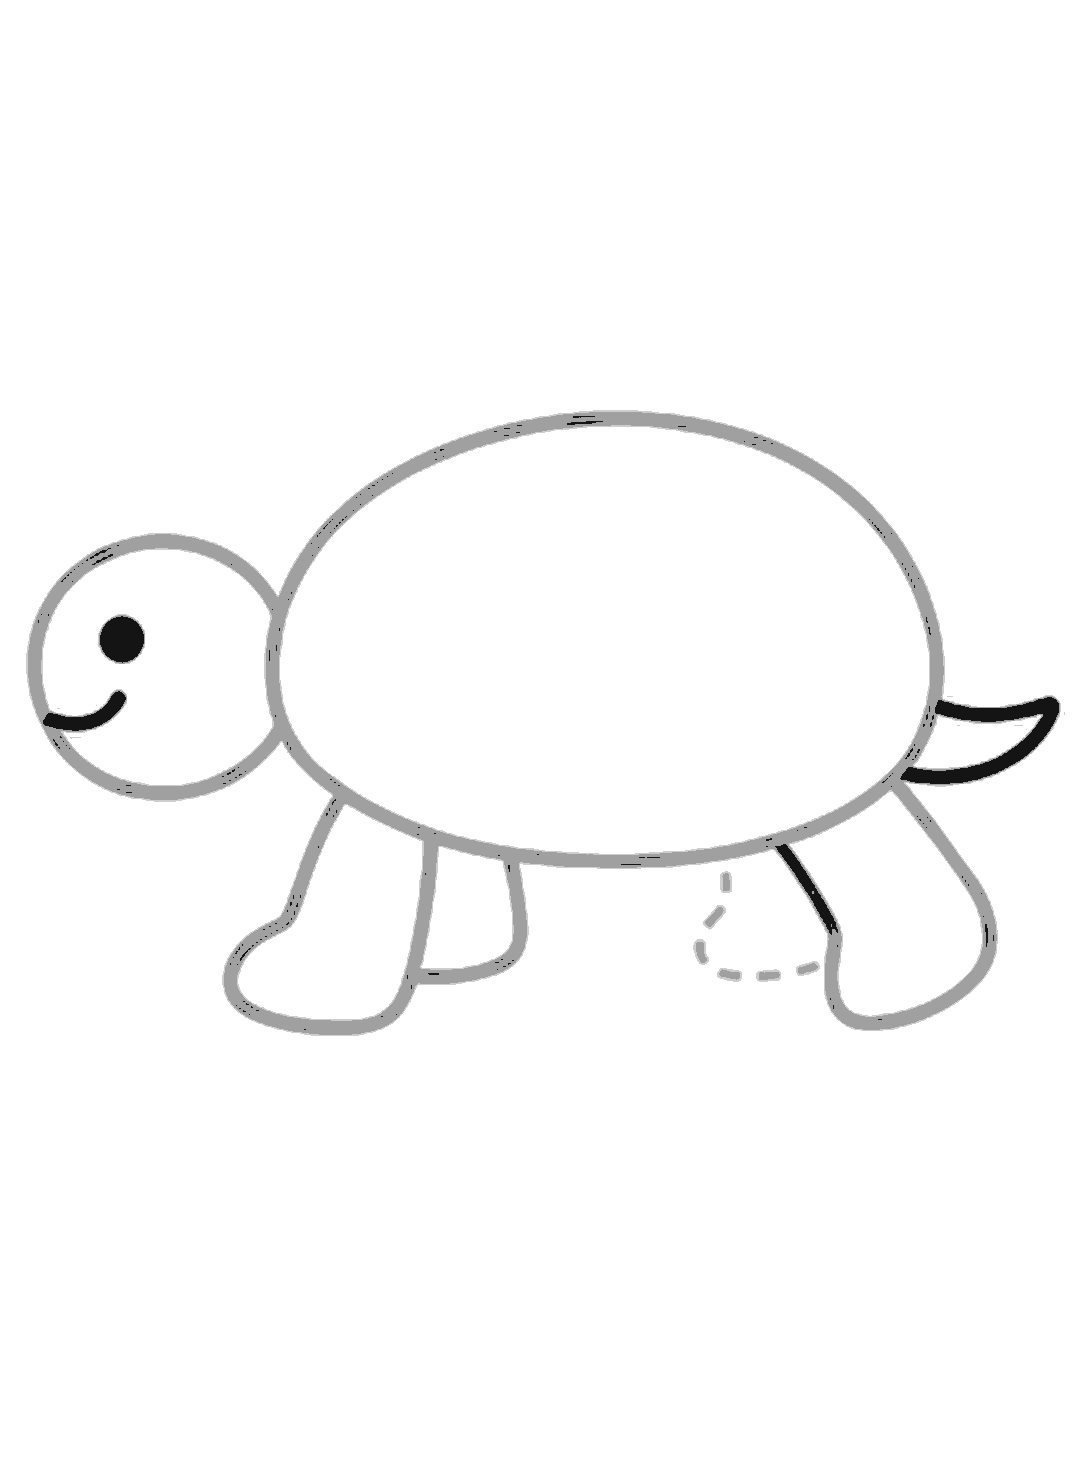
Add the tail
Draw a small pointed tail sticking out from the right side of the shell. Use two curved lines that meet in a soft point.
Finished
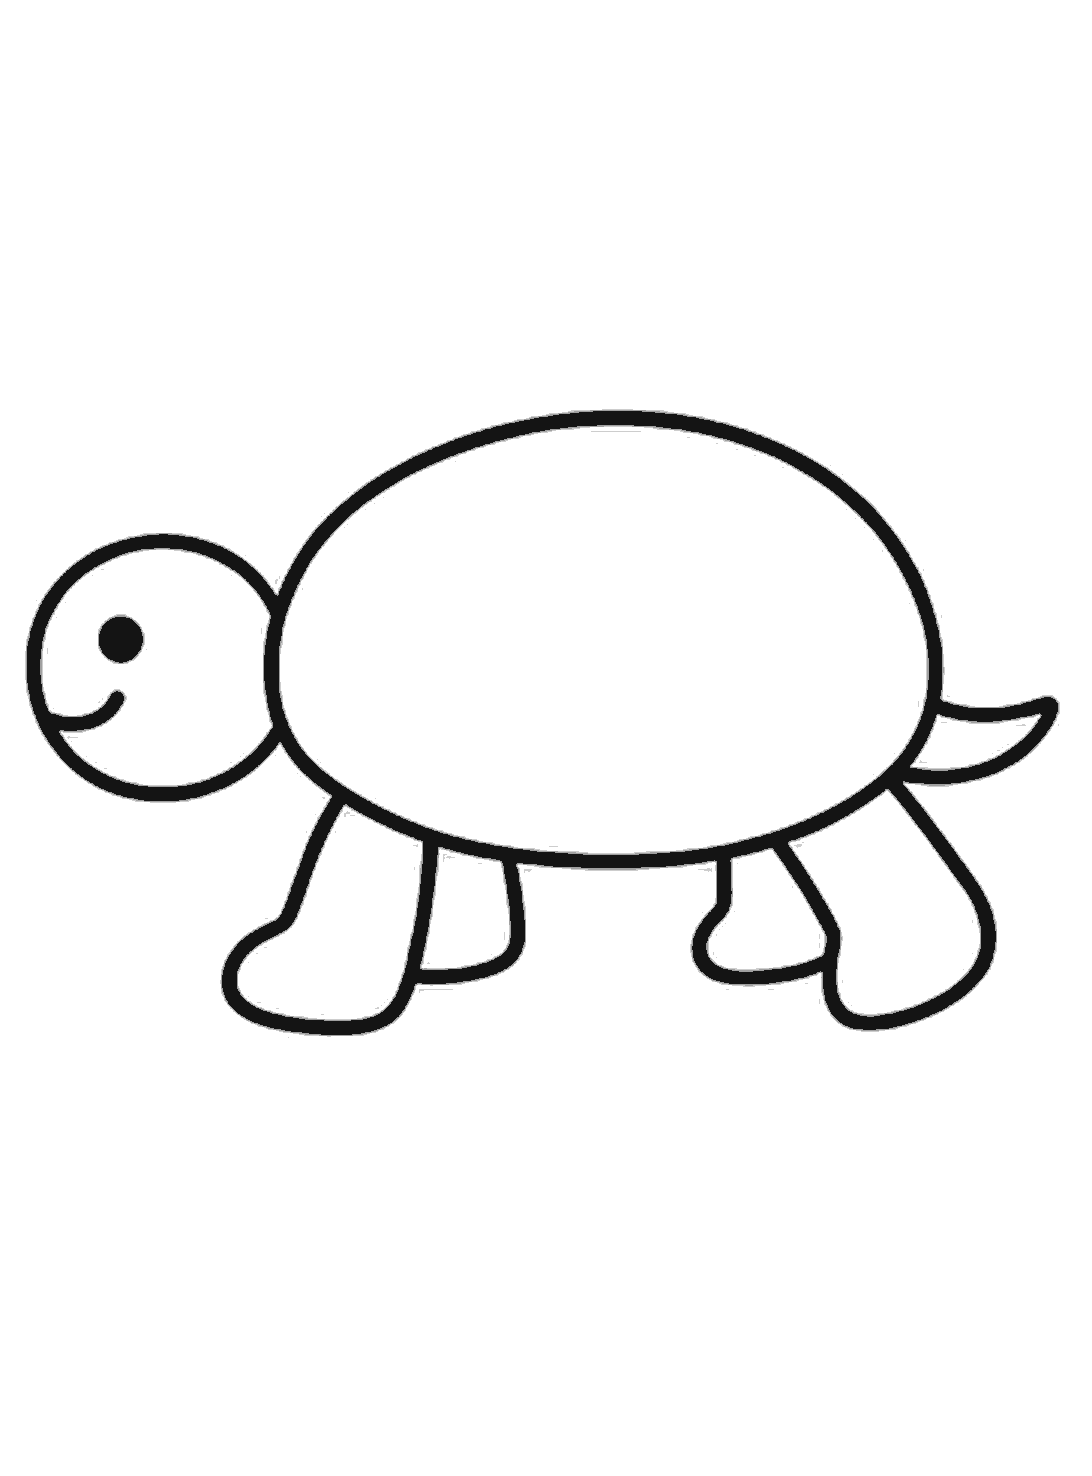
Finish the turtle
Go over the turtle's outline with darker lines you want to keep. Rub out the pale dotted guides to leave a clean finished turtle.
Tips for this one
- Keep the shell nice and big so the legs fit underneath.
- Draw the dotted guide shapes lightly so they are easy to rub out.
- Round feet make the turtle look soft and friendly.
Now try this
- Draw a pattern on the shell.
- Add water, sand, or grass around the turtle.
- Turn the turtle's head to look up or down.
Questions
- My shell came out too small. What should I do?
- That is fine. You can still add smaller legs and a smaller head to match it. Or start again and draw the shell first, a little bigger and wider.
- Do all the legs need to be the same size?
- No. In this picture, the two middle legs are smaller because they sit more underneath the shell. The front and back legs look bigger on the outside.
- Can I color the turtle when I finish?
- Yes. Green is a lovely easy choice for the turtle. You can also make the shell brown, olive, or add bright patterns if you want.