
How to Draw a Dog
- 8 steps
- Ages 5 and up
- About 15 minutes
- easy
This dog is a good drawing for children who want a simple animal with big shapes. A grown-up can help point to the guide lines and the new dark lines in each picture. Start with light dotted guide shapes, then add the dog one part at a time. You will draw the body, head, ear, legs, face, and tail. At the end, go over the lines you want to keep and rub out the dotted guides.
What you need: a pencil, an eraser, black pen or dark pencil, paper.
Print this guide as a PDF, 341 KB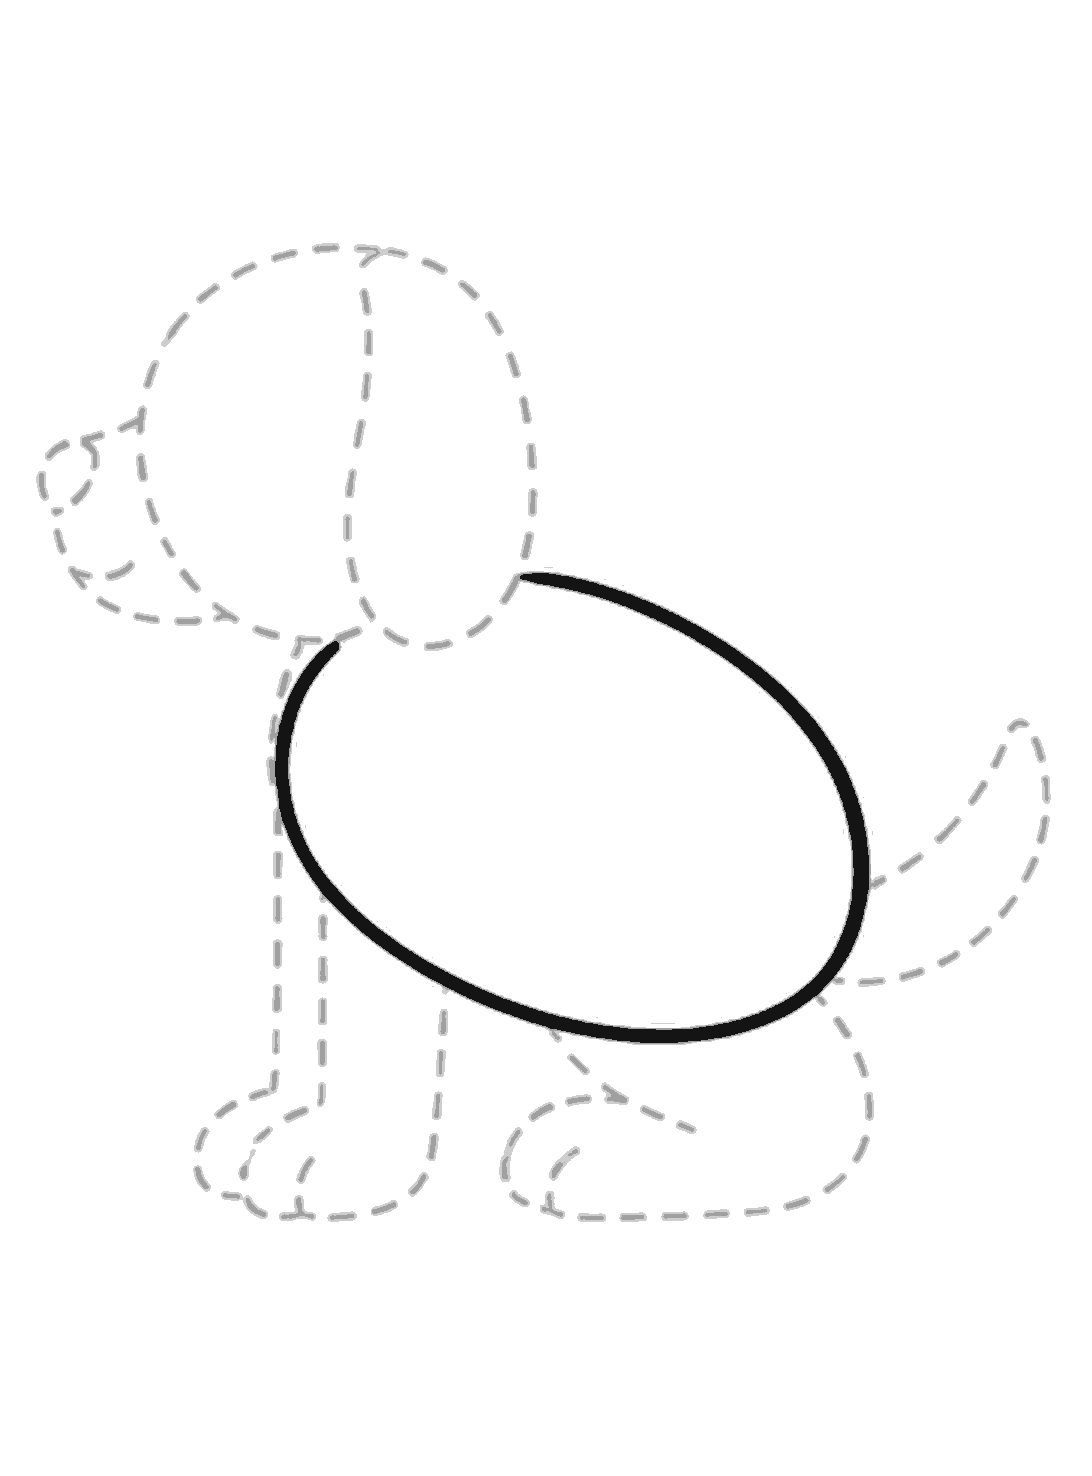
Step 1
Draw the body oval
Draw a large tilted oval in the middle for the dog's body. Keep it smooth and rounded.
Step 2
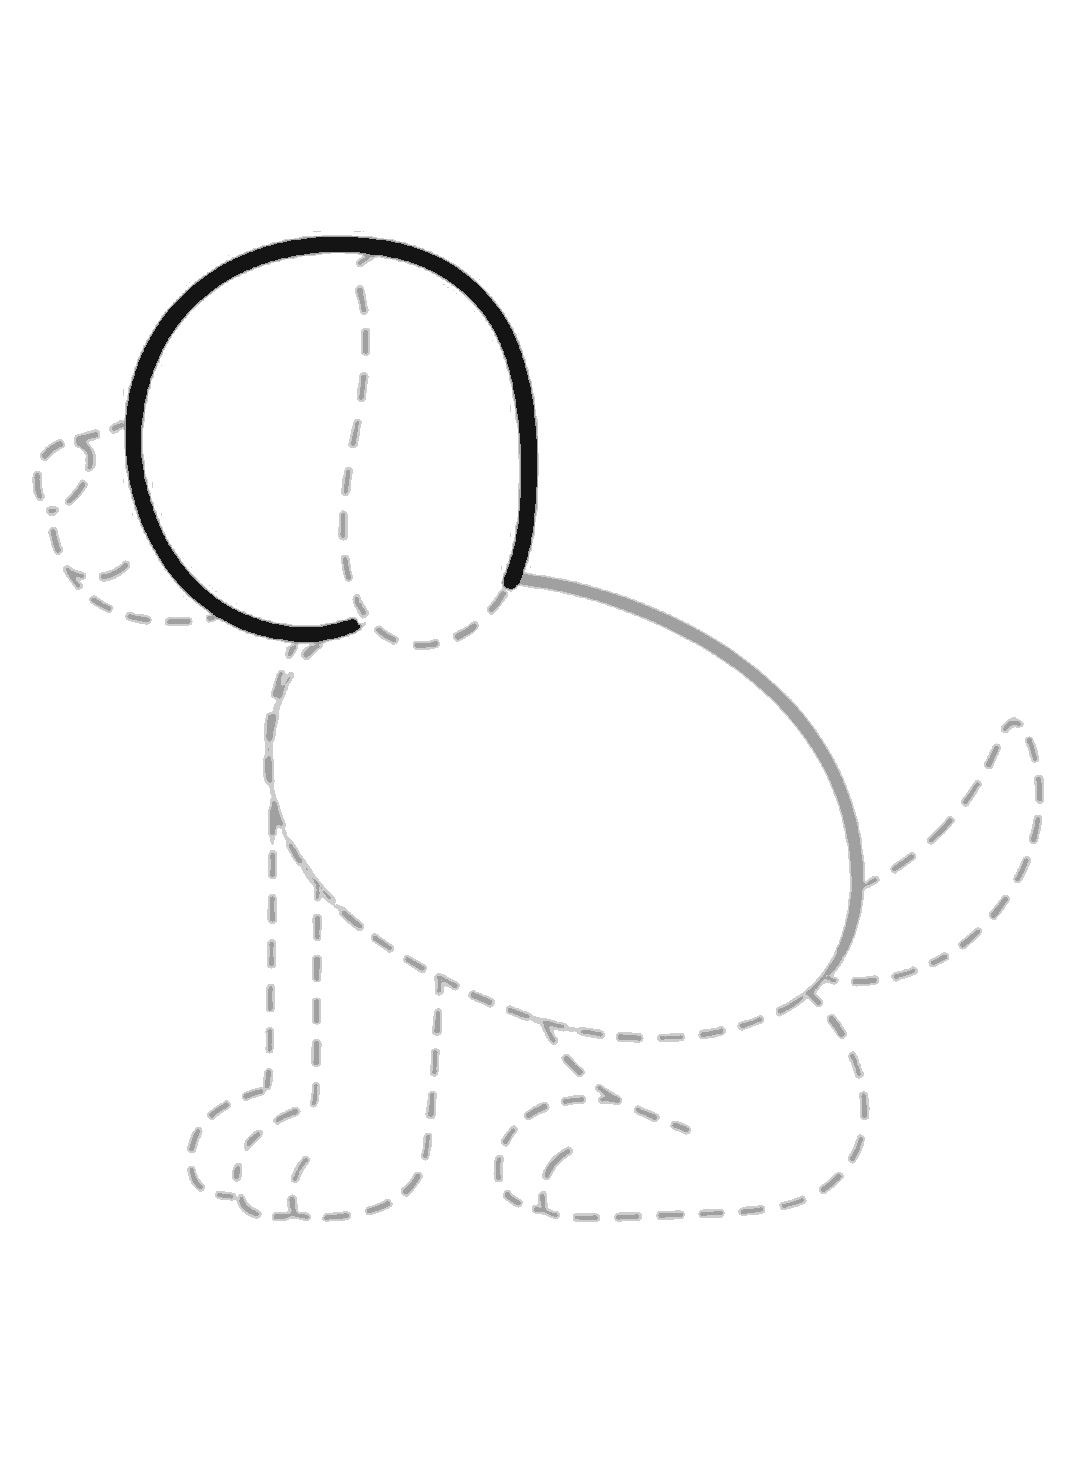
Add the head circle
Draw a big round head at the front, touching the body near the neck. Leave the small dotted nose circle for later.
Step 3
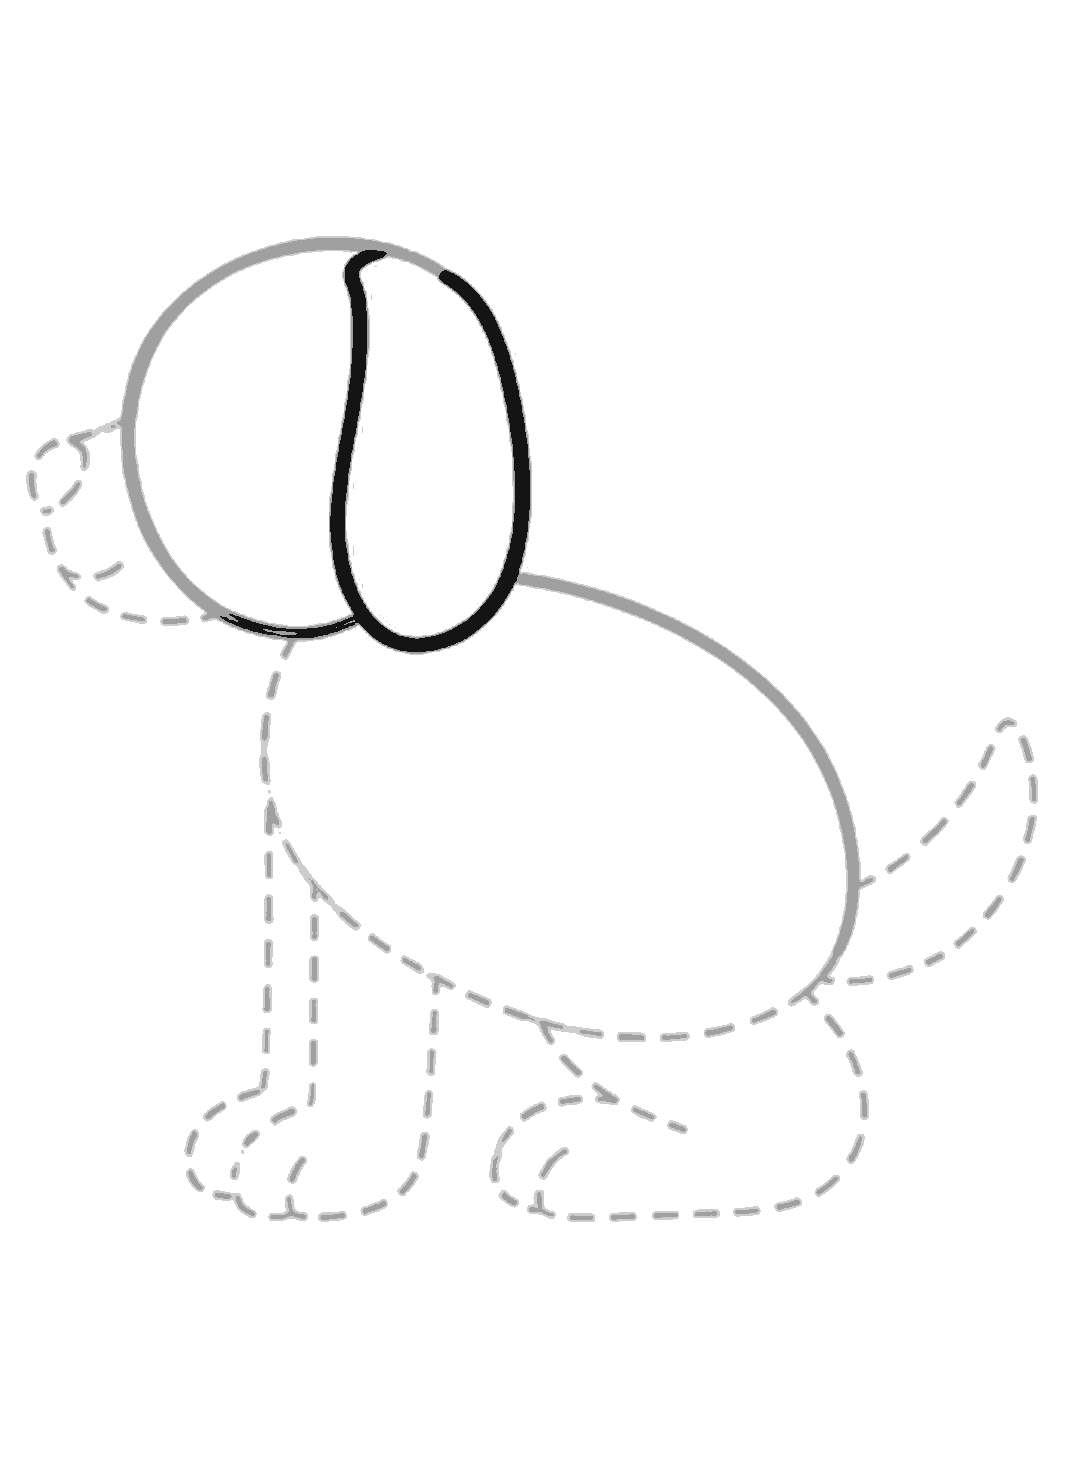
Draw the floppy ear
Draw one long floppy ear hanging down from the top of the head. It curves down and back up at the bottom.
Step 4
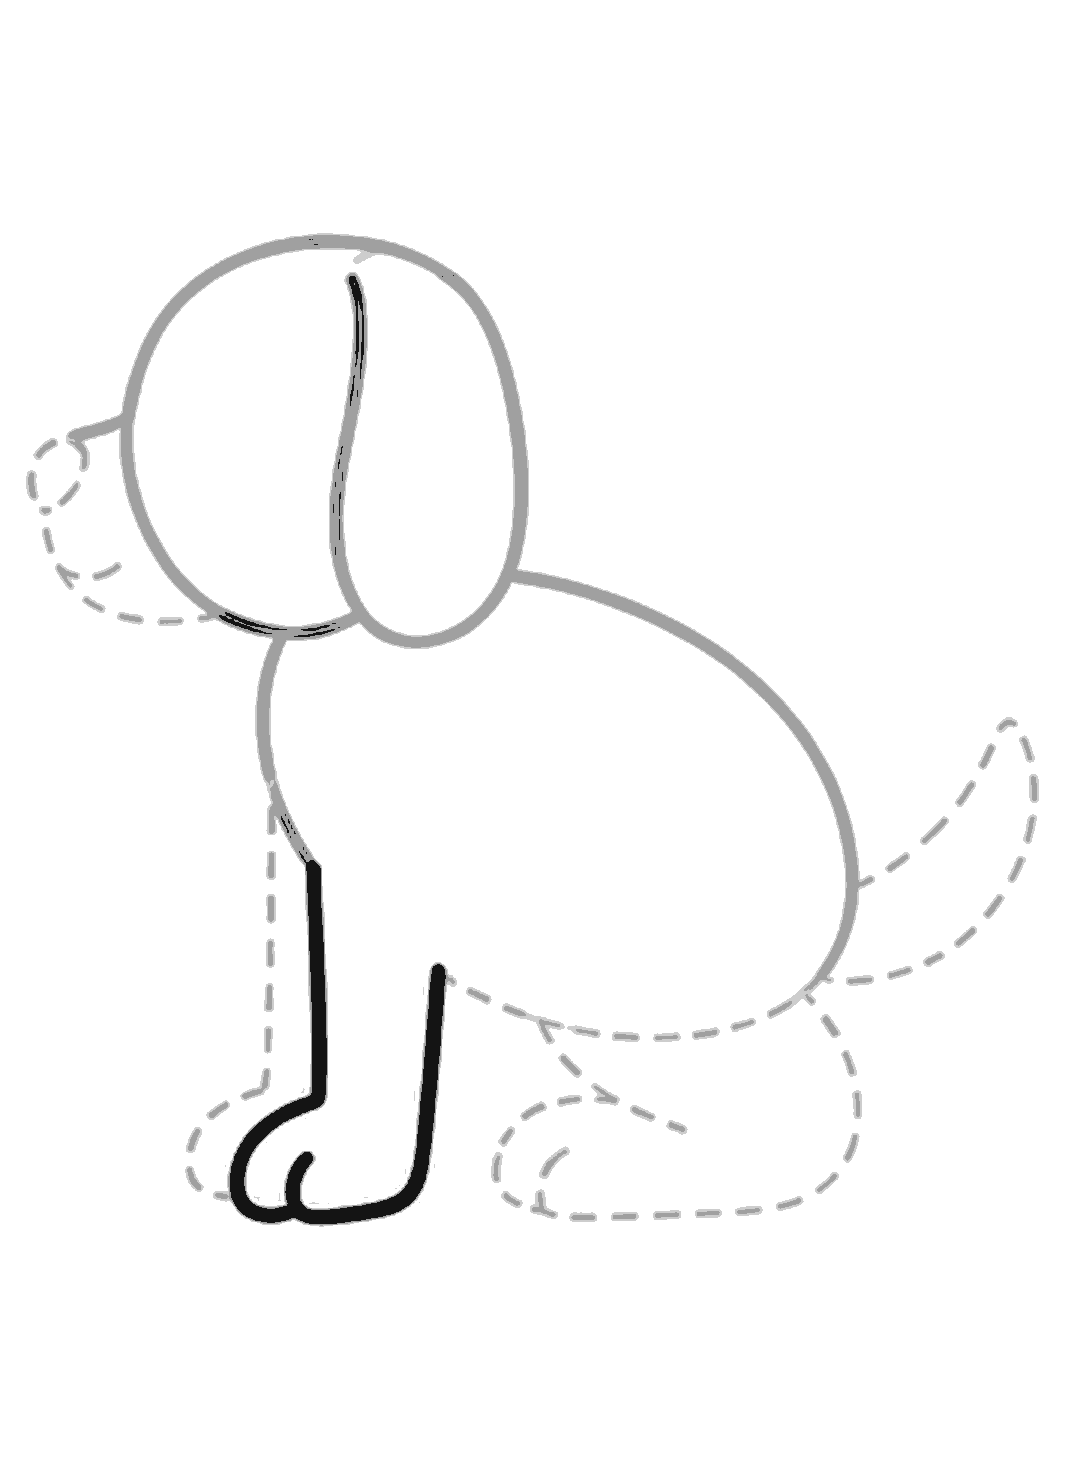
Make the front leg
Draw the front of the chest down into a straight front leg. Curve around the paw, add a small toe line, then bring the line back up for the inside of the leg.
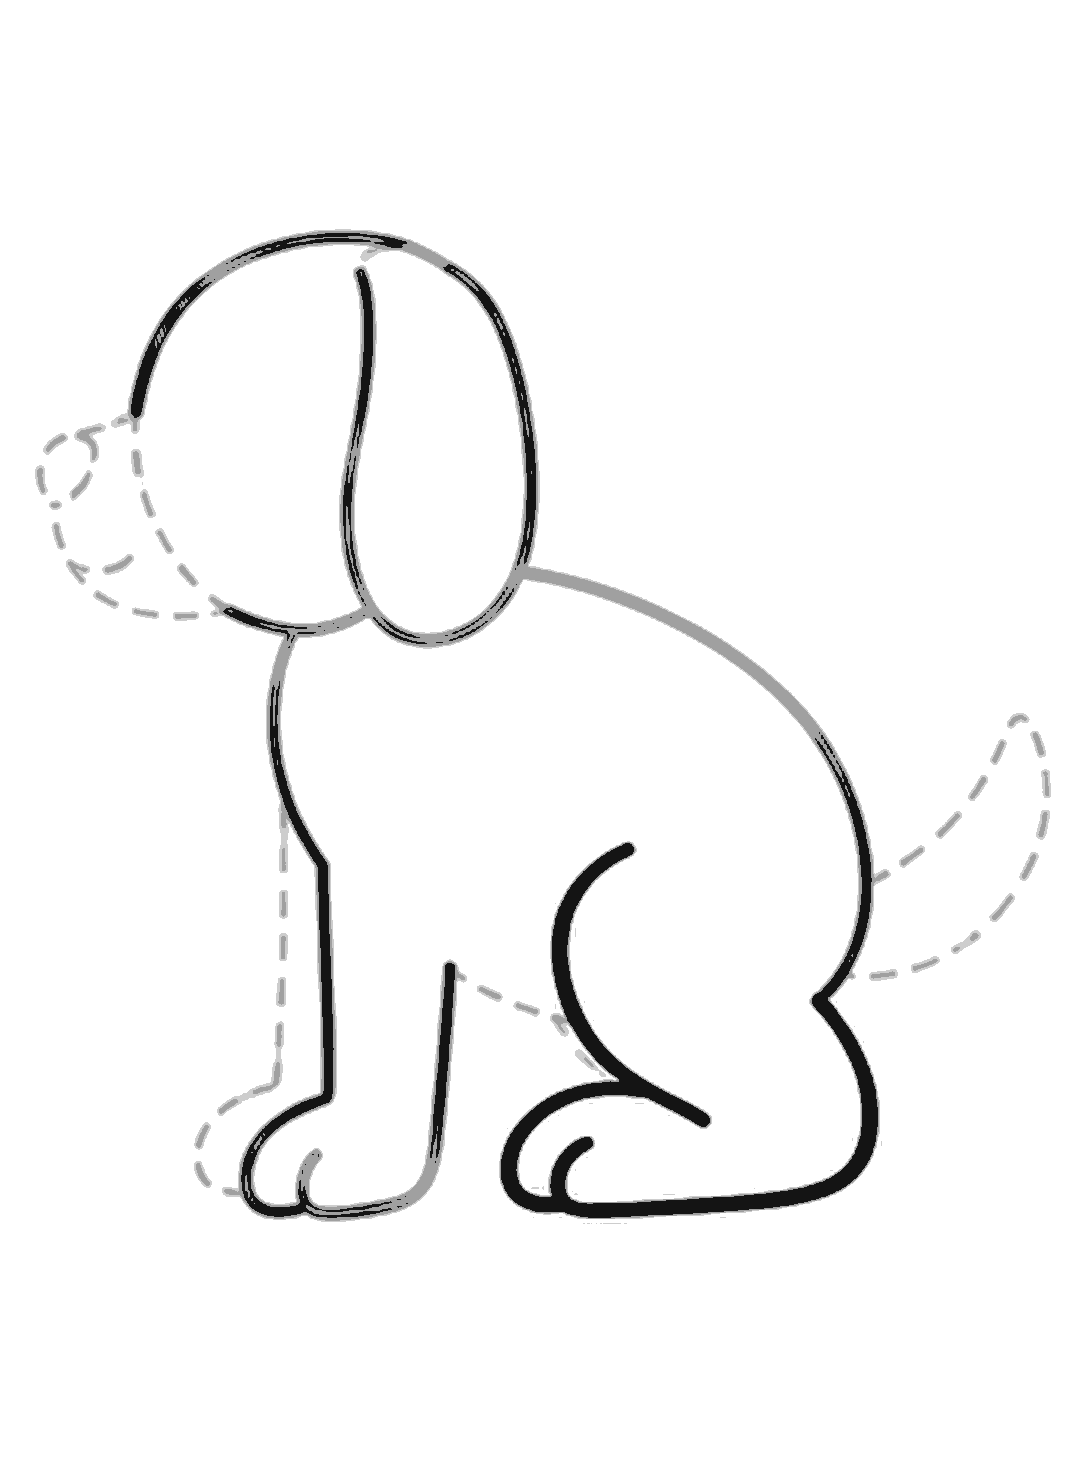
Step 5
Add the back leg
Draw the dog's back and round bottom down into the back leg. Curve around the back paw, then add the belly line and the short inner front leg line.
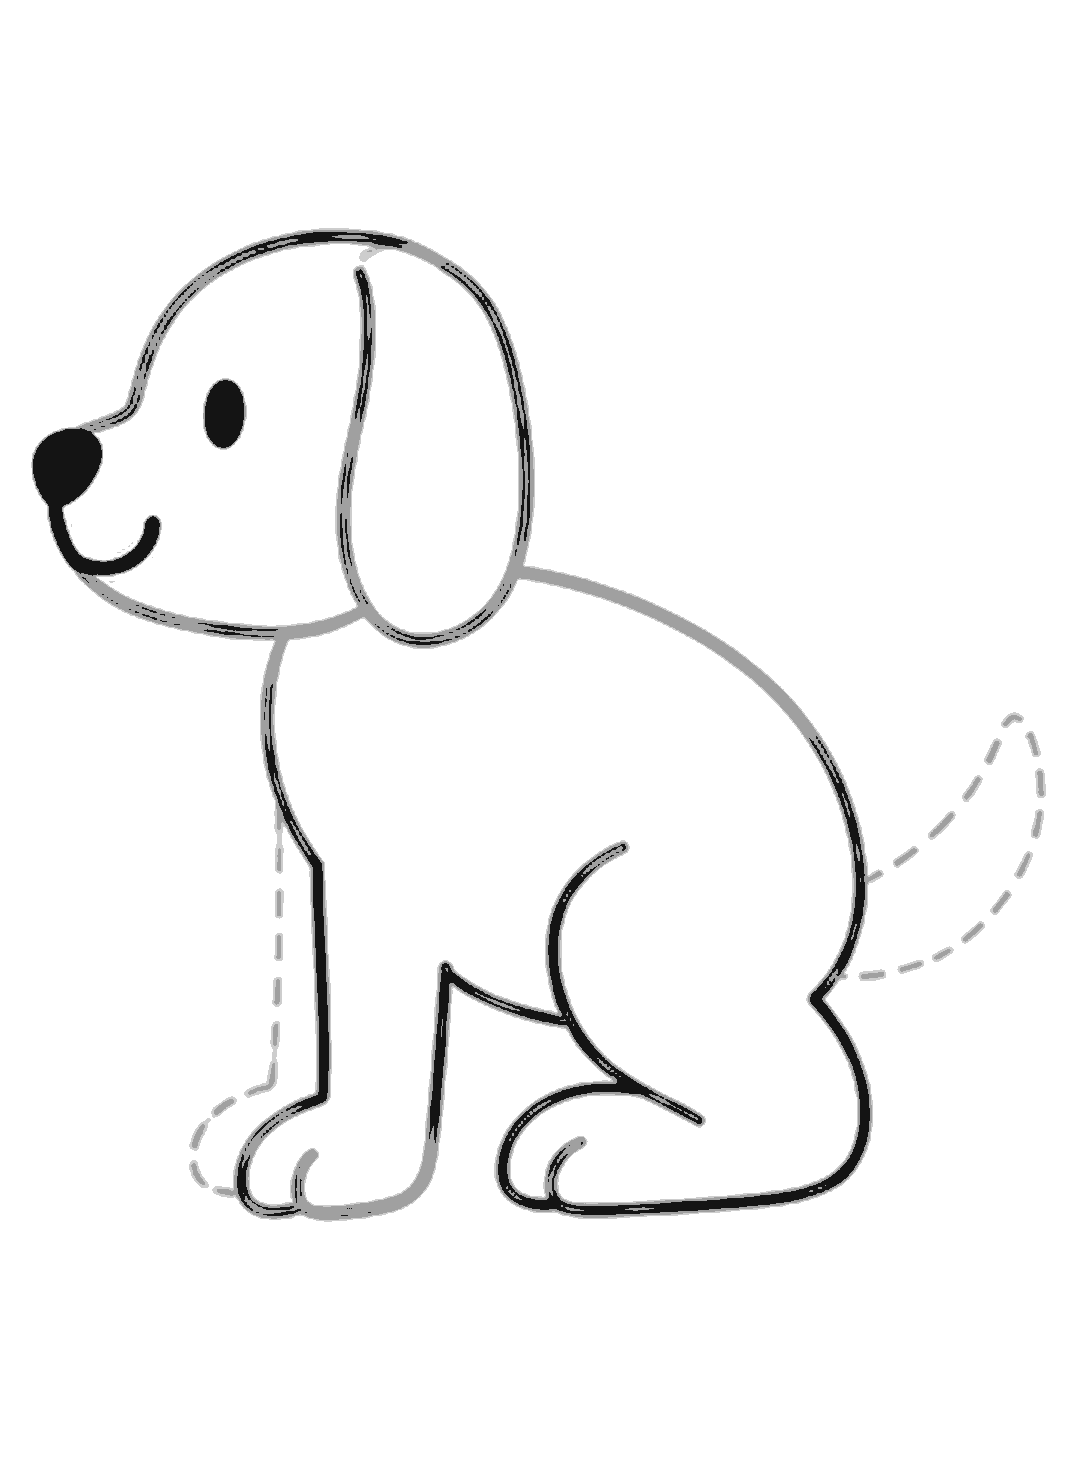
Step 6
Draw the face
Fill in the small nose at the front of the head. Add one oval eye and a curved smiling mouth under the nose.
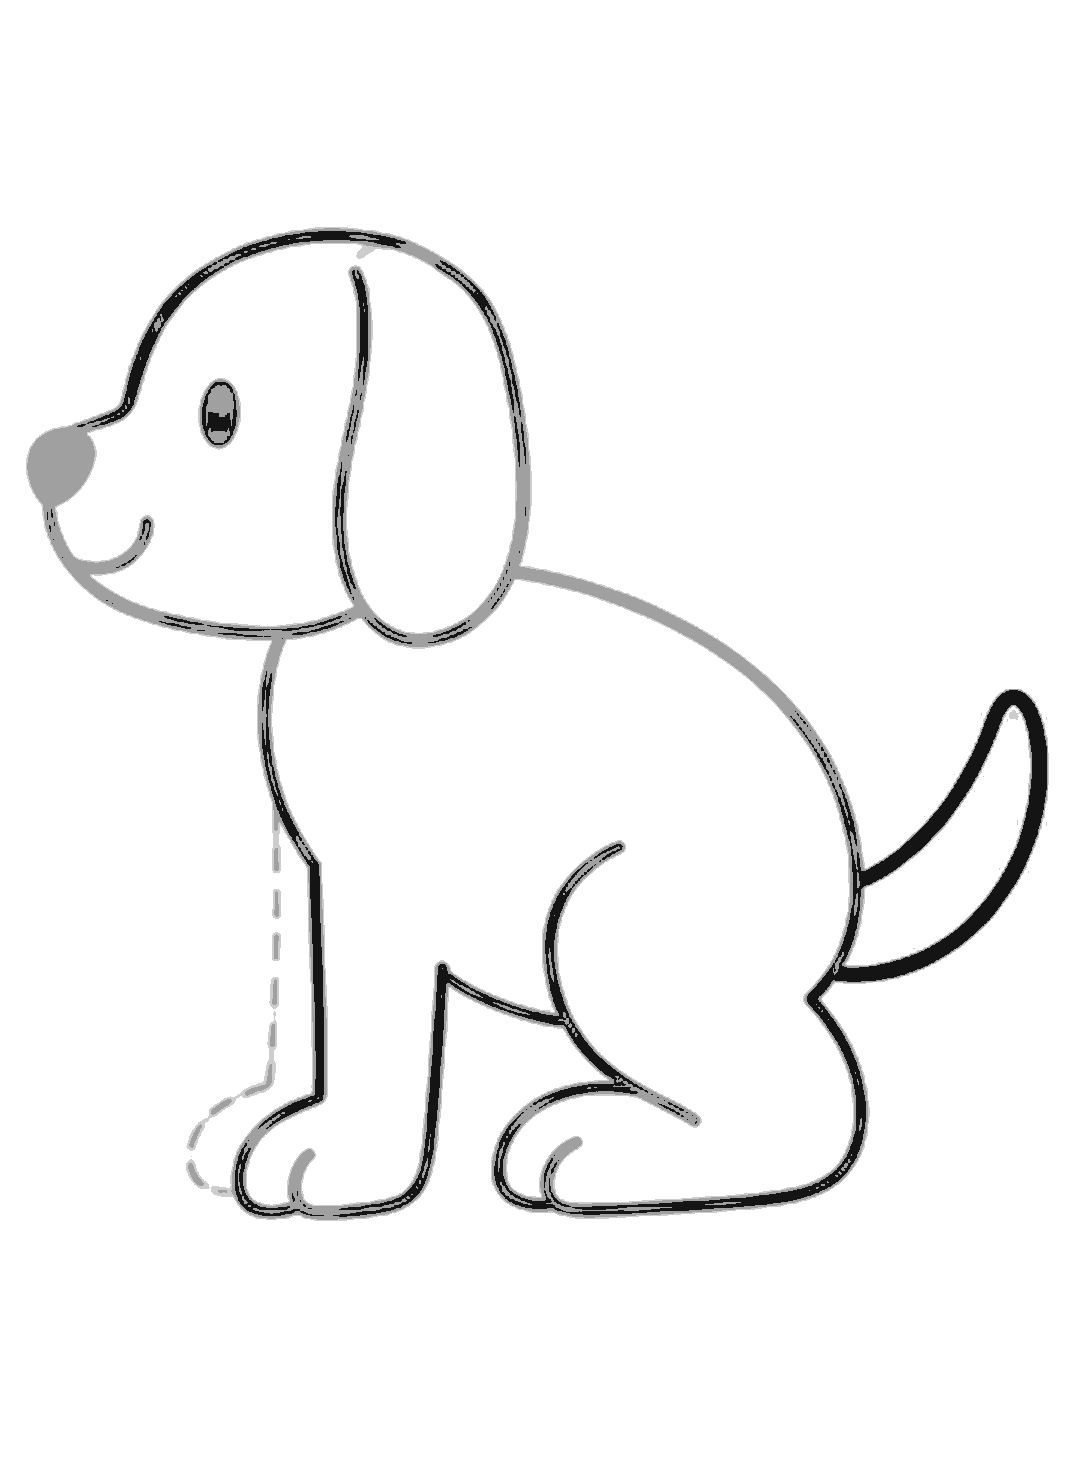
Step 7
Add the tail
Draw a tail at the back with two curved lines that meet in a rounded point. Let it lift up and out behind the body.
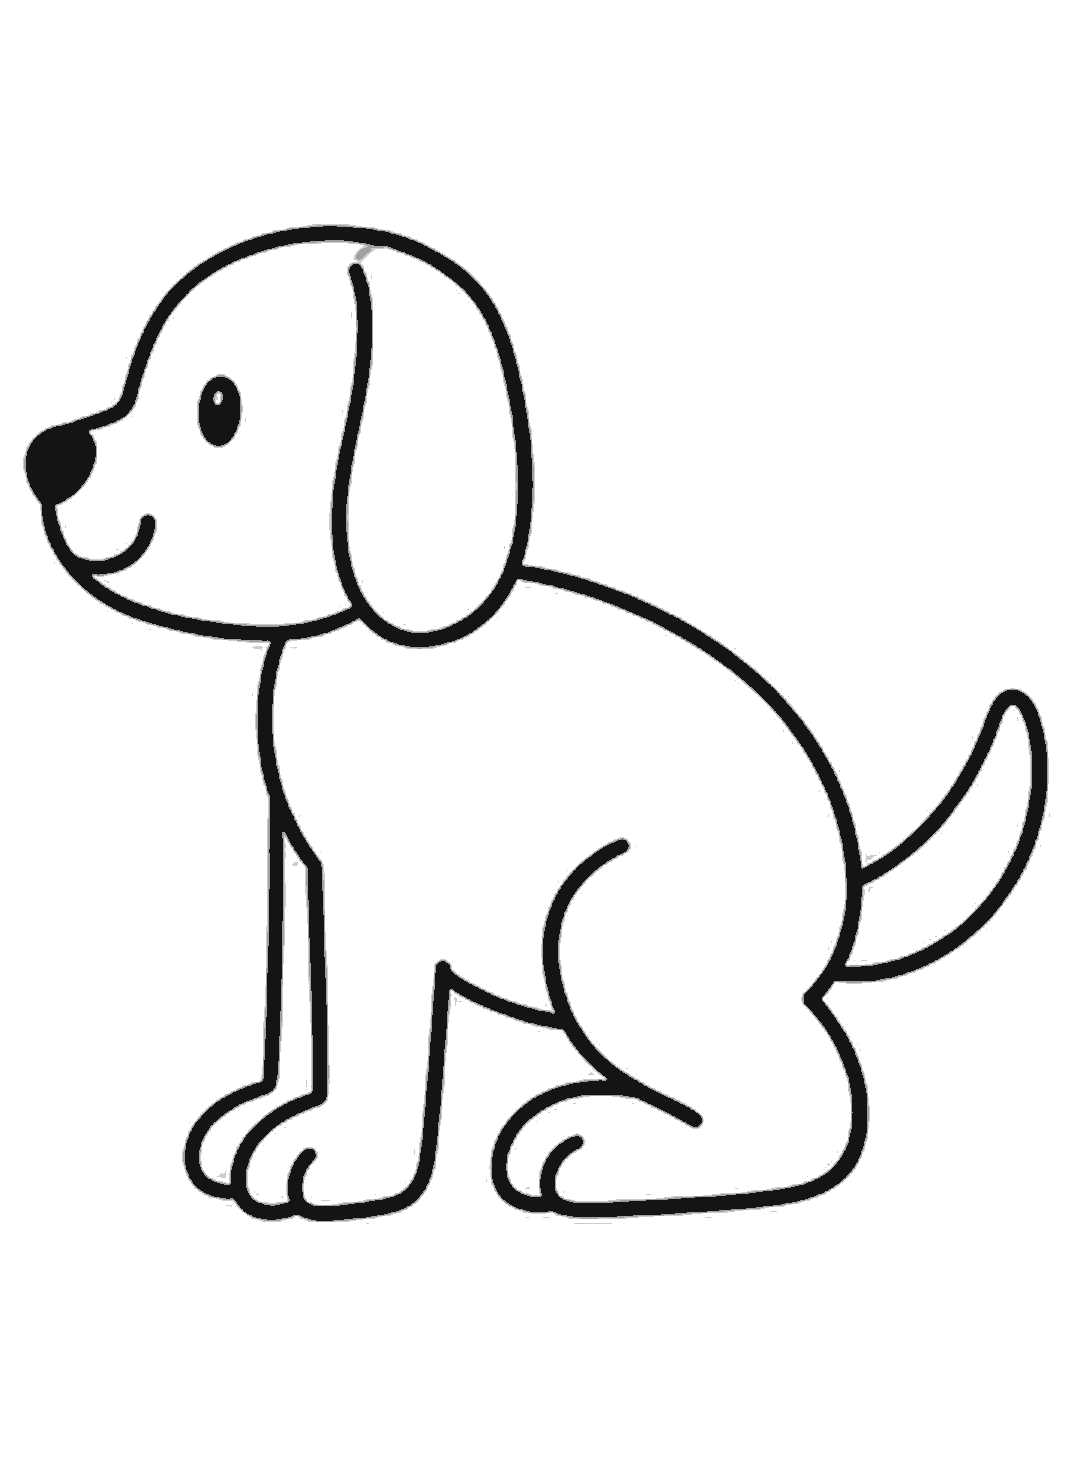
Finished
Finish and clean up
Go over the lines you want to keep with a darker pencil or pen. Rub out the pale dotted guide lines to leave a clean finished dog.
Tips for this one
- Draw the guide shapes lightly so they are easy to rub out.
- Keep the ear long and soft to make the dog look gentle.
- Round paws make this dog look cute and simple.
Now try this
- Draw a spot on the dog's back.
- Add a collar and a name tag.
- Put the dog on grass with a ball nearby.
Questions
- What if my dog's head looks too big?
- That is fine for this drawing. A bigger head makes the dog look cute and friendly.
- Do I have to use the dotted guide shapes?
- They help you place the body parts in the right spots. You can draw without them later when you know the shape better.
- How can I make my dog look different?
- Change the ear shape, tail shape, or add spots. You can also color the nose, ears, or back in a different way.