
How to Draw a Penguin
- 8 steps
- Ages 5 and up
- About 15 minutes
- easy
This penguin is a good drawing for children who want a simple animal with big easy shapes. You only need a pencil, an eraser, and something dark to trace with at the end. Start with the body, then add the tummy, head, face, feet, and flippers. The dotted lines are light guide shapes to sketch first. The black lines show what to draw in each step. In the last step, trace the lines you want to keep and rub out the dotted guides.
What you need: a pencil, an eraser, black crayons or a dark pen, plain paper.
Print this guide as a PDF, 356 KB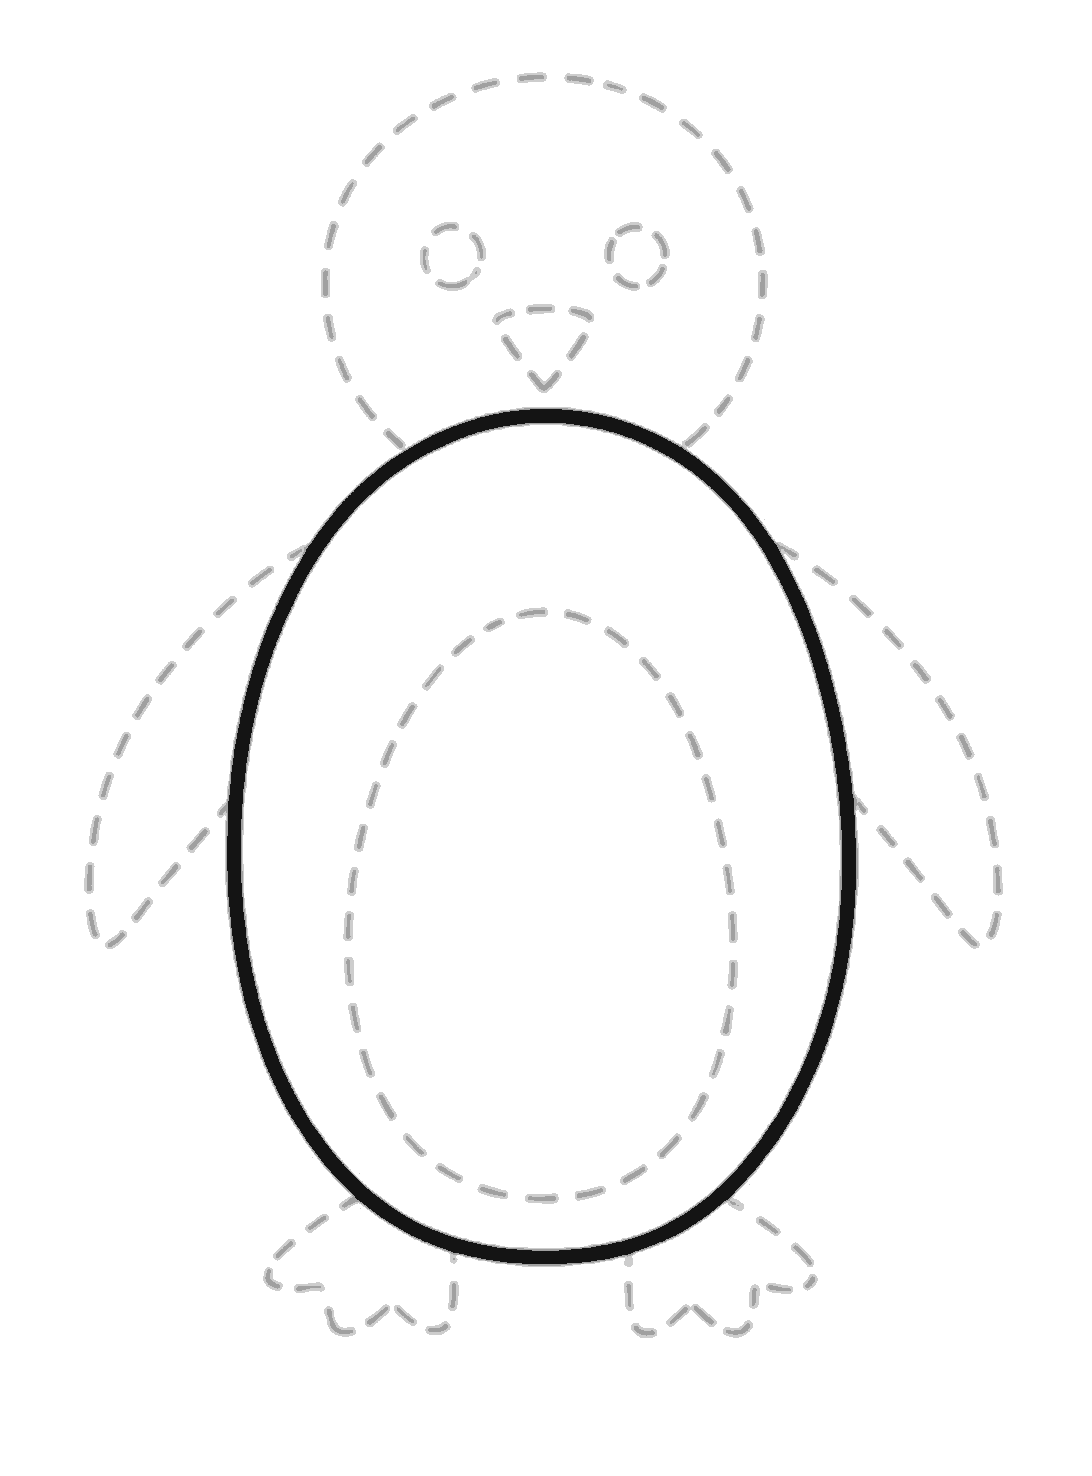
Step 1
Draw the body
Draw a tall egg shape for the penguin's body. Make the top a little narrower than the middle.
Step 2
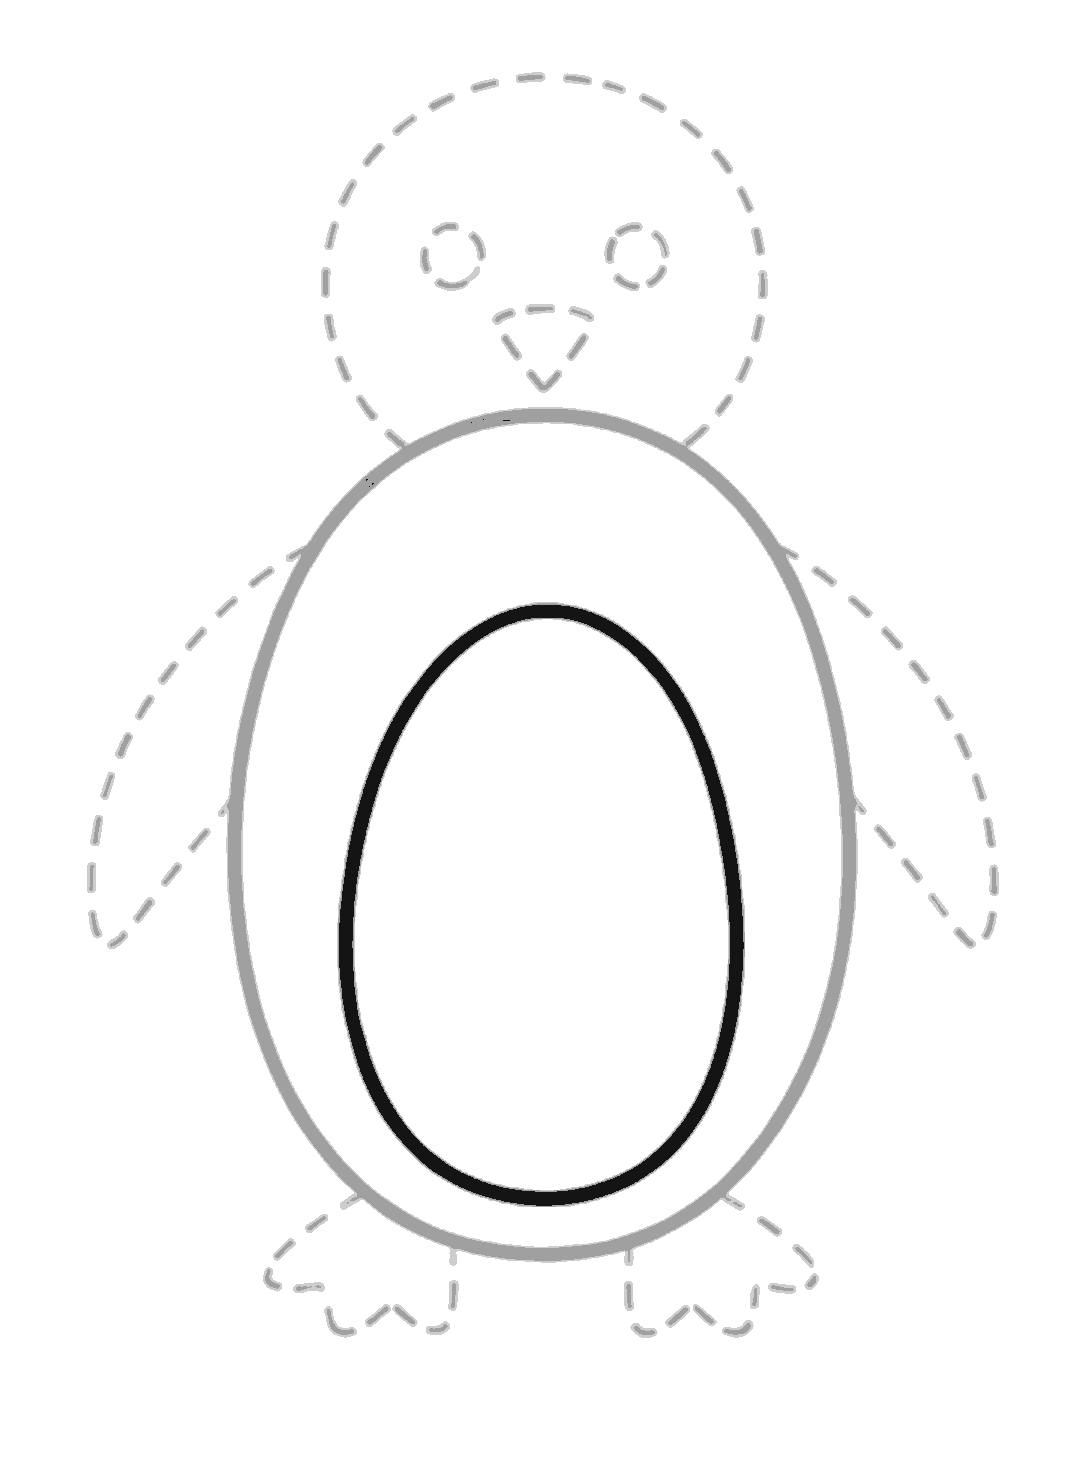
Add the tummy
Draw a smaller tall oval inside the body for the penguin's tummy. Leave an even space around it.
Step 3
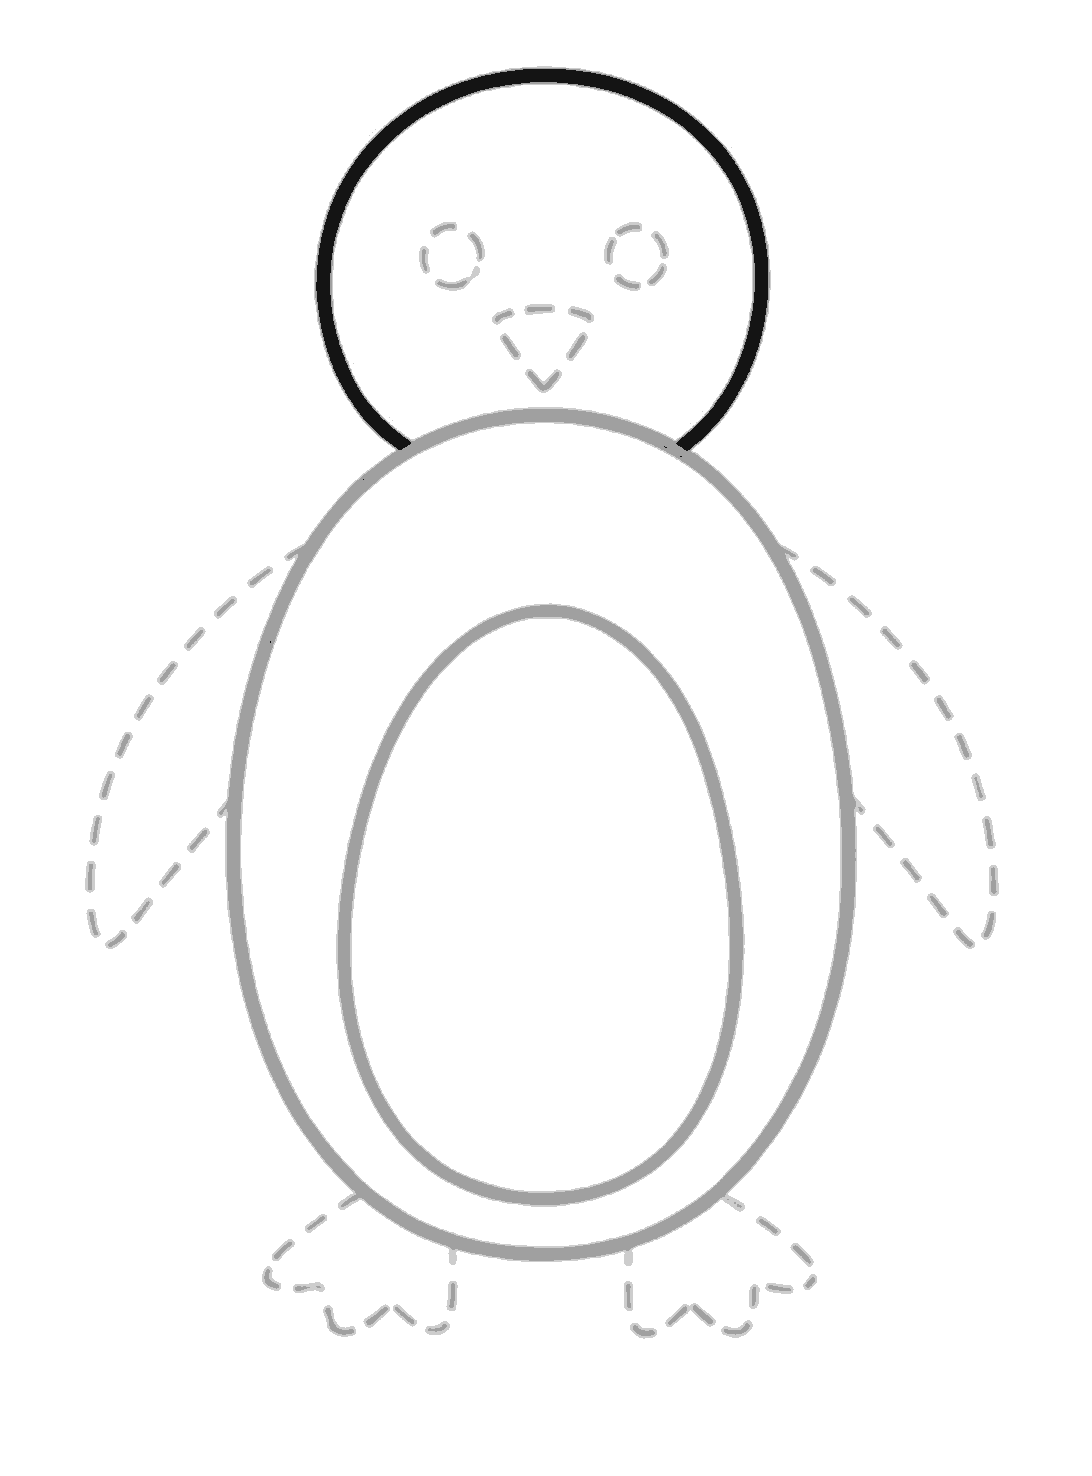
Draw the head
Draw a round head above the body. Leave a small gap where the head meets the body curve.
Step 4
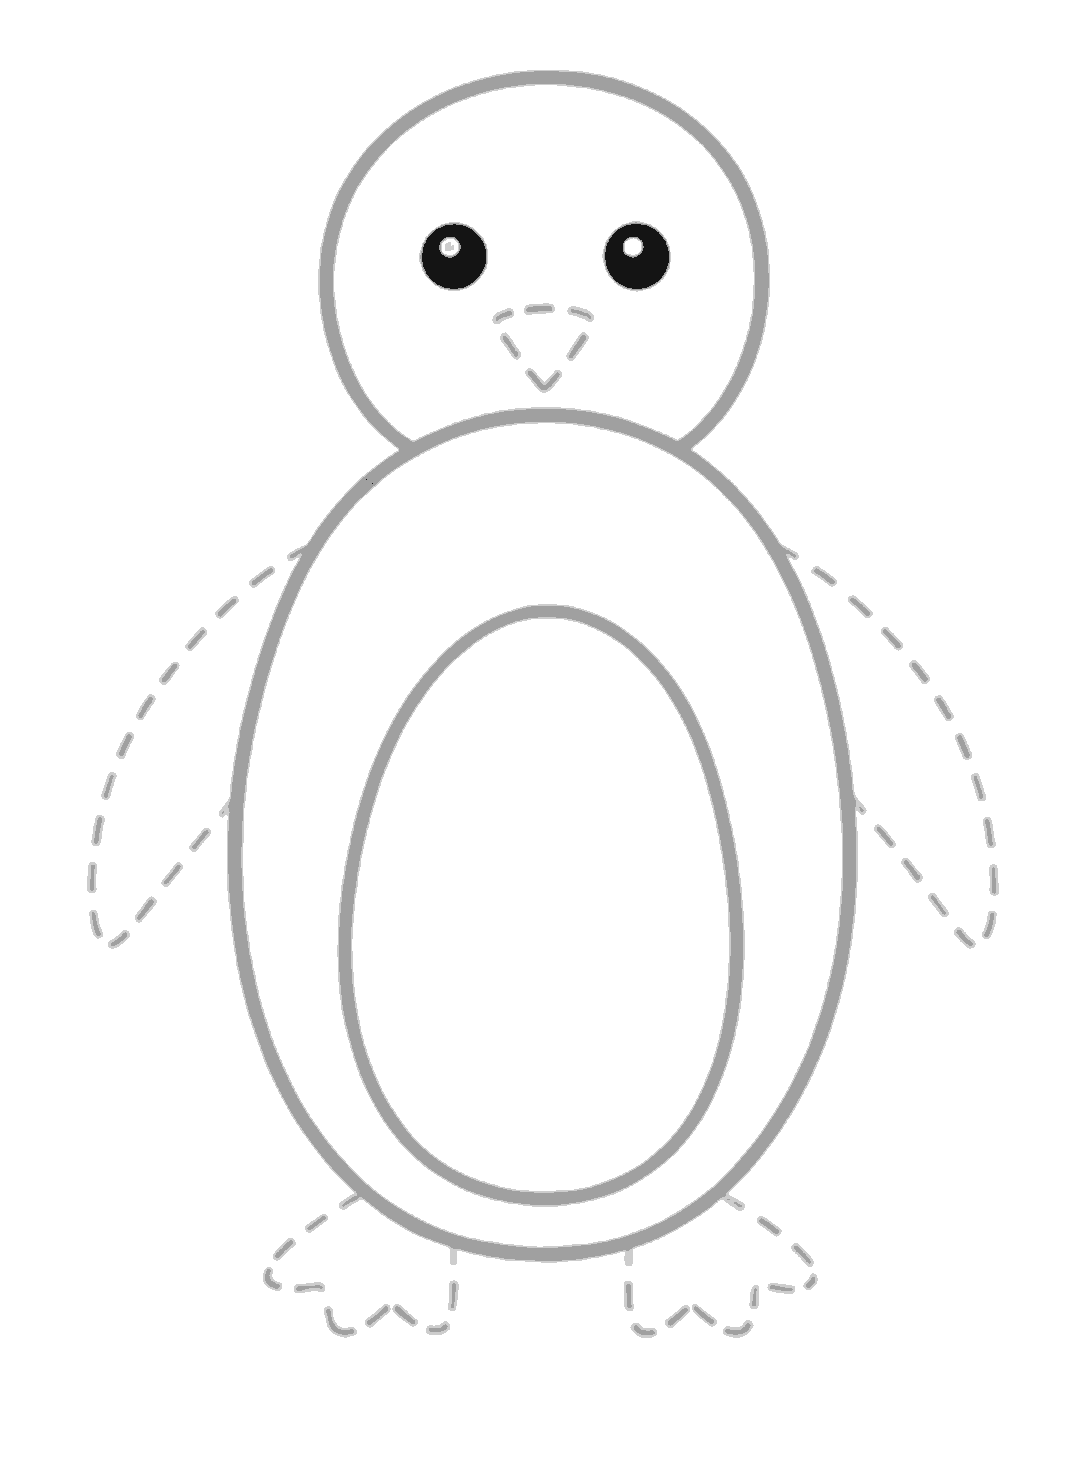
Fill in the eyes
Draw two small round eyes on the head. Leave a tiny white dot in each one for a shine.
Step 5
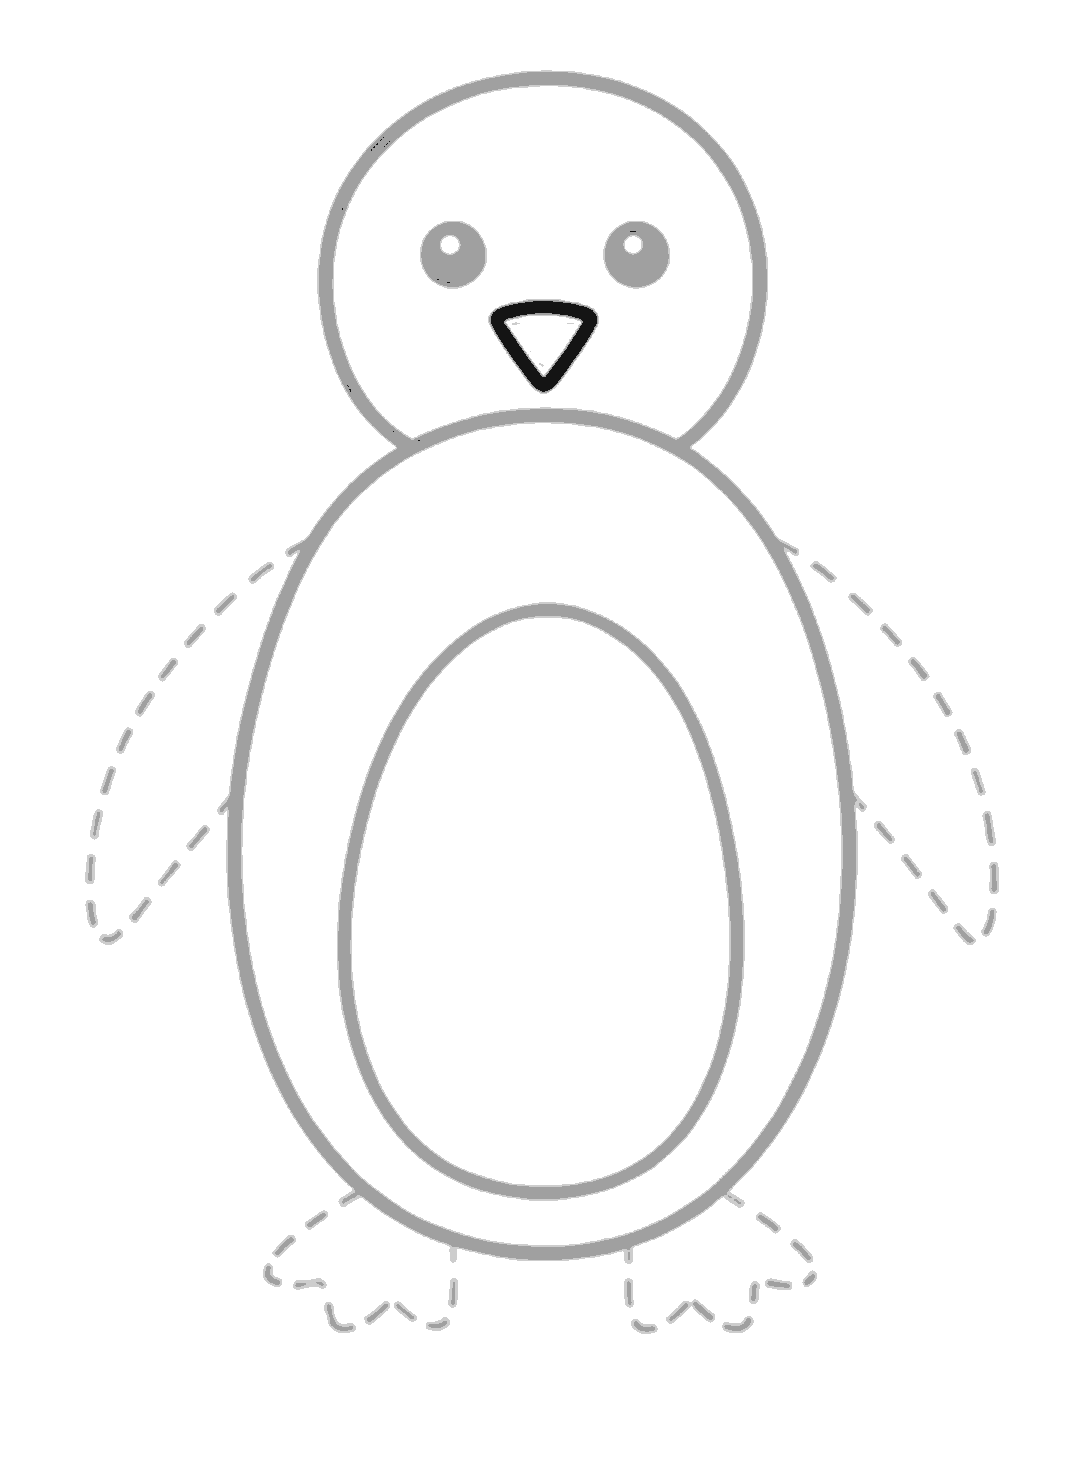
Add the beak
Draw a small upside down triangle shape under the eyes for the beak. Round the corners a little so it looks soft.
Step 6
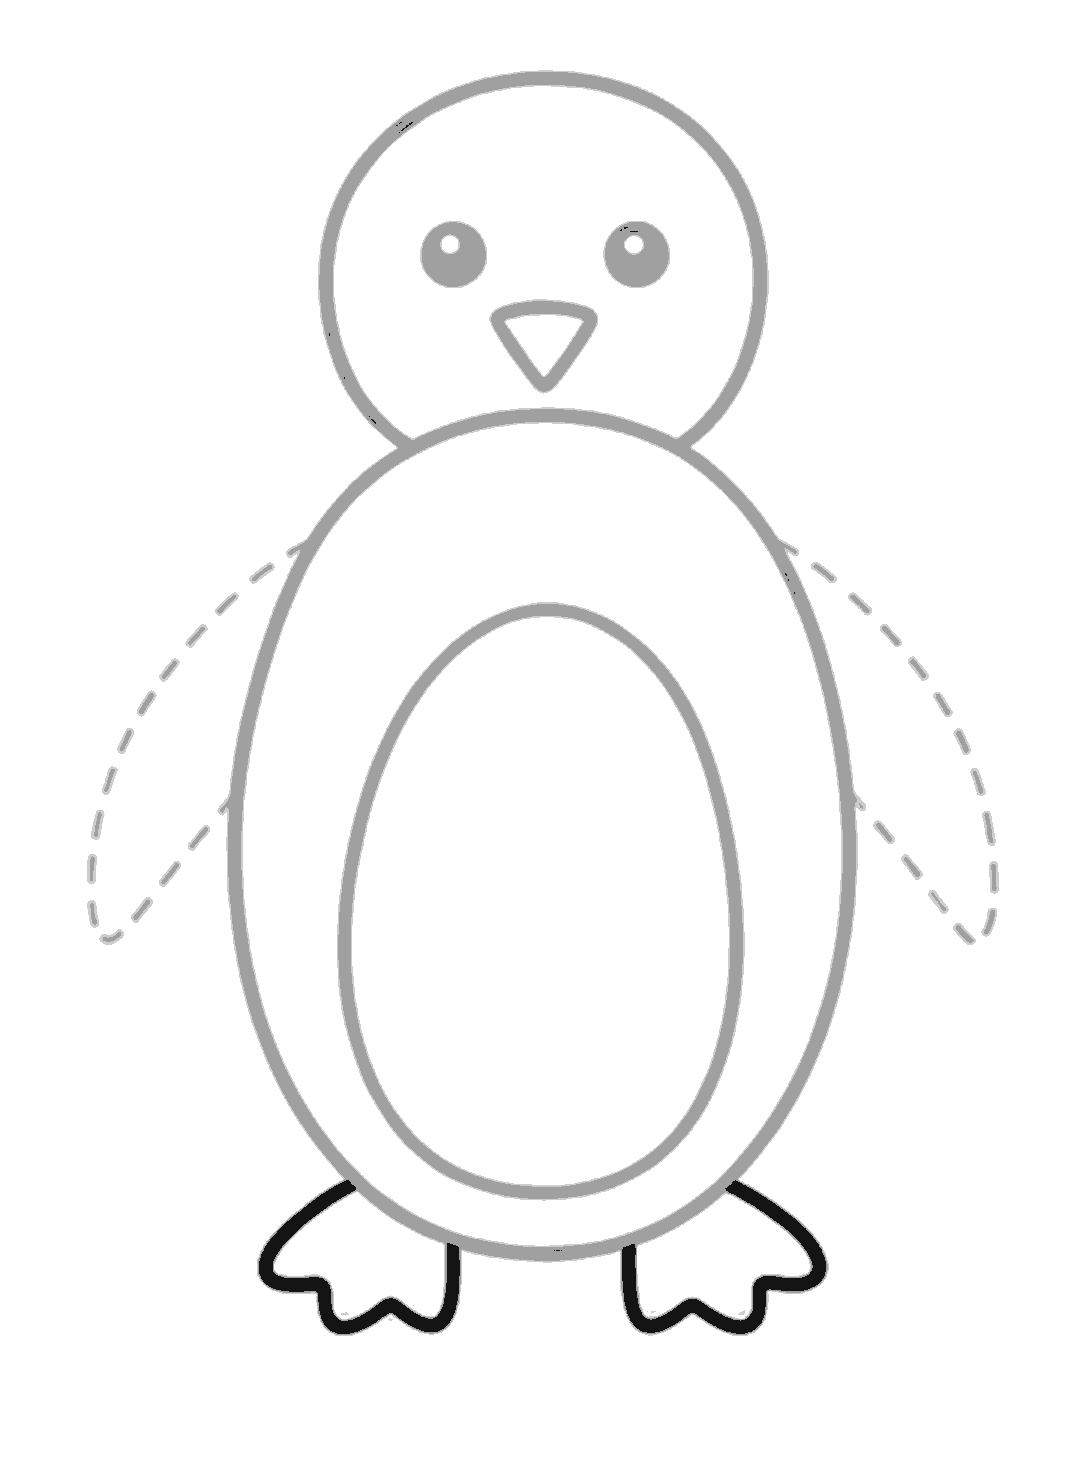
Draw the feet
Draw two webbed feet under the body. Each foot has a curved outer edge and little pointed bumps at the toes.
Step 7
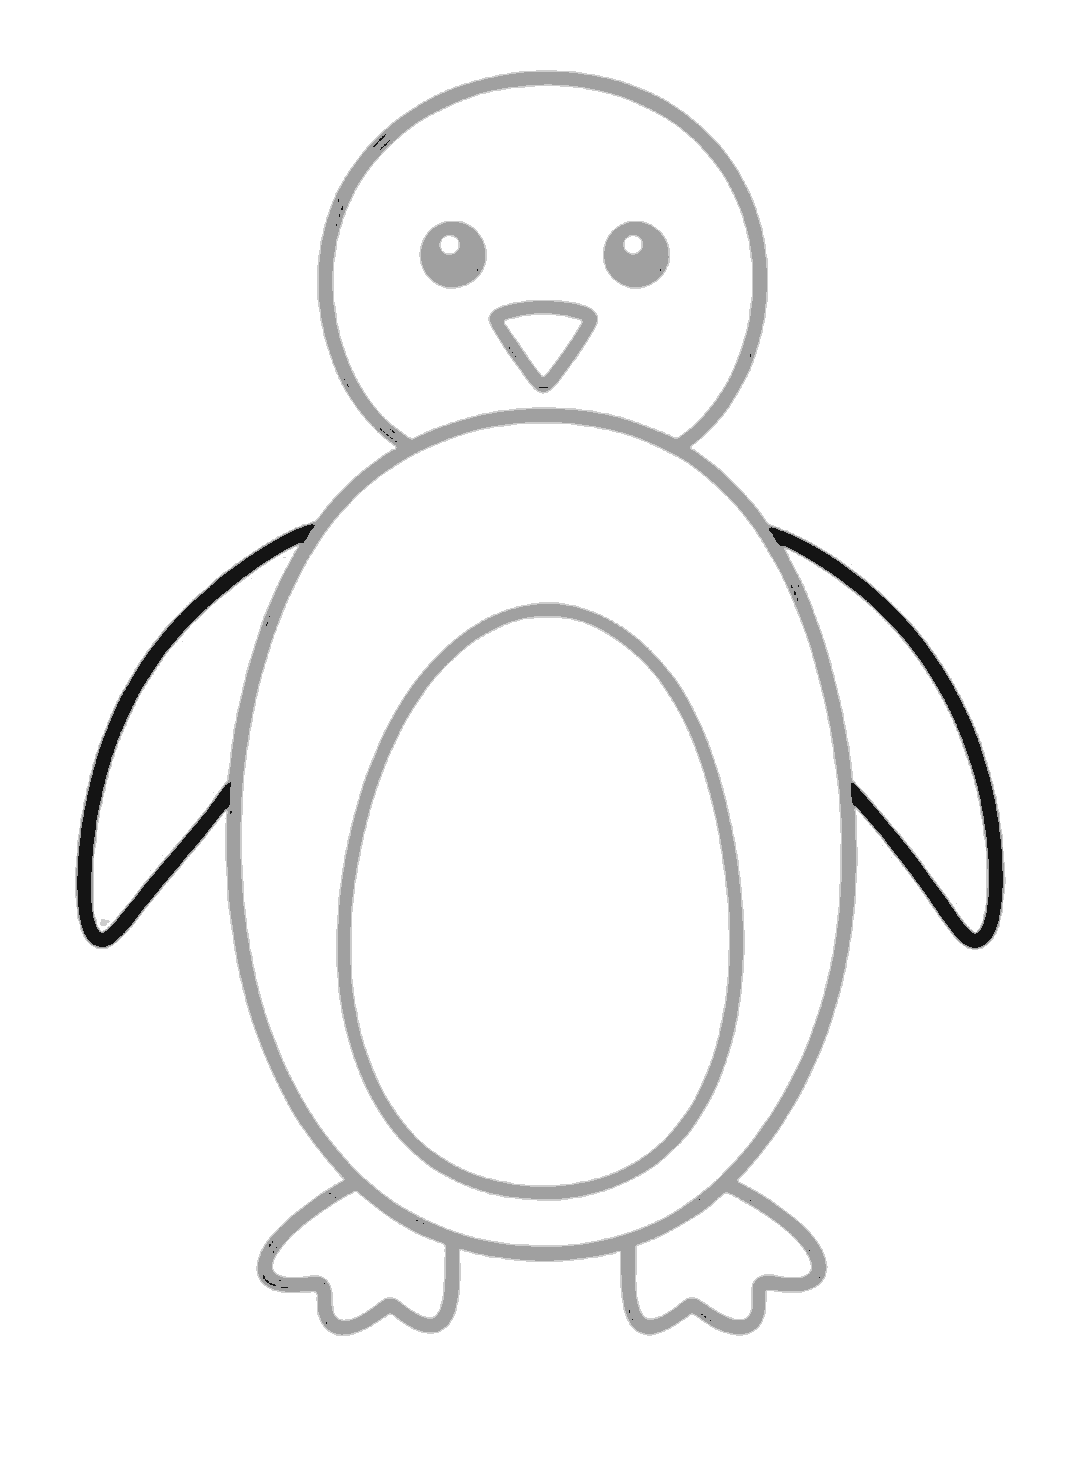
Add the flippers
Draw one long curved flipper on each side of the body. Each flipper starts near the shoulder, curves out, and comes back in with a pointed tip at the bottom.
Finished
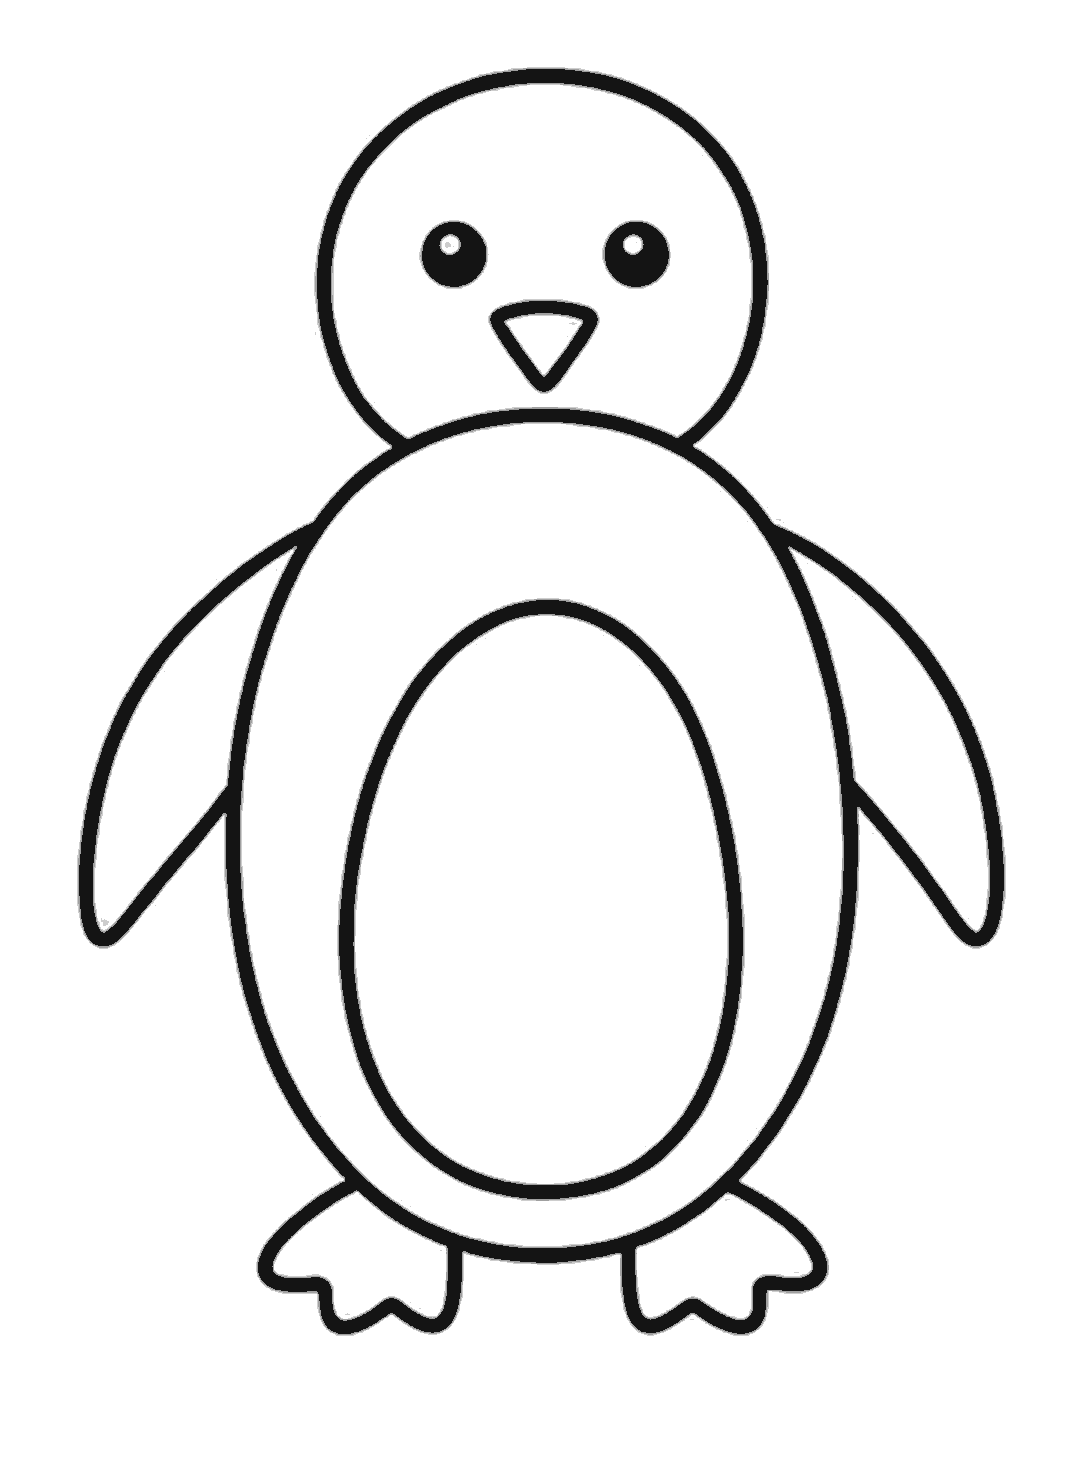
Trace and rub out
Go over the whole penguin with darker lines. Then rub out the dotted guide lines you do not need.
Tips for this one
- Keep the tummy oval centered inside the body.
- Draw the guide lines lightly so they are easy to rub out.
- Make both flippers start at about the same height.
Now try this
- Draw a baby penguin with a smaller body and bigger head.
- Add snow or ice under the feet.
- Give your penguin a scarf or woolly hat.
Questions
- My penguin looks lopsided. What should I do?
- That is very normal with animal drawings. Check if the tummy oval sits in the middle and if both flippers start at the same height, then gently fix the lines you want to change.
- Do I have to fill the eyes in black?
- No. You can leave them as outlines if you want a lighter look. If you do color them in, keep a tiny white spot for the shine.
- When should I erase the dotted guides?
- Wait until the very end. After you are happy with the dark outline, rub out the pale dotted lines slowly so the drawing stays neat.