
How to Draw a Flower
- 8 steps
- Ages 5 and up
- About 15 minutes
- easy
This simple flower is a nice drawing for young children and anyone who wants an easy nature picture. You only need a few basic supplies and a little space to sketch lightly first. The dotted lines are guide shapes to help with size and placement. Then you draw the darker lines step by step. Start with the middle circle, add the petals, then the stem and leaves. At the end, go over the lines you want to keep and rub out the dotted guides.
What you need: a pencil, an eraser, black crayons or markers, paper.
Print this guide as a PDF, 423 KB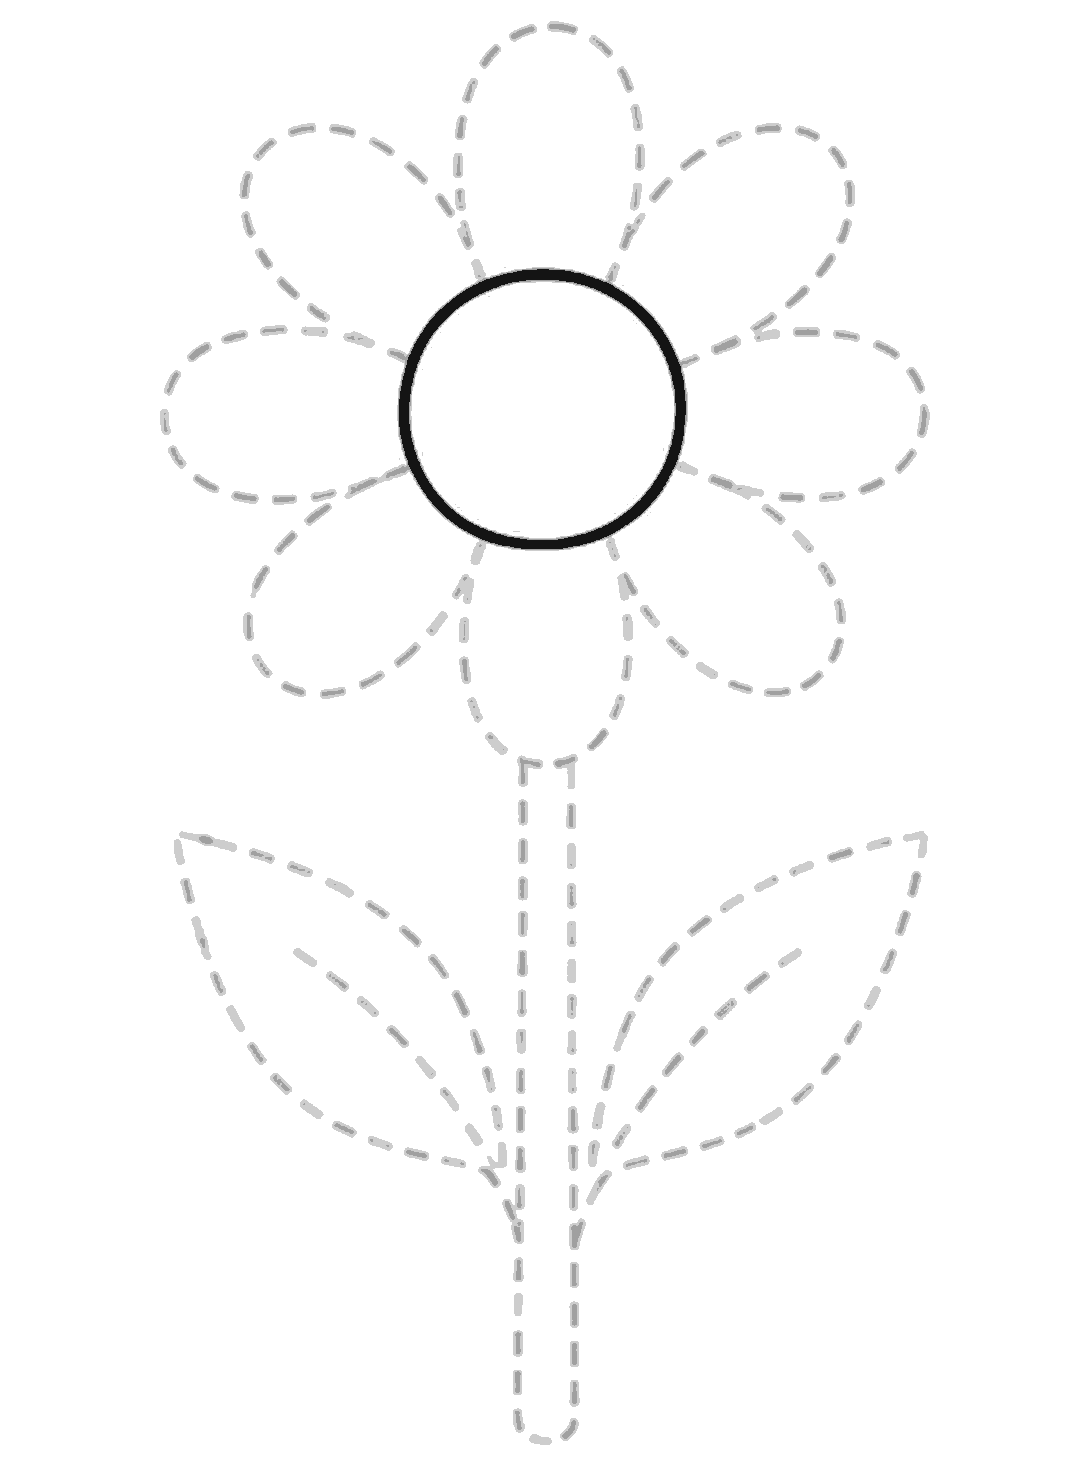
Step 1
Draw the middle circle
Draw a neat round circle in the middle of the flower head. Use the dotted petal, stem, and leaf guides only to help place it.
Step 2
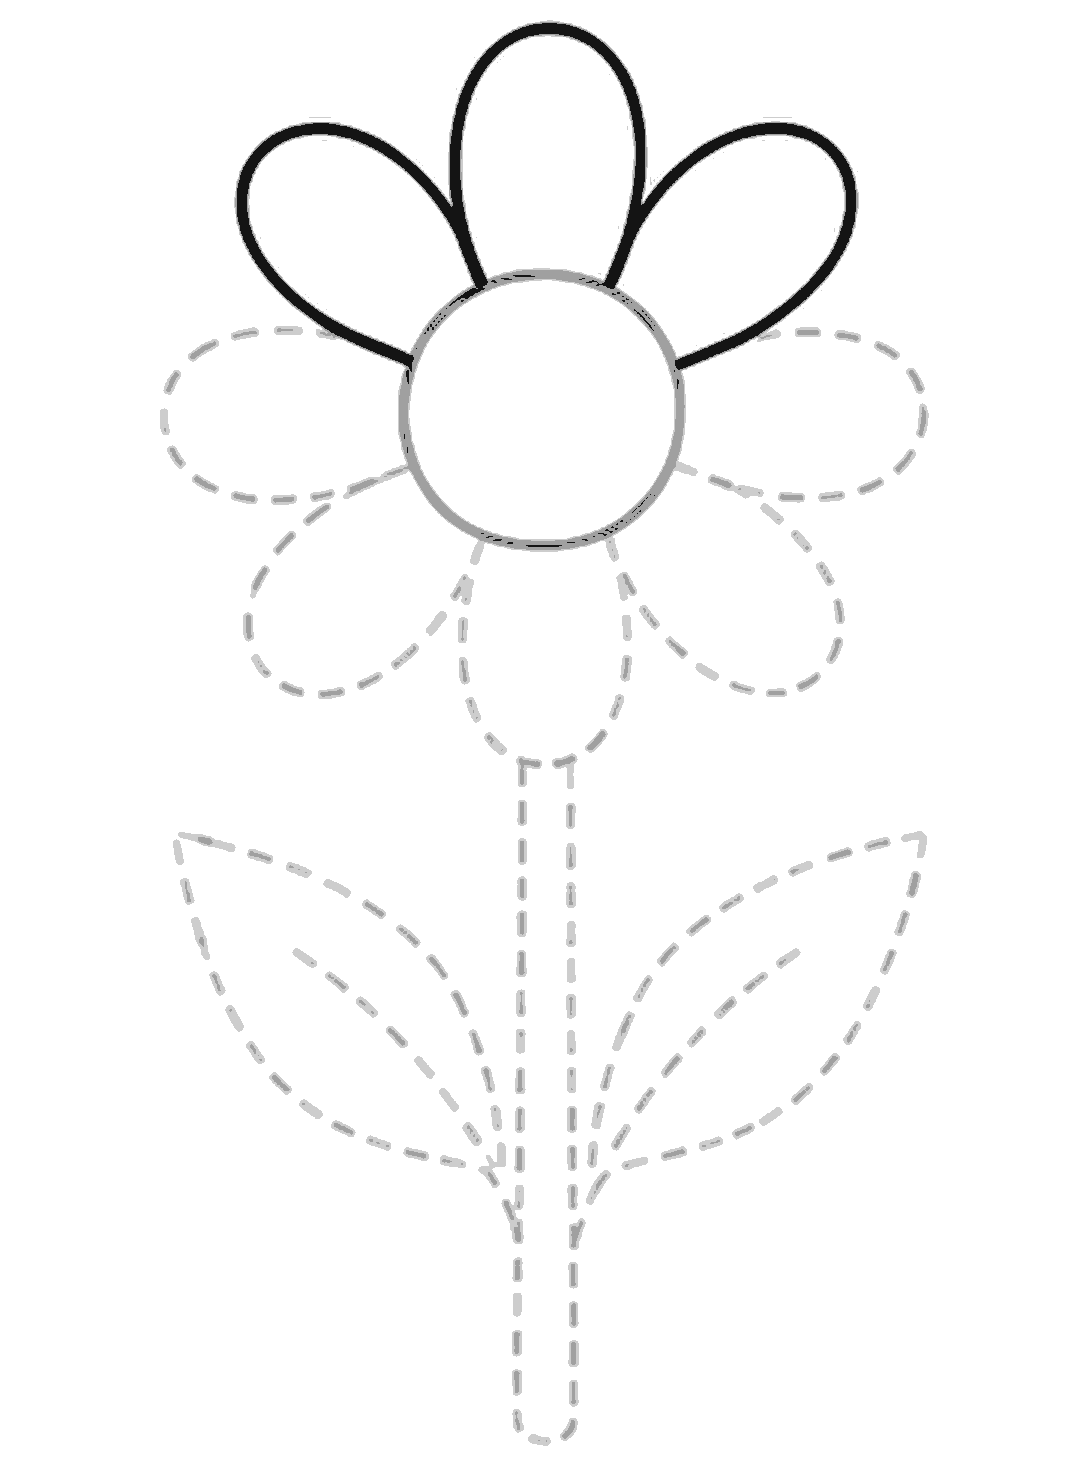
Add three top petals
Draw the top middle petal first, then add one rounded petal on each side of it. Each petal starts at the center circle and curves back down to it.
Step 3
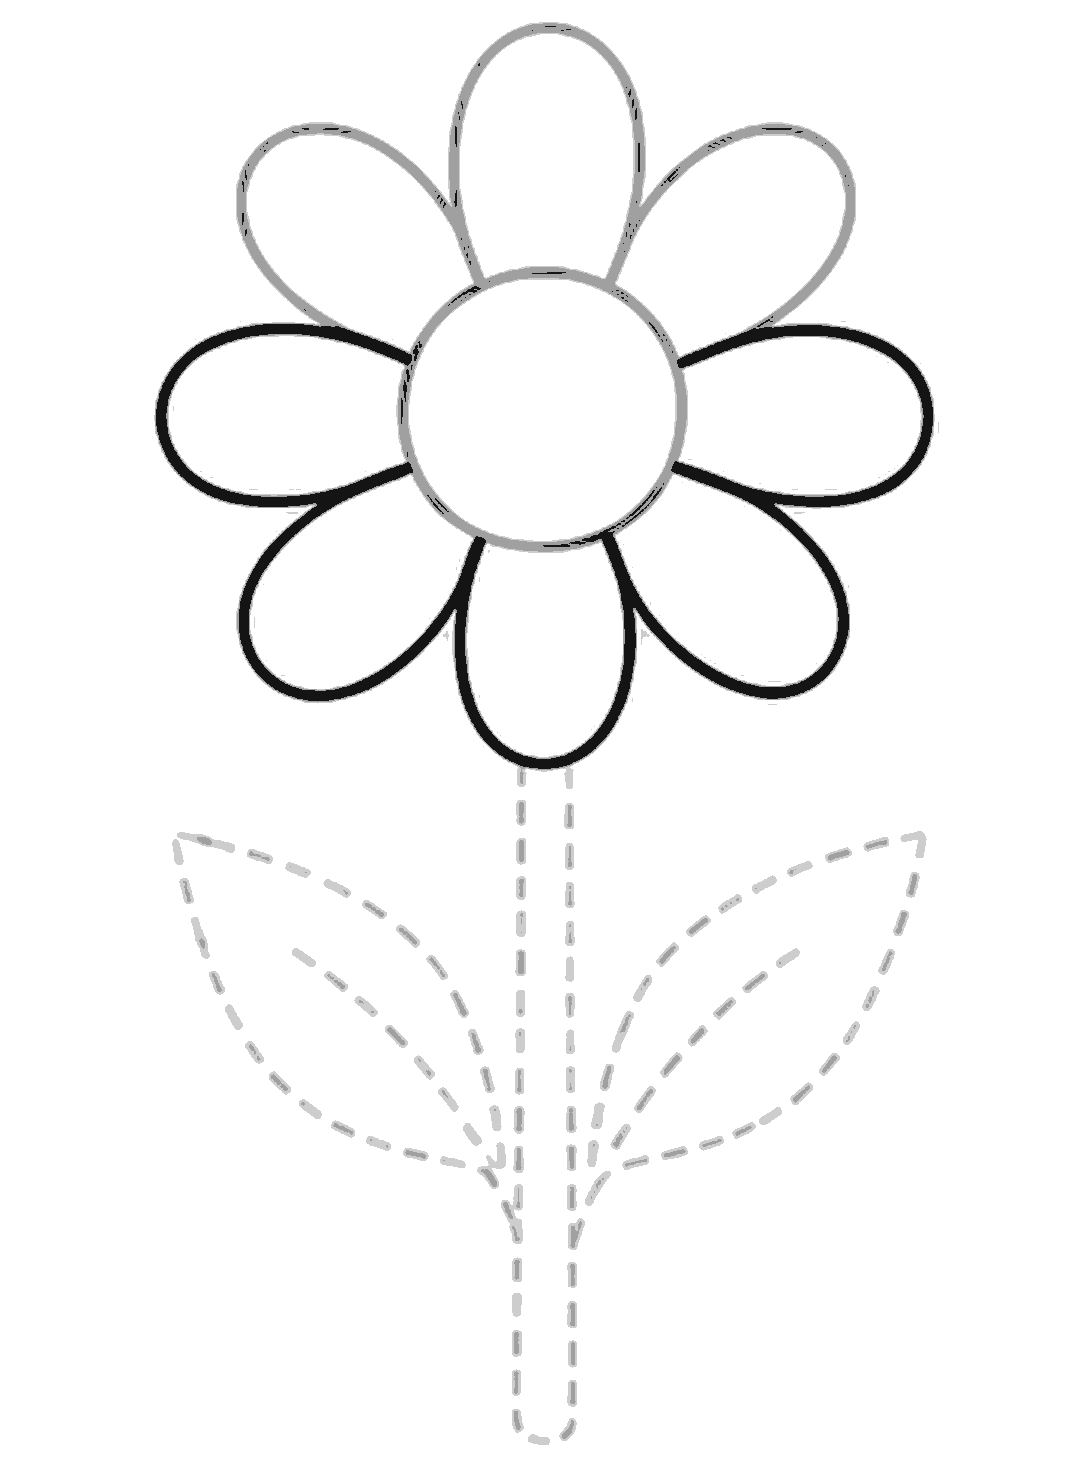
Finish the outer petals
Draw the five remaining petals around the lower half and sides of the circle. Follow the dotted shapes to keep the petals rounded and even.
Step 4
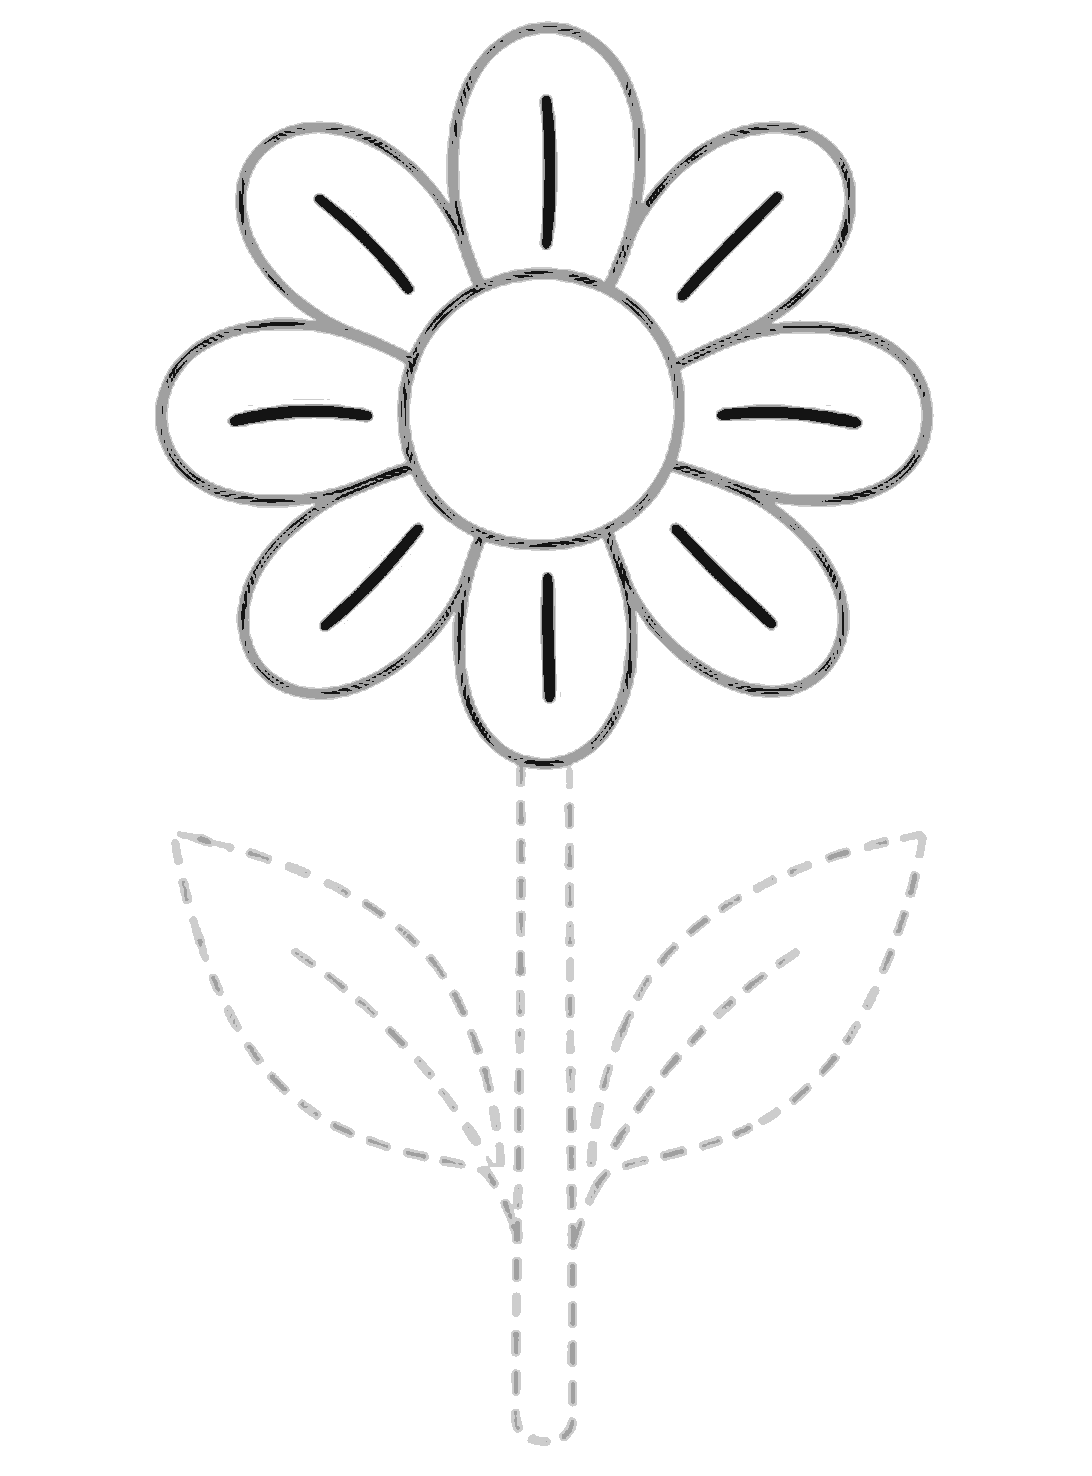
Draw petal lines
Add one short line inside each petal. Place each line near the middle of the petal, following its direction.
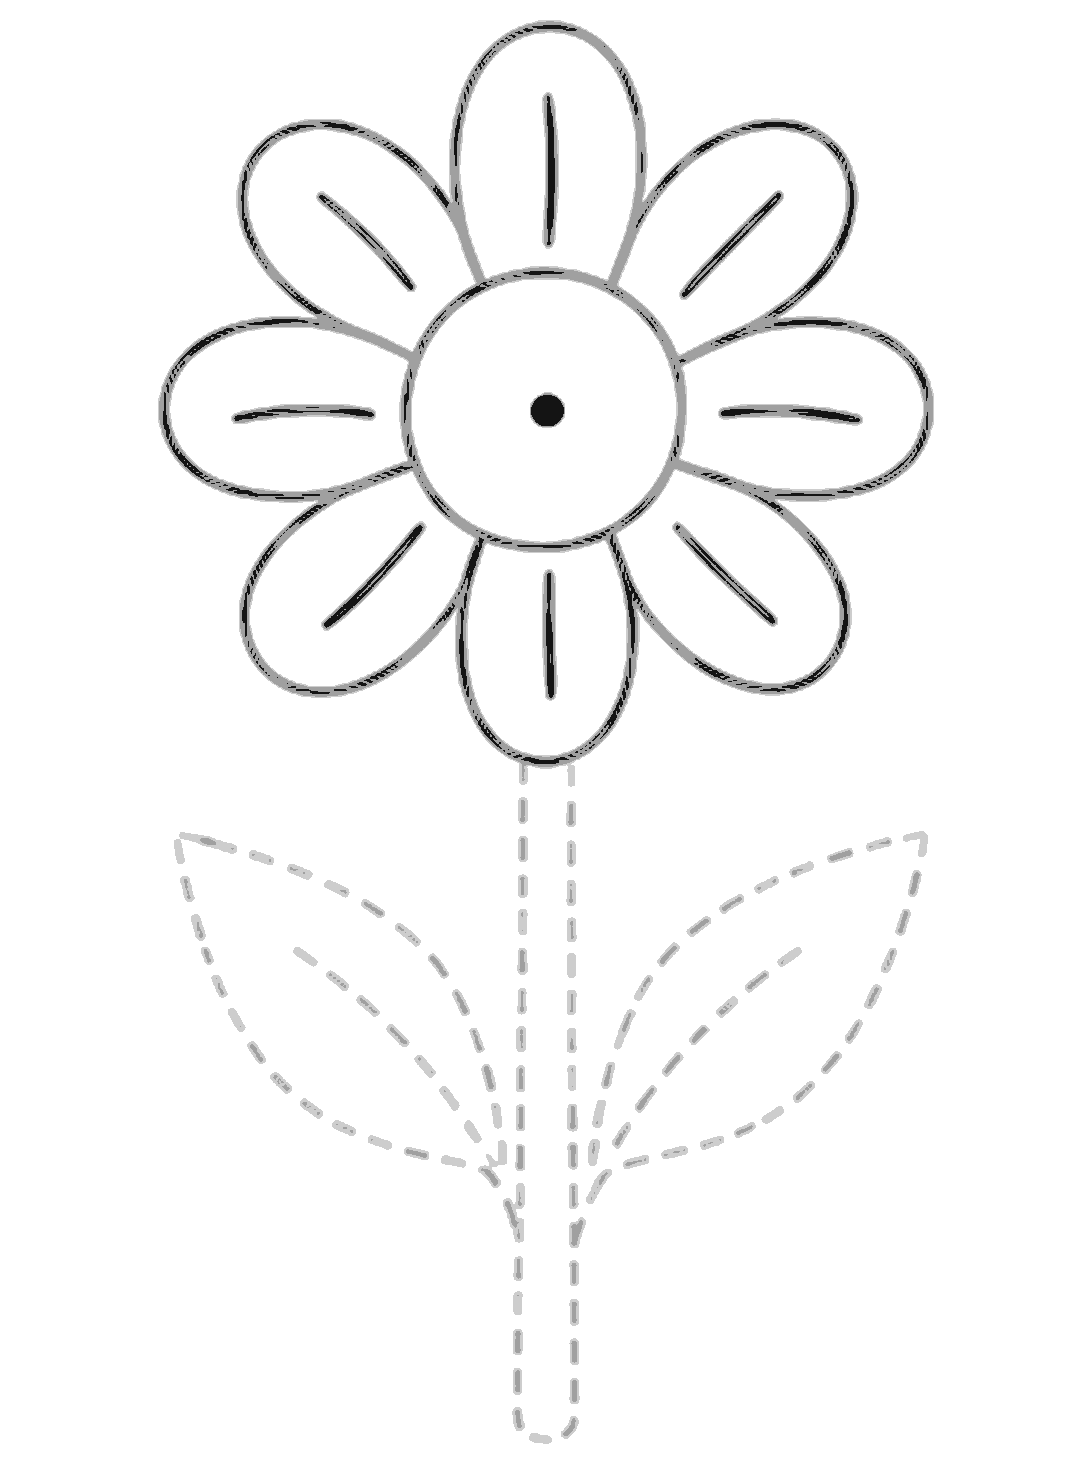
Step 5
Add the center dot
Draw a small filled circle in the middle of the large center circle. Keep it tiny and neat.
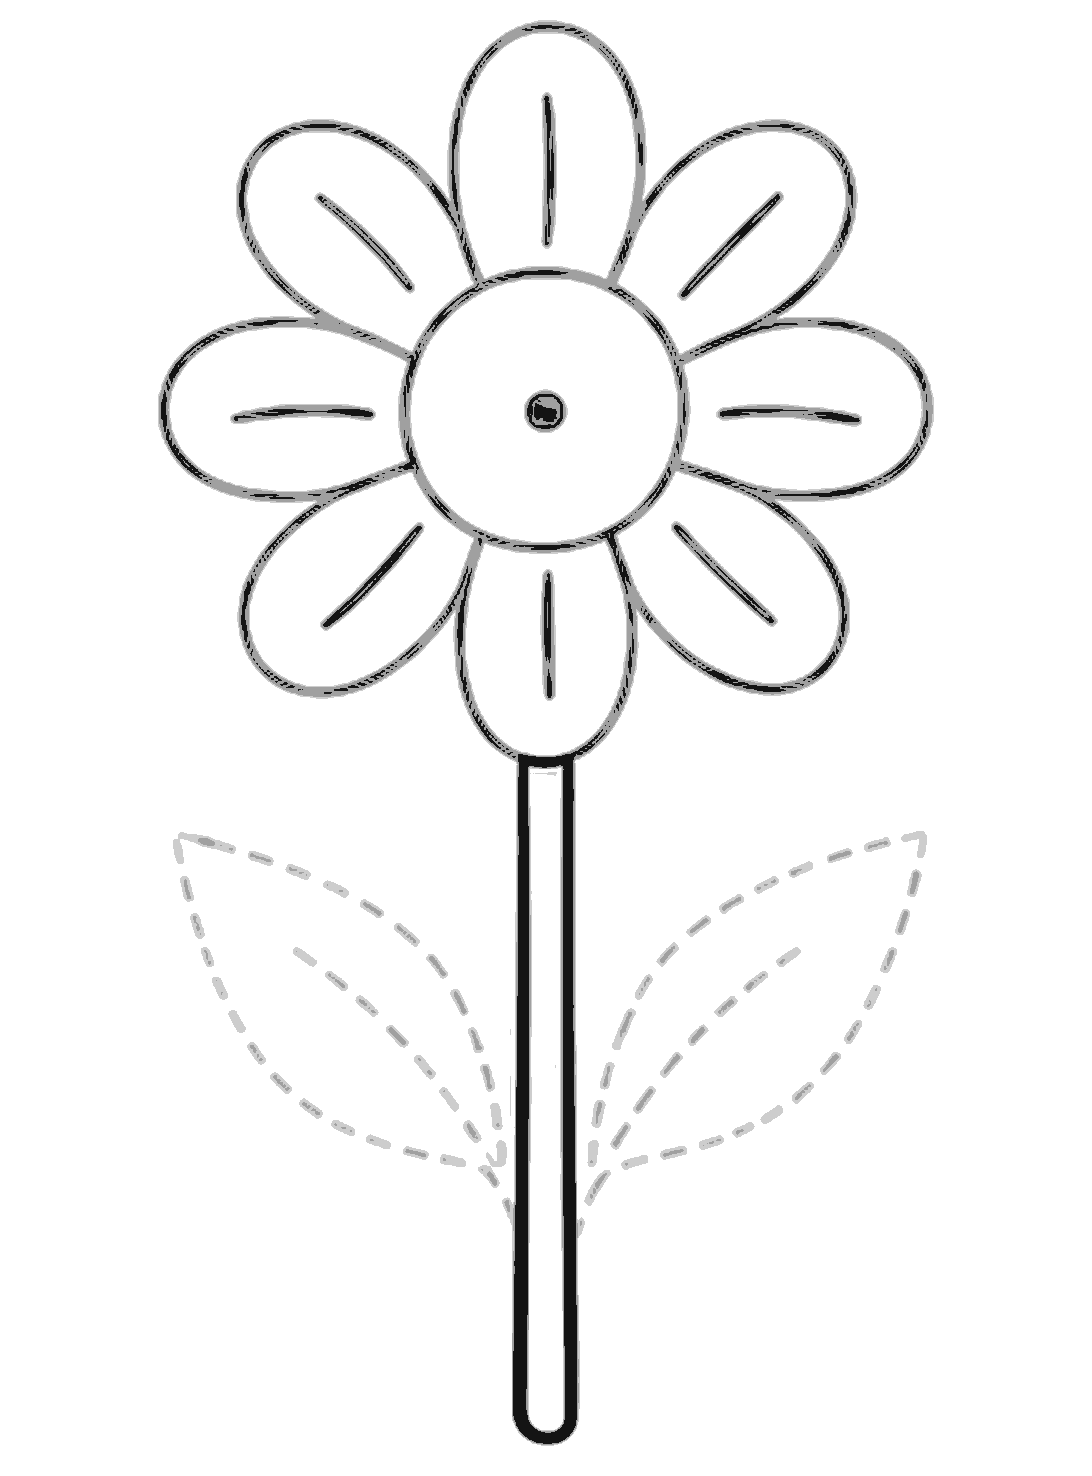
Step 6
Draw the stem
Draw two straight lines down from the bottom petal to make the stem. Round the bottom end so the stem looks smooth.
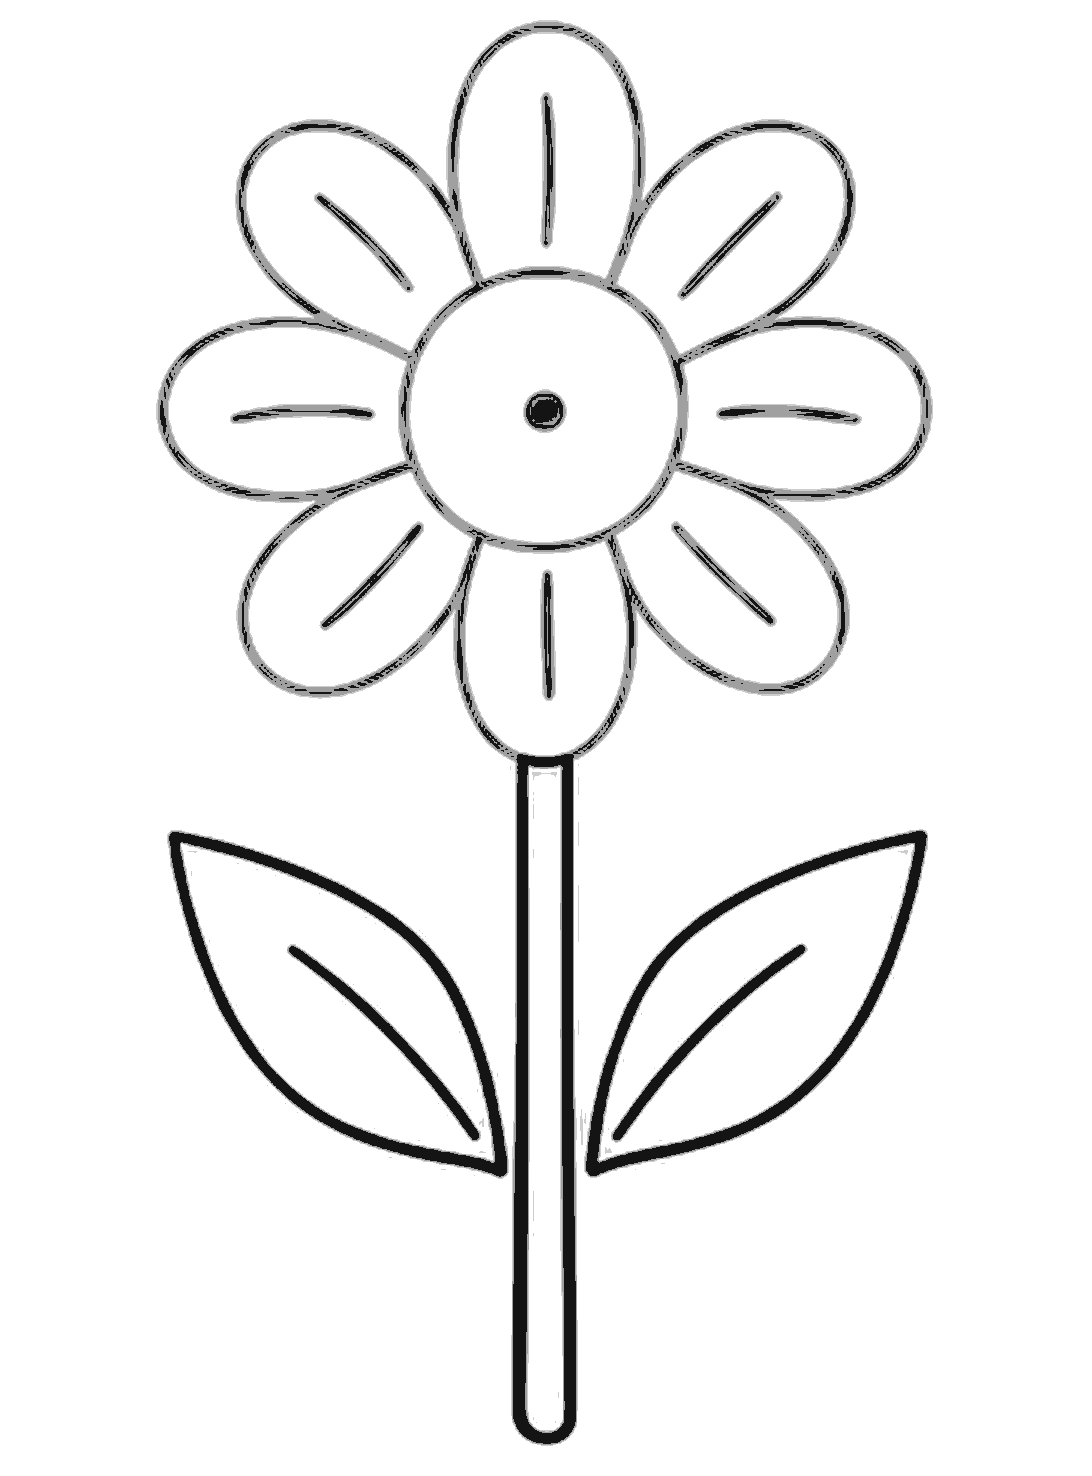
Step 7
Add both leaves
Draw one large pointed leaf on each side of the stem. Then draw one curved line inside each leaf for the vein.
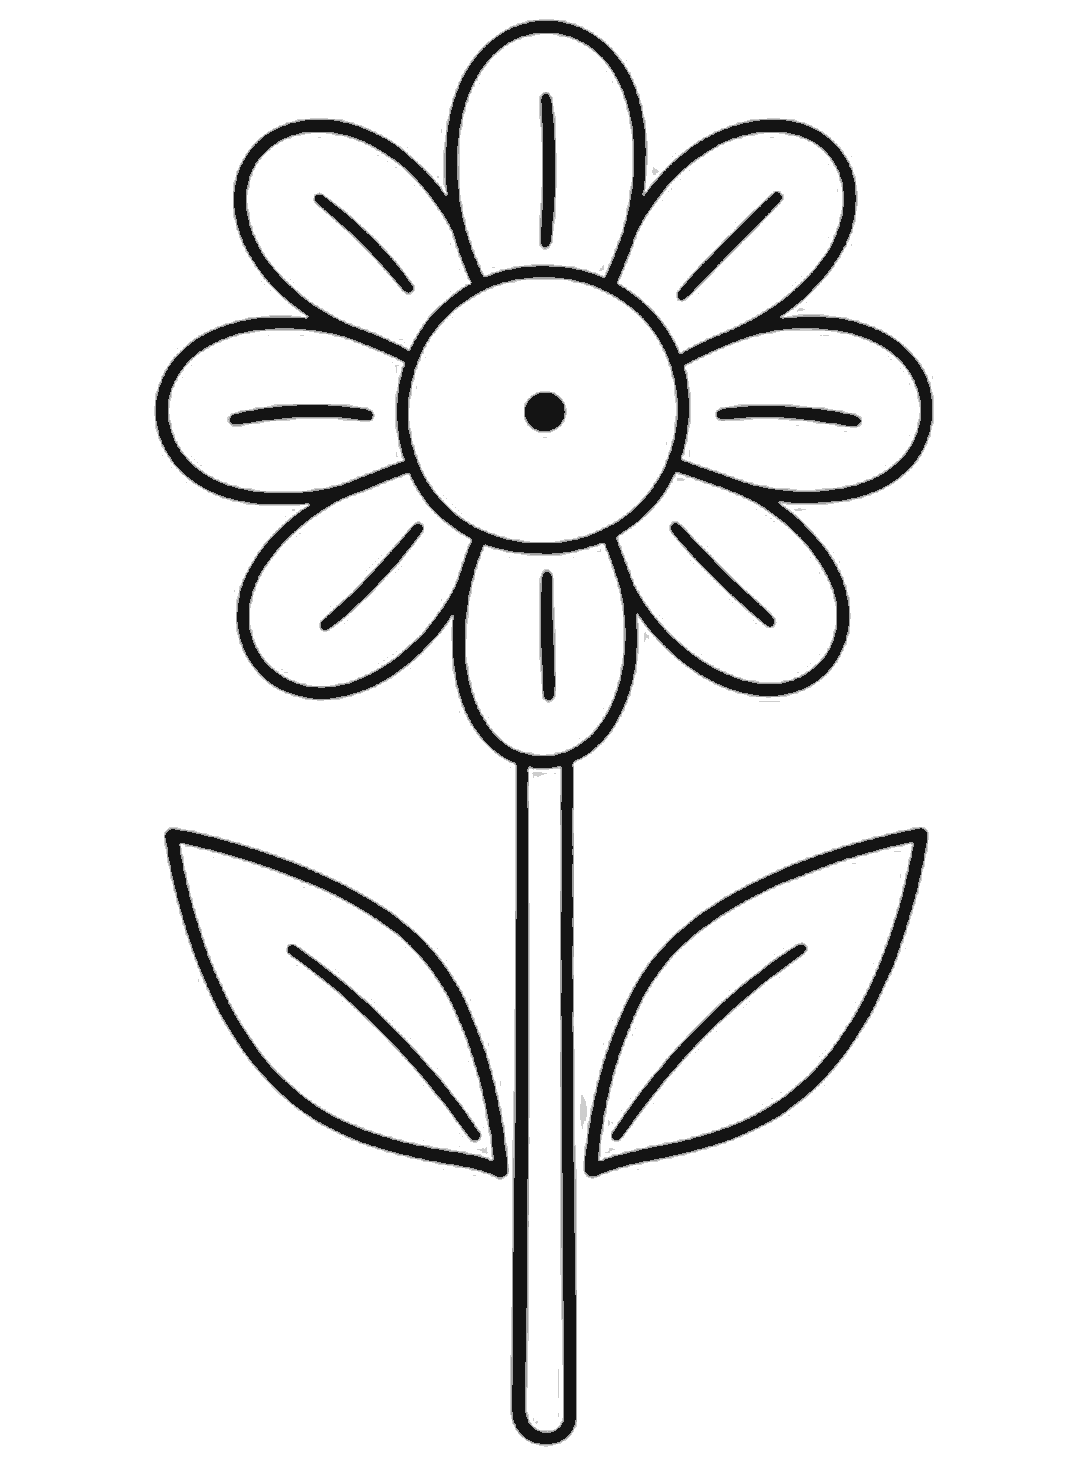
Finished
Trace and rub out guides
Go over all the lines you want to keep. Then rub out the pale dotted guides so the flower looks clean and finished.
Tips for this one
- Keep the petals close in size for a balanced flower.
- Draw the guide shapes lightly so they are easy to rub out.
- Round the ends of the petals to keep the flower soft and simple.
Now try this
- Draw a second flower beside it.
- Color each petal a different color.
- Add grass, clouds, or a butterfly in the background.
Questions
- My petals do not match. Is that okay
- Yes. Real flowers are not perfectly the same on every side. If you want, you can gently change one or two petal edges before you darken the lines.
- Do I have to draw all eight petals
- No. You can stop with fewer petals if you like the look. Just space them around the center circle so the flower still feels full.
- When should I erase the dotted guides
- Wait until the end. It is easier to keep your drawing in the right place while the guides are still there. Once all the final lines are drawn, rub the dotted lines out gently.