
How to Draw a Bird
- 8 steps
- Ages 6 and up
- About 15 minutes
- easy
This bird is a good drawing for children who want clear, simple shapes. You start with one big body shape, then add the round head, wing, beak, eye, feet, tail, and branch. The dotted lines are light guides to help with the size and place of each part. The black lines show what to draw in each step. At the end, go over the lines you want to keep and rub out the dotted guides.
What you need: a pencil, an eraser, black pen or marker, paper.
Print this guide as a PDF, 338 KB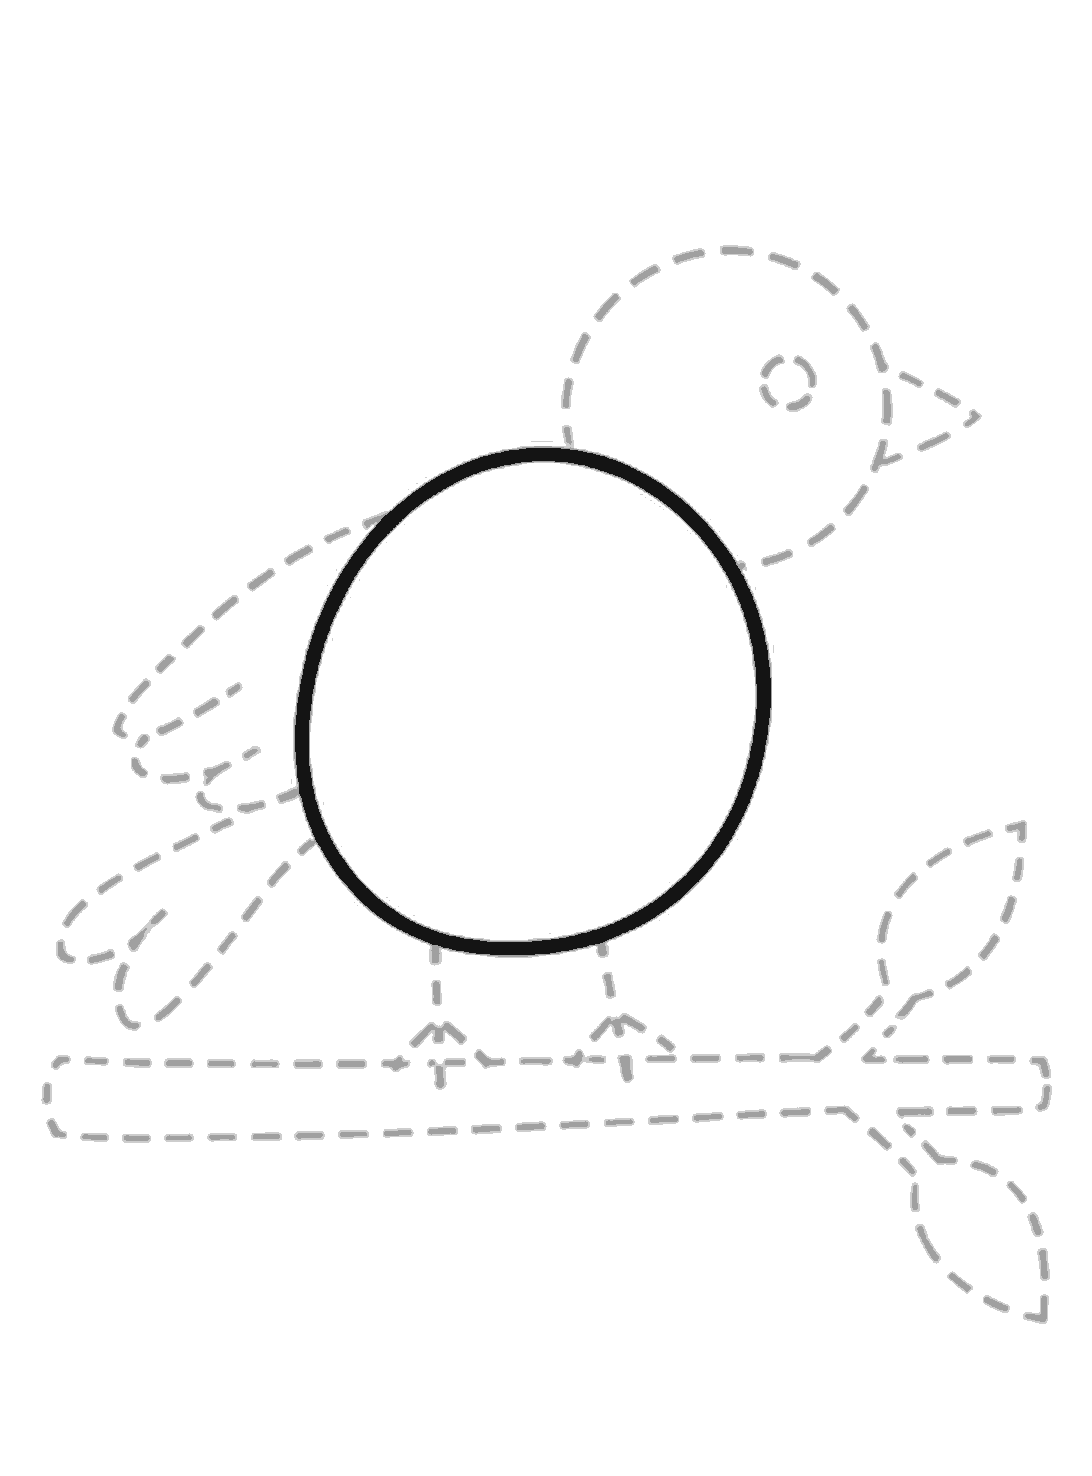
Step 1
Draw the body
Draw a large egg shape for the bird's body in the middle of the page. Make it a little wider at the bottom.
Step 2
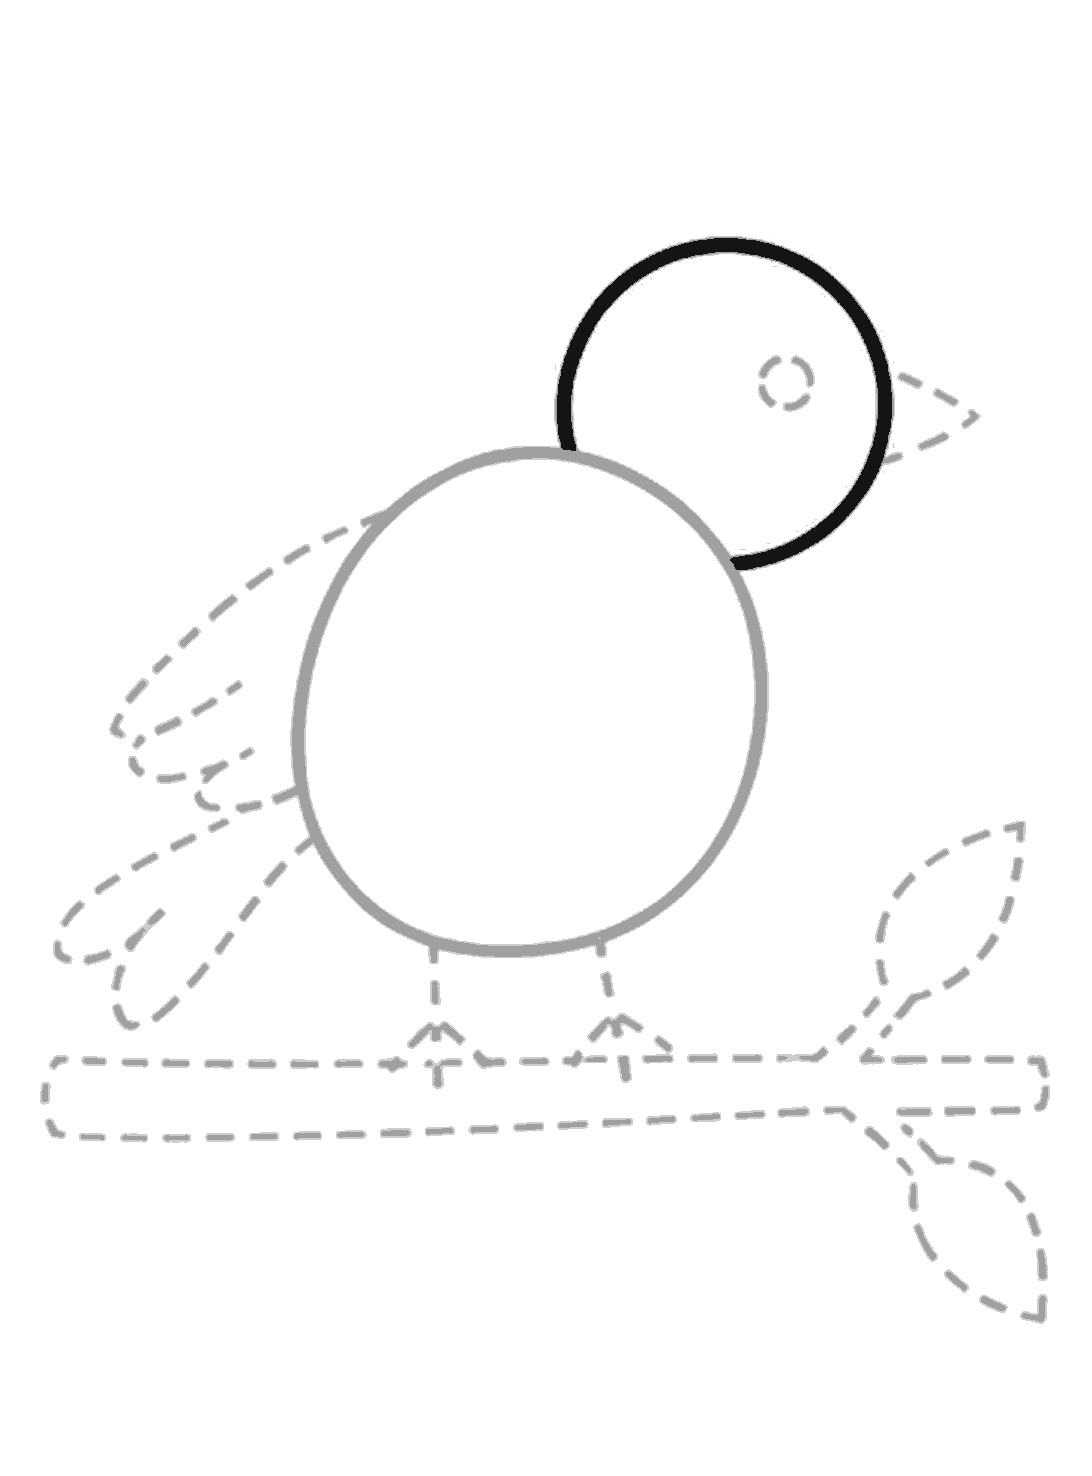
Add the head
Draw a round head at the top right of the body. Leave a small gap where the head meets the body.
Step 3
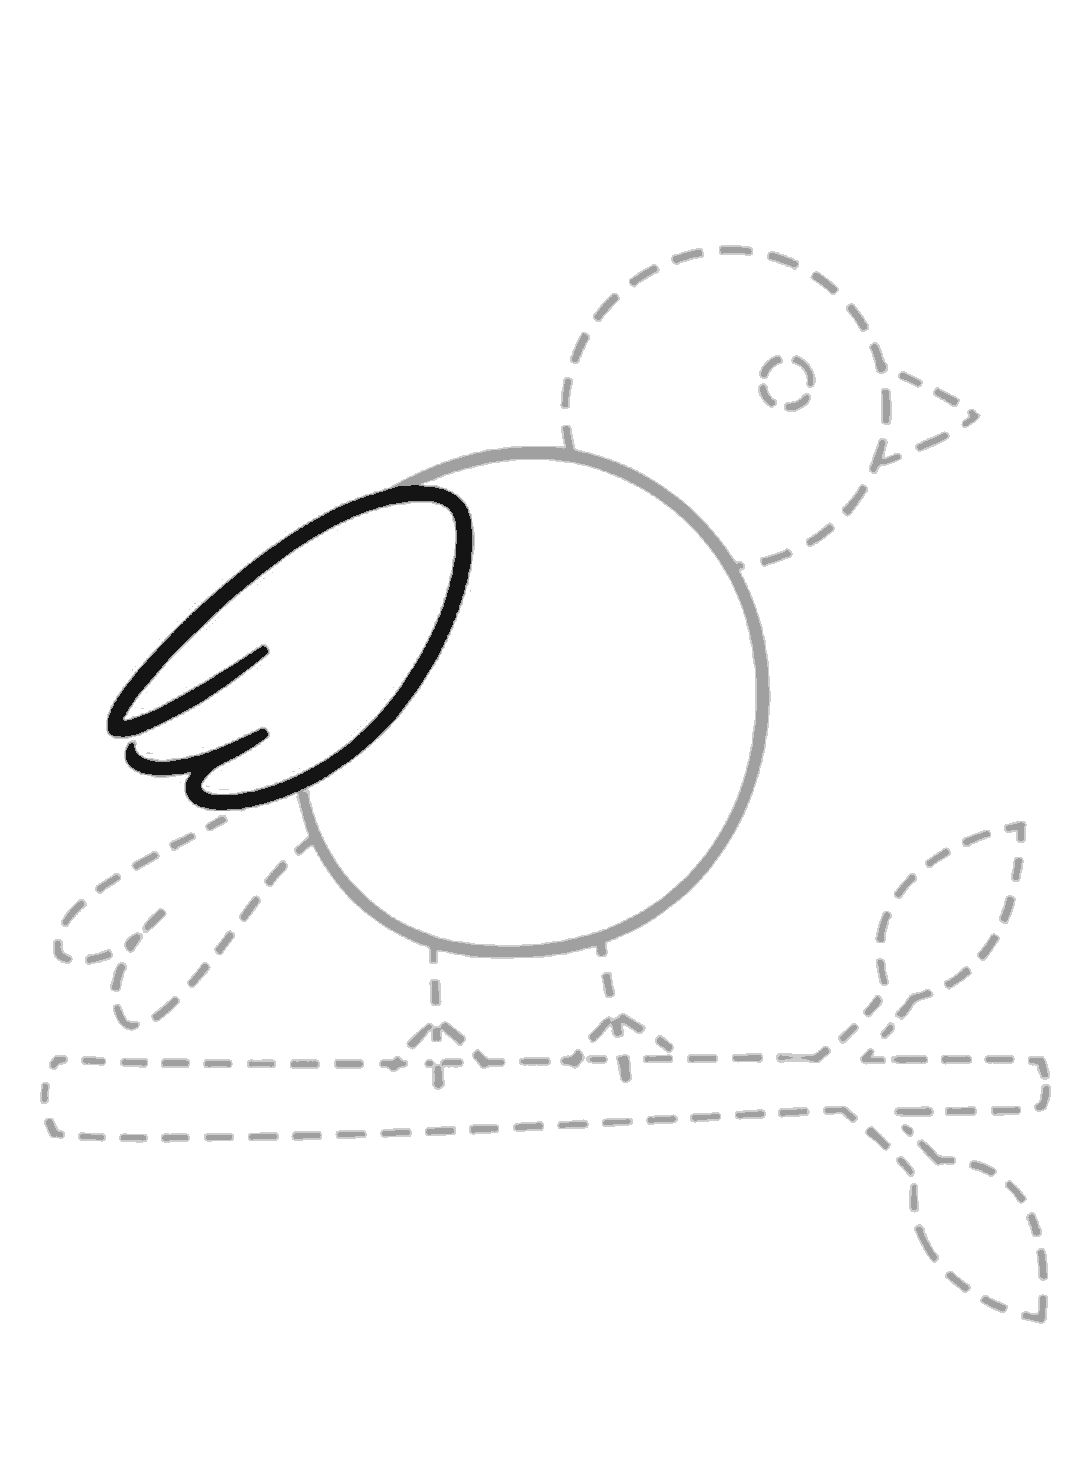
Draw the wing
On the left side of the body, draw a long curved wing shape. Add two short curved lines at the bottom of the wing for feathers.
Step 4
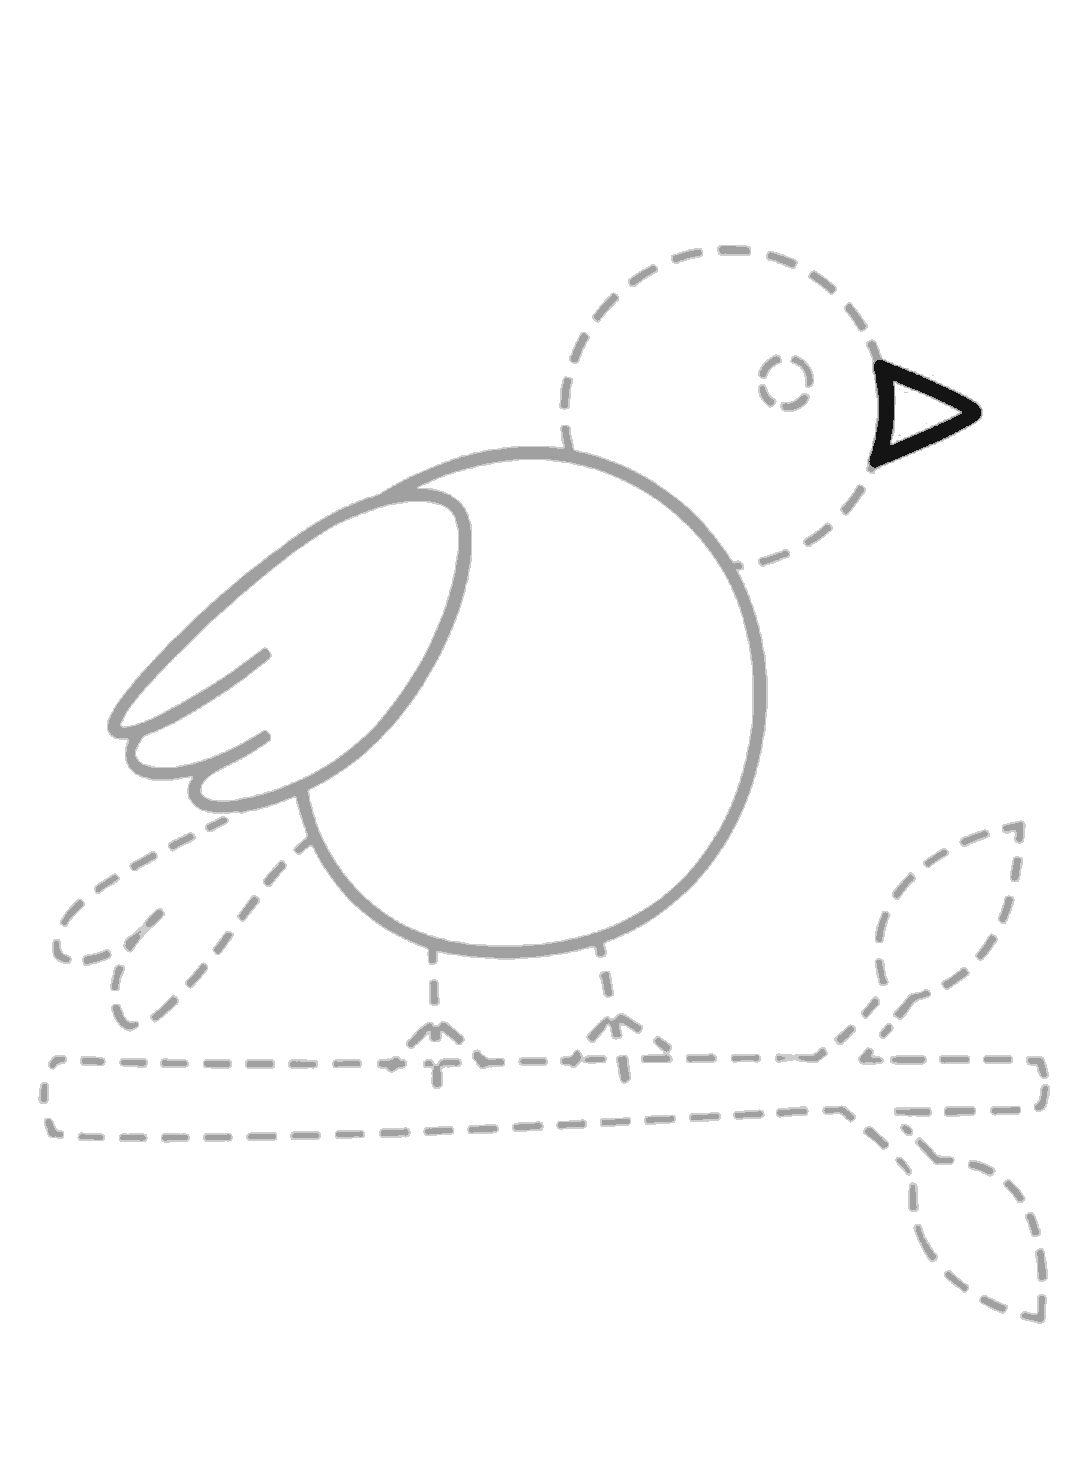
Add the beak
Draw a small pointed triangle for the beak on the right side of the head. Keep the middle of the triangle open.
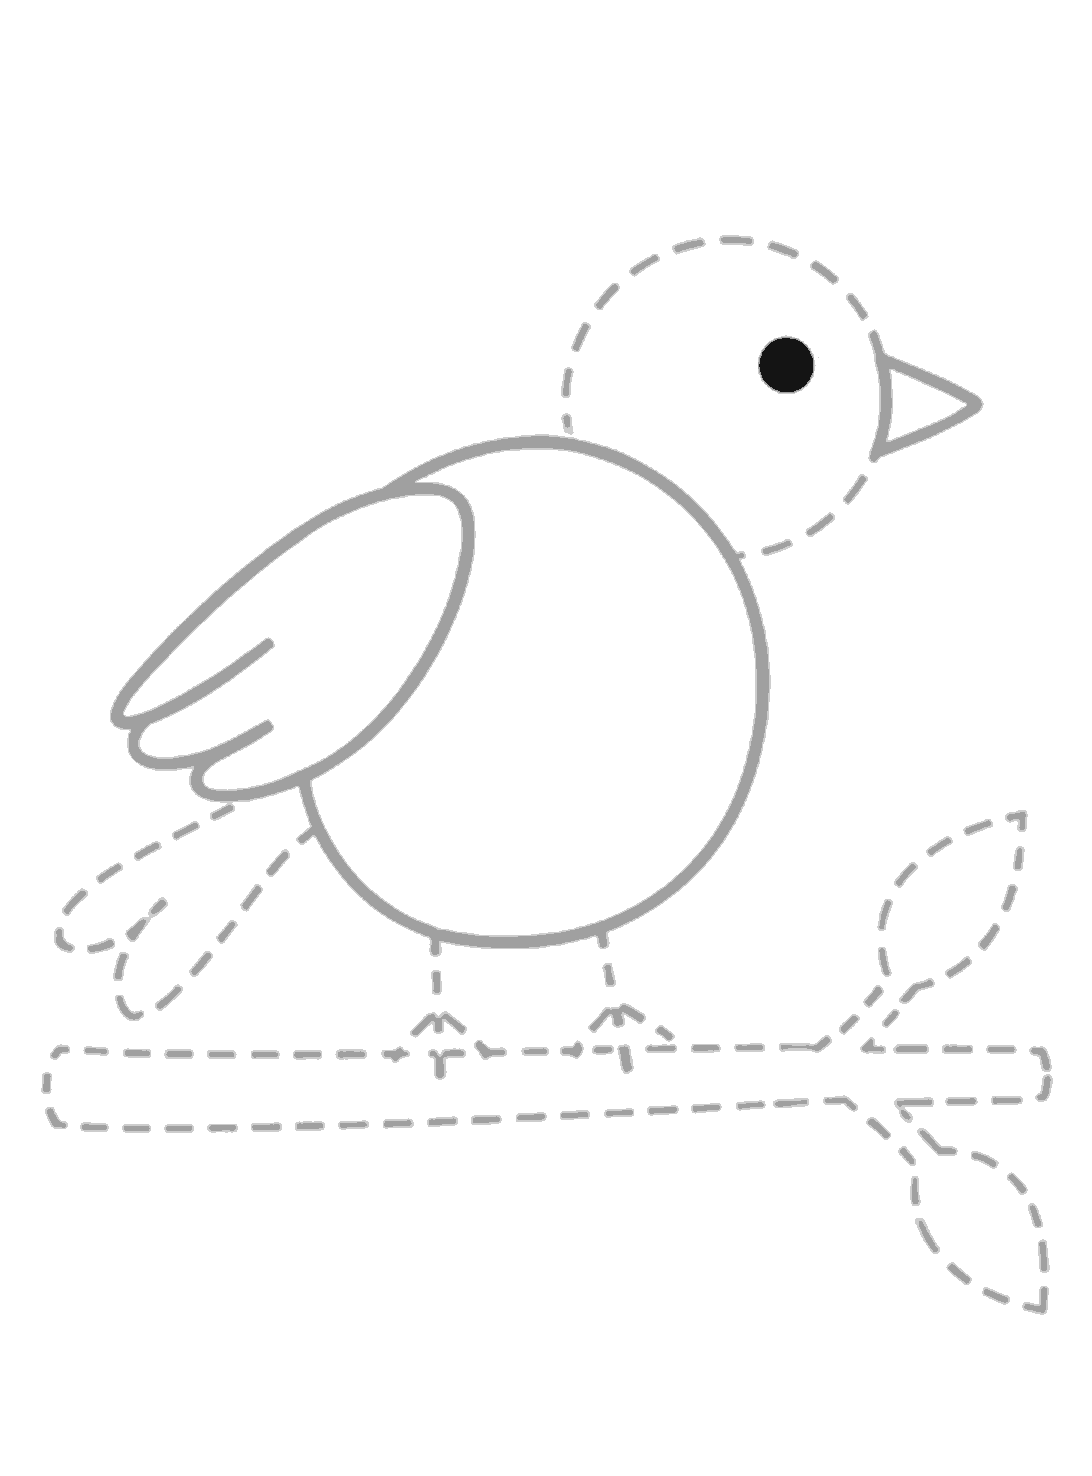
Step 5
Draw the eye
Draw a small filled circle for the eye inside the head. Place it near the top right area of the face.
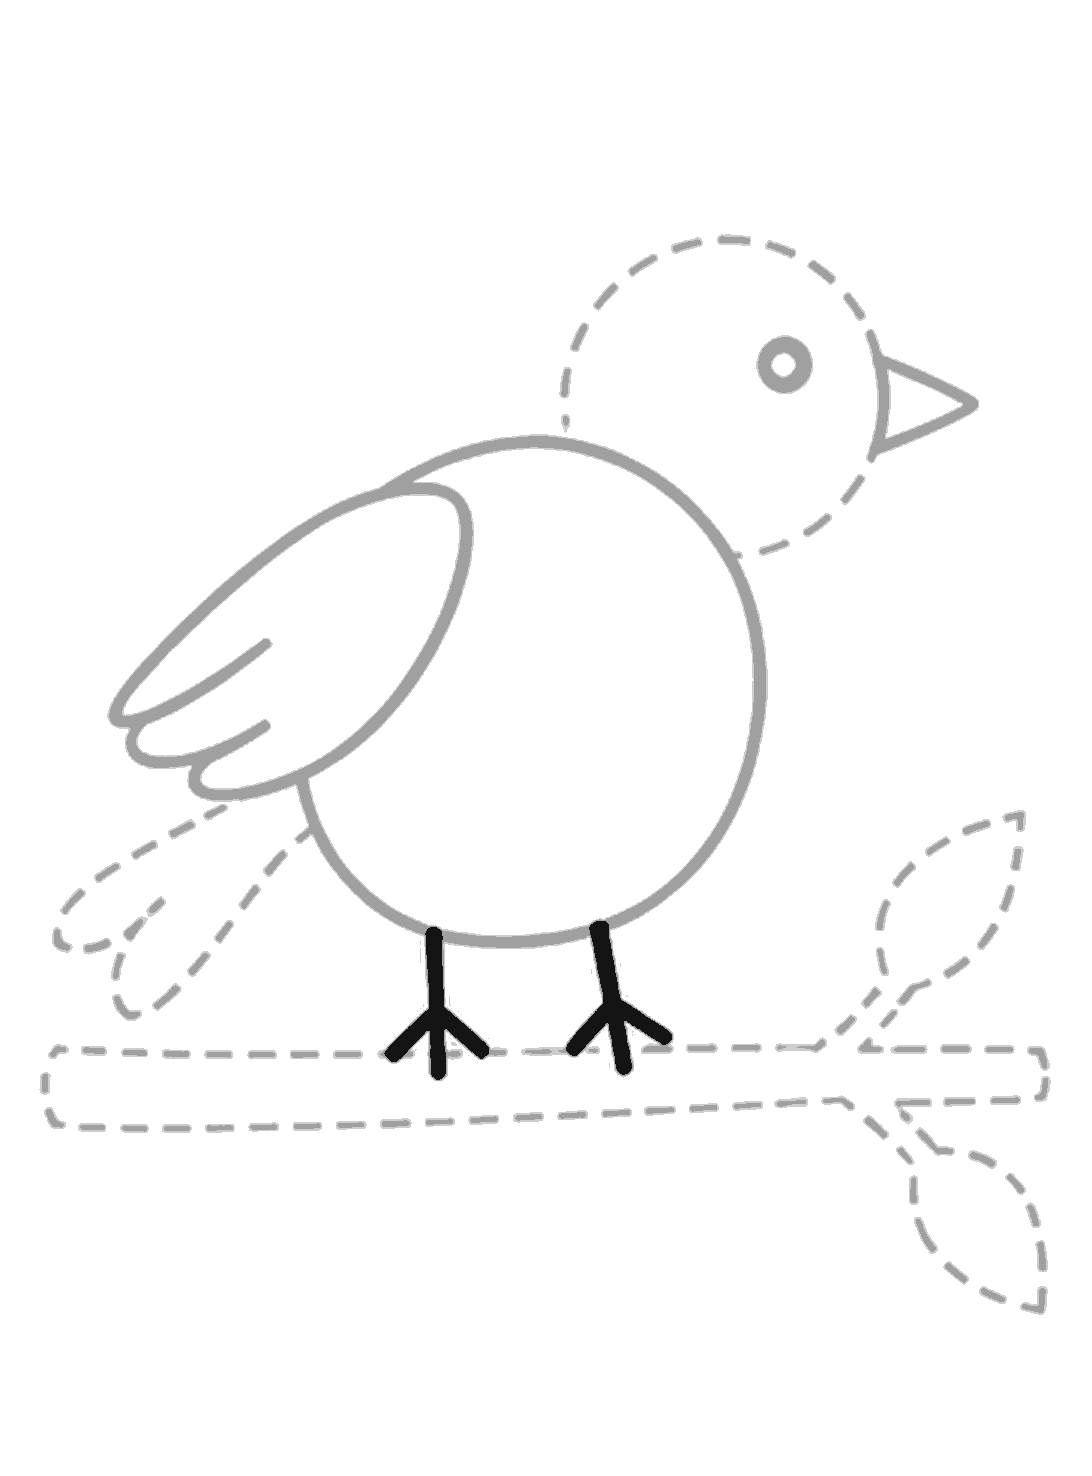
Step 6
Add the legs and feet
Draw two short legs coming down from the body. At the end of each leg, draw three small toes.
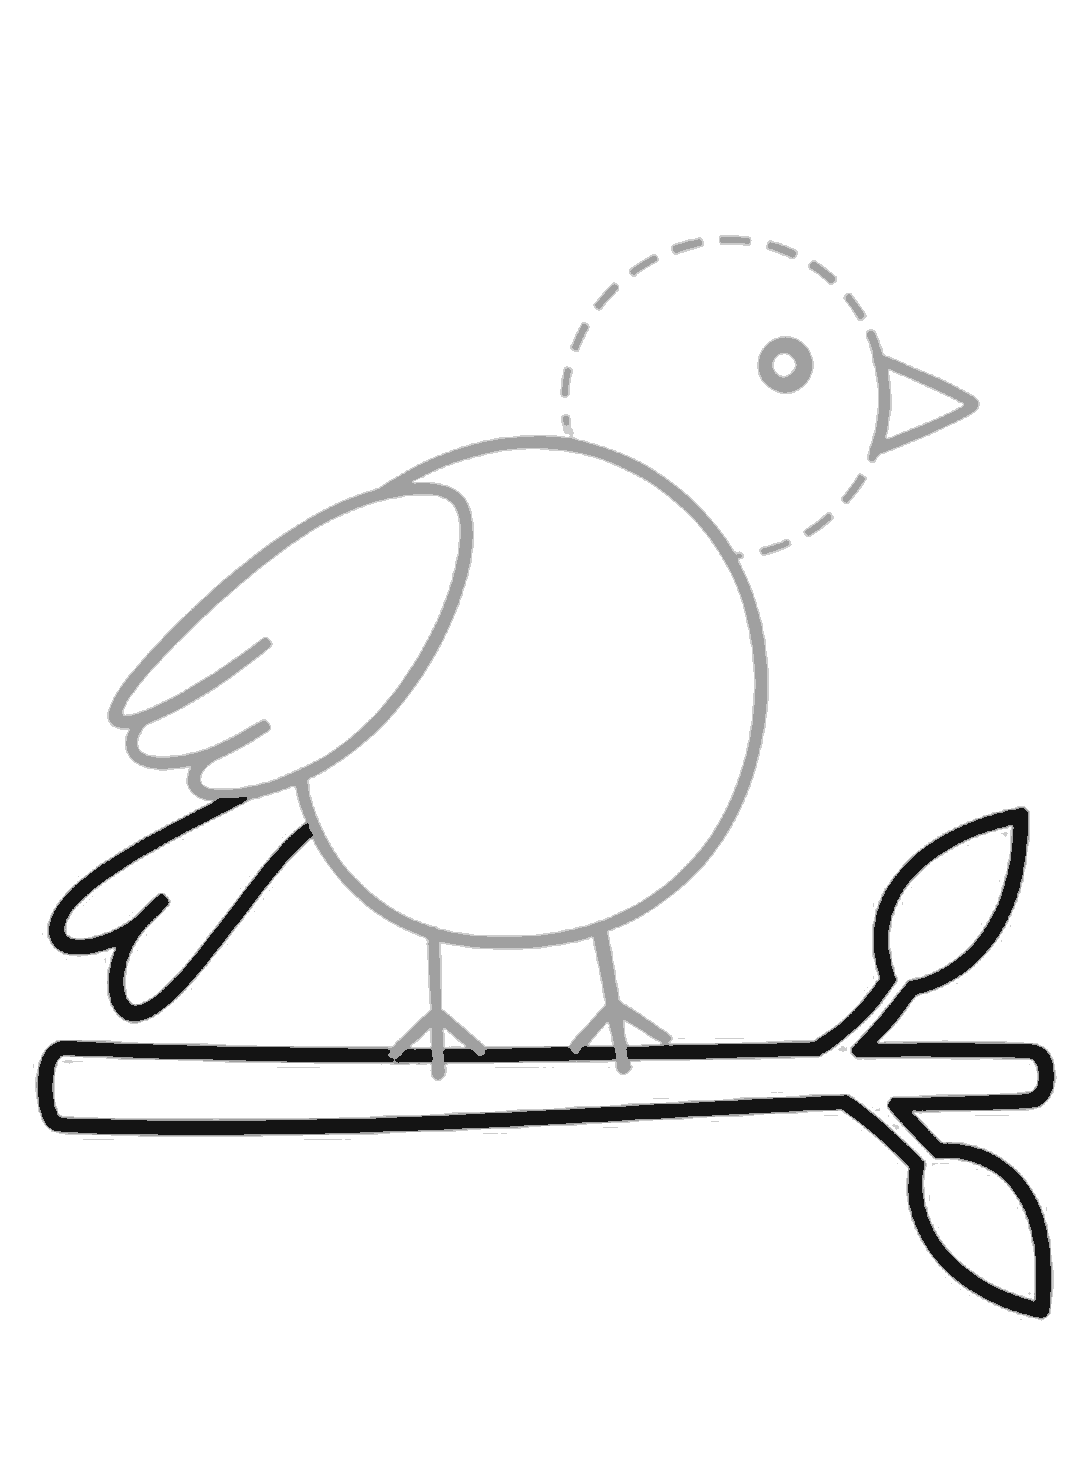
Step 7
Draw the tail and branch
Draw two long tail feathers at the back of the bird. Then draw the branch underneath, including the fork and two leaves on the right.
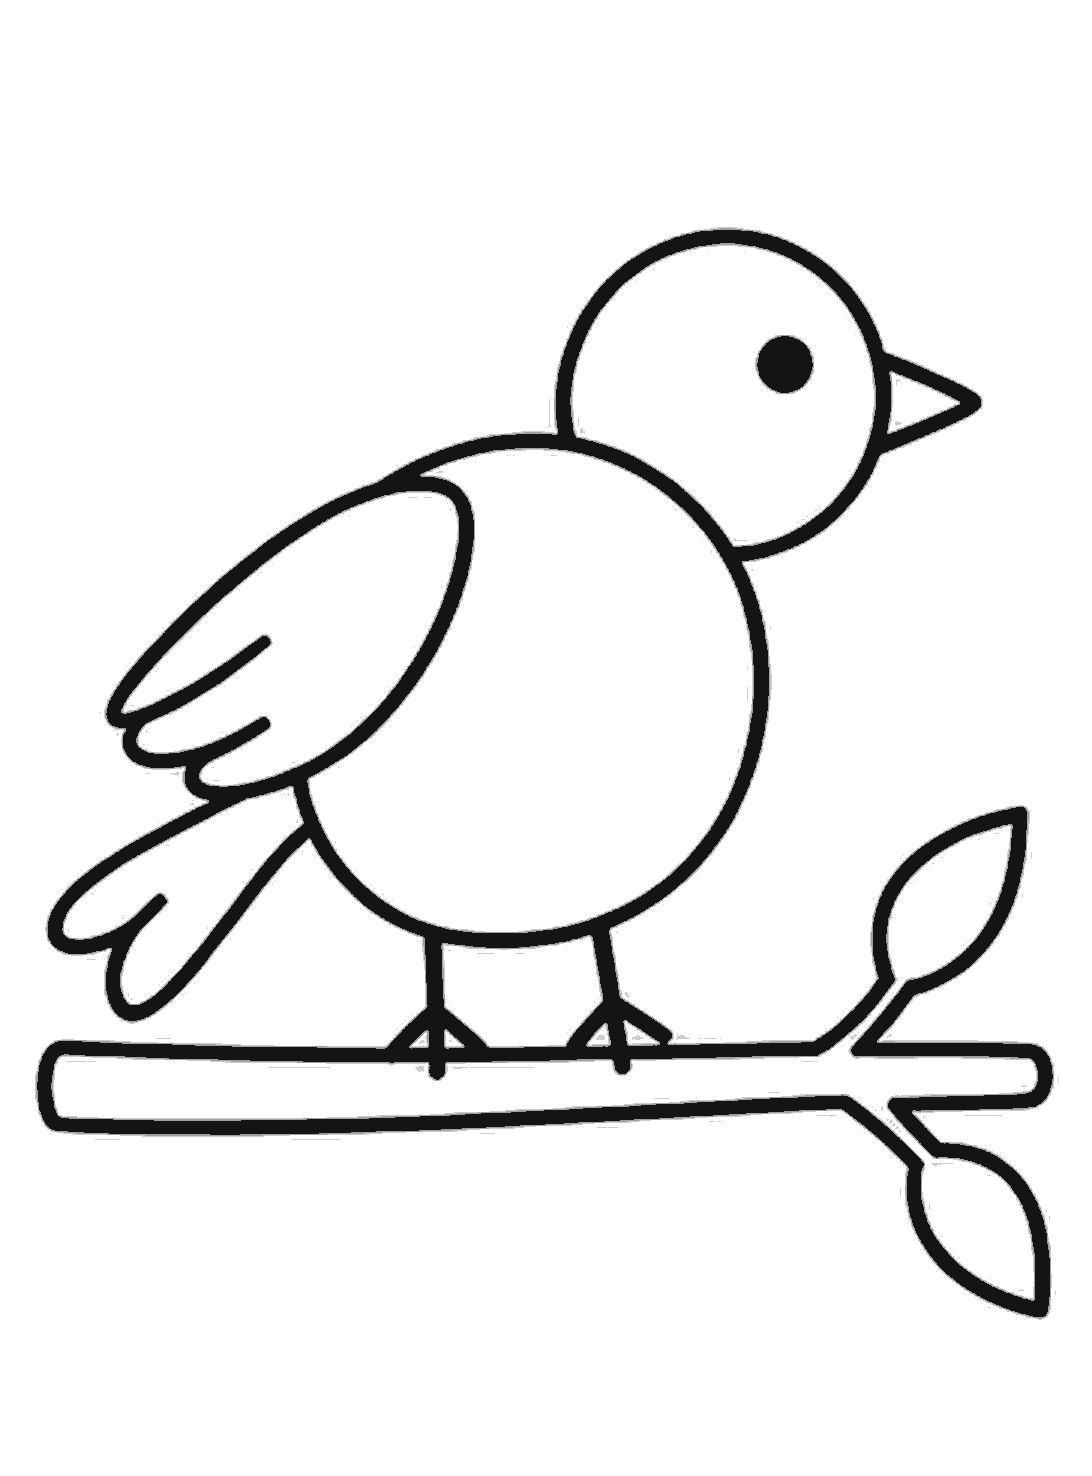
Finished
Finish the bird
Go over the body, head, wing, beak, eye, legs, tail, and branch lines you are keeping. Rub out the dotted guide lines to leave the finished bird.
Tips for this one
- Draw the dotted guide shapes lightly so they are easy to rub out.
- Keep the head round and the body bigger than the head.
- Make the toes small and simple.
Now try this
- Draw two birds on the same branch.
- Add more leaves or flowers around the branch.
- Color the bird like a robin, sparrow, or bluebird.
Questions
- What if my bird body is not the same shape as the picture?
- That is fine. A slightly rounder or taller body will still look like a bird. Keep going and add the other parts.
- Do I have to draw the dotted guides first?
- The guides help place the shapes, so they are useful. If you feel confident, you can draw the final lines without them.
- How can I make my bird look different?
- You can change the tail, wing shape, or beak size. You can also draw a different eye or add patterns on the feathers.