
How to Draw a Rose
- 12 steps
- Ages 7 and up
- About 20 minutes
- medium
This rose is a good drawing for children who are ready to try a flower with a few neat shapes. You start with light guide lines for the round flower head, stem, leaves, and small points under the bloom. Then you draw the black lines a little at a time, from the outer petals to the stem and leaves. At the end, you keep the lines you want and rub out the dotted guides. Take it slowly and use light pencil marks first.
What you need: a pencil, an eraser, black pen or dark pencil, paper.
Print this guide as a PDF, 347 KB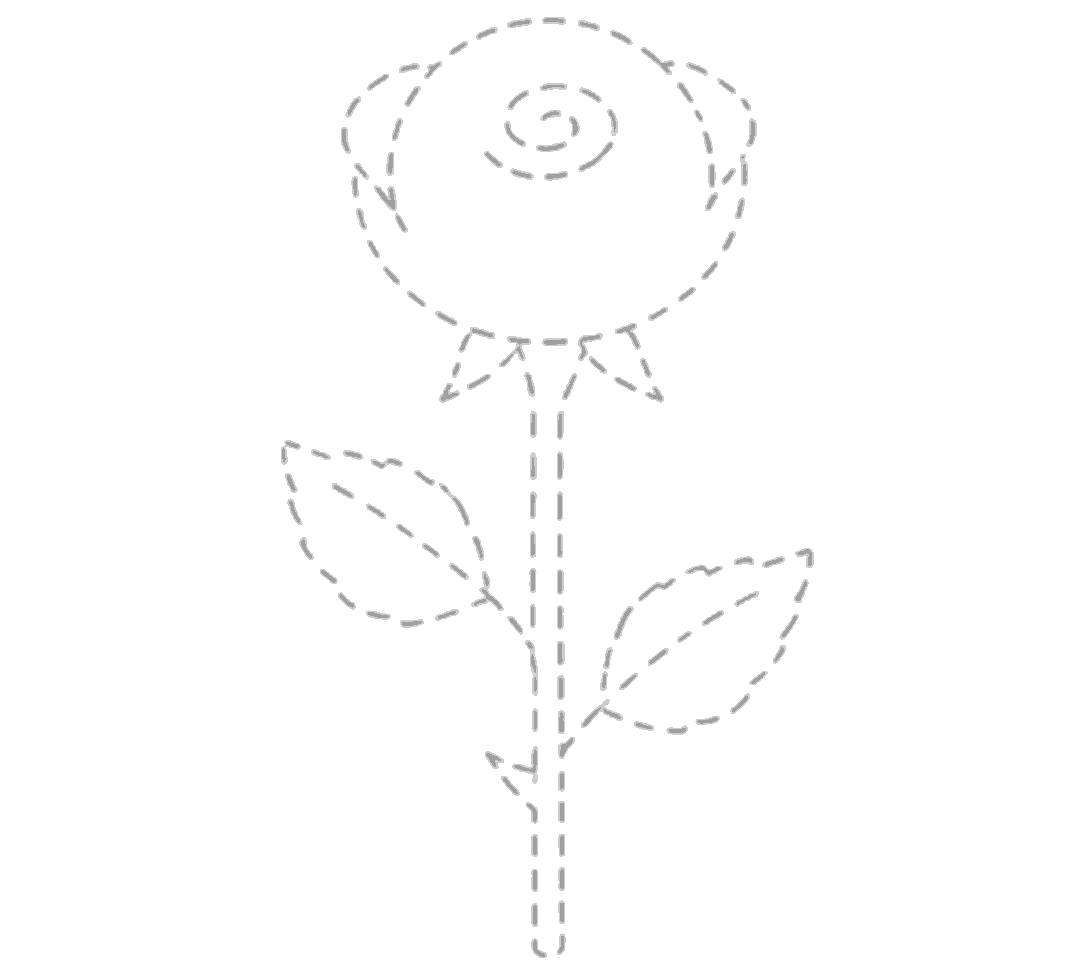
Step 1
Sketch the guides
Draw the pale guide shapes first. Make a big round flower head with a small spiral in the middle, three small pointed shapes under it, a long double stem, two leaves, and one tiny thorn.
Step 2
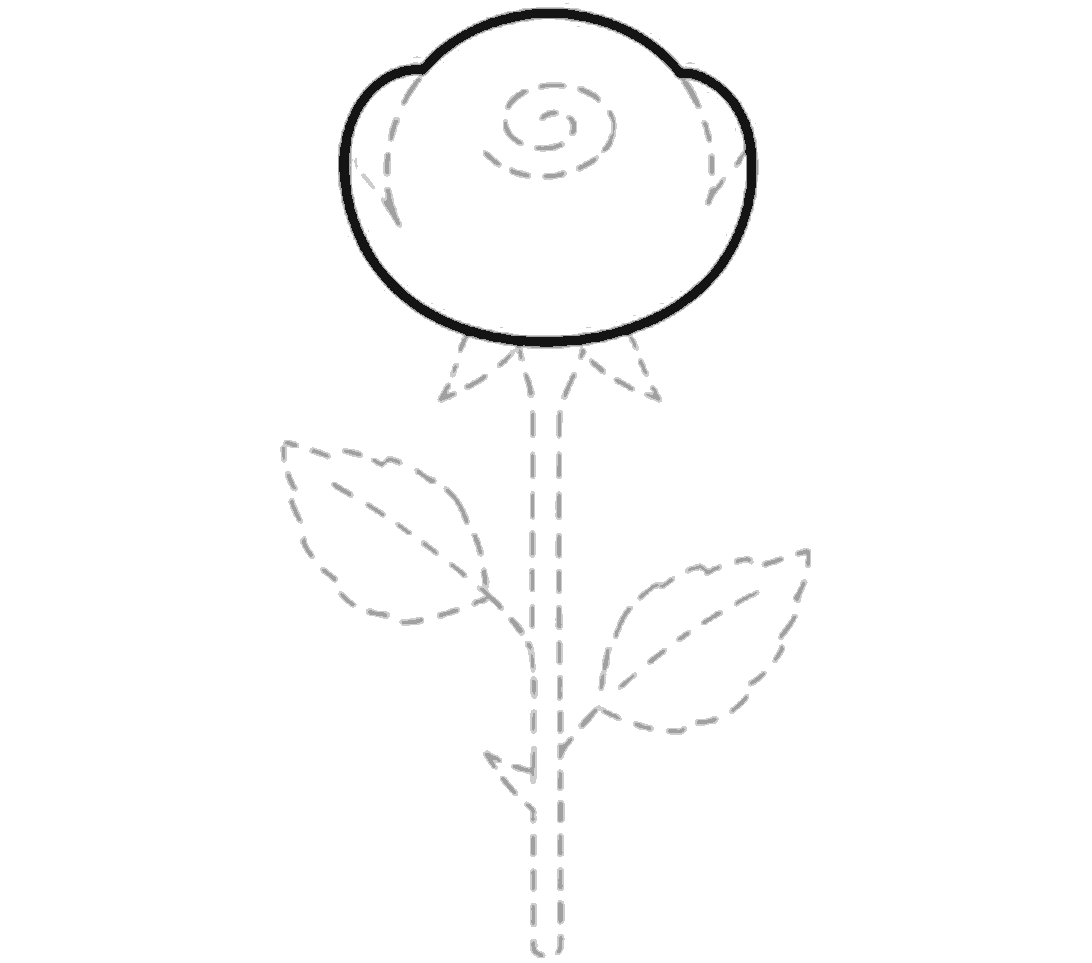
Draw the flower edge
Draw a large rounded outline around the flower head. Let it bulge out a little on the left and right near the top, then curve down to a soft rounded bottom.
Step 3
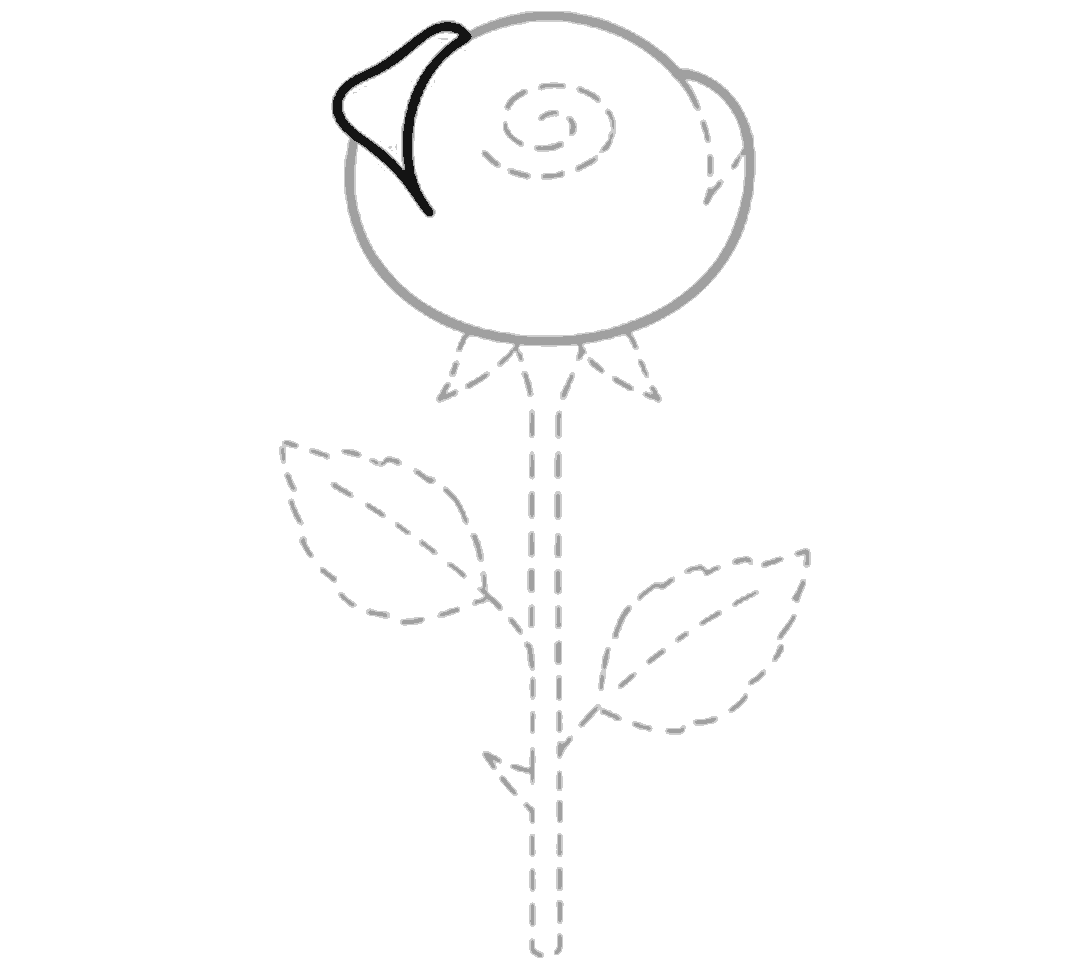
Add the left top petal
On the upper left, draw a folded petal shape that curves out and back in. Then draw a long curved line dropping down inside the flower from that petal.
Step 4
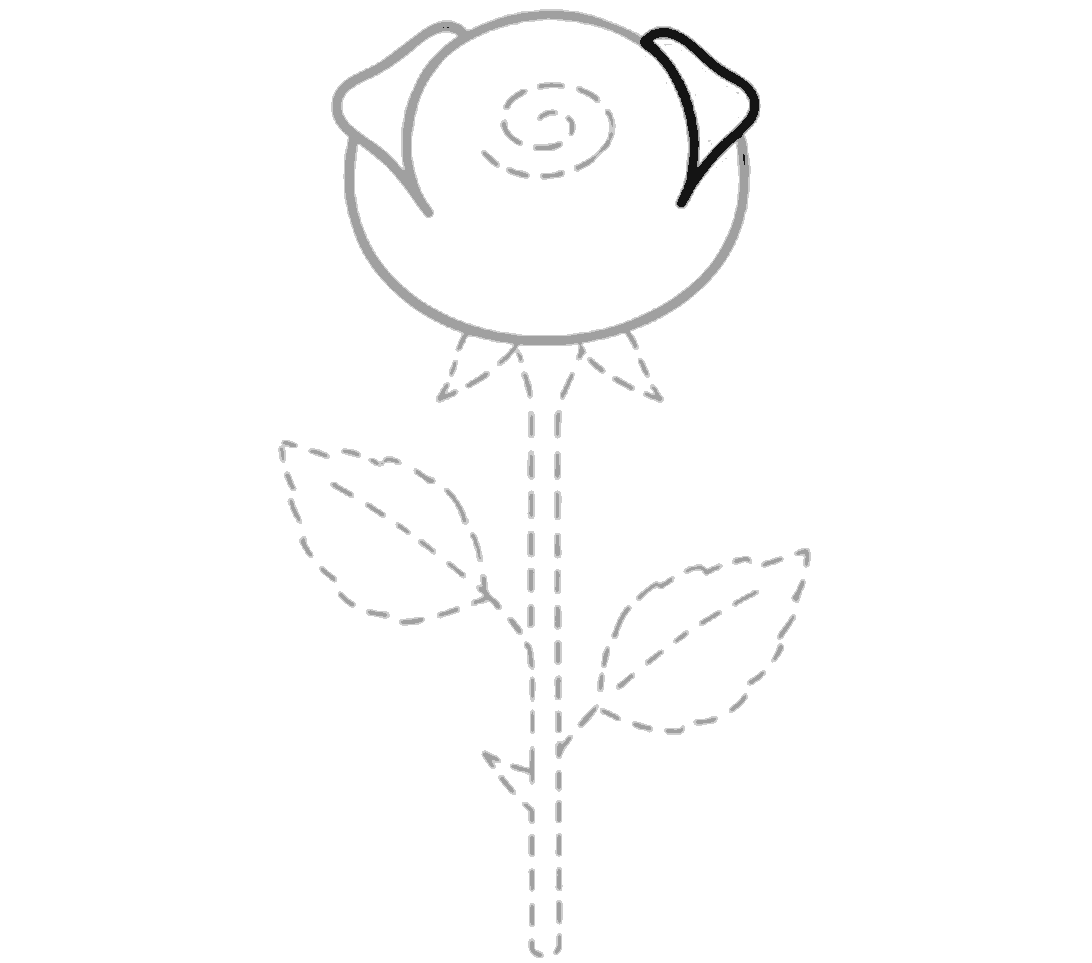
Add the right top petal
Repeat that shape on the upper right side. Draw the outer folded petal and its long curved line going down into the flower.
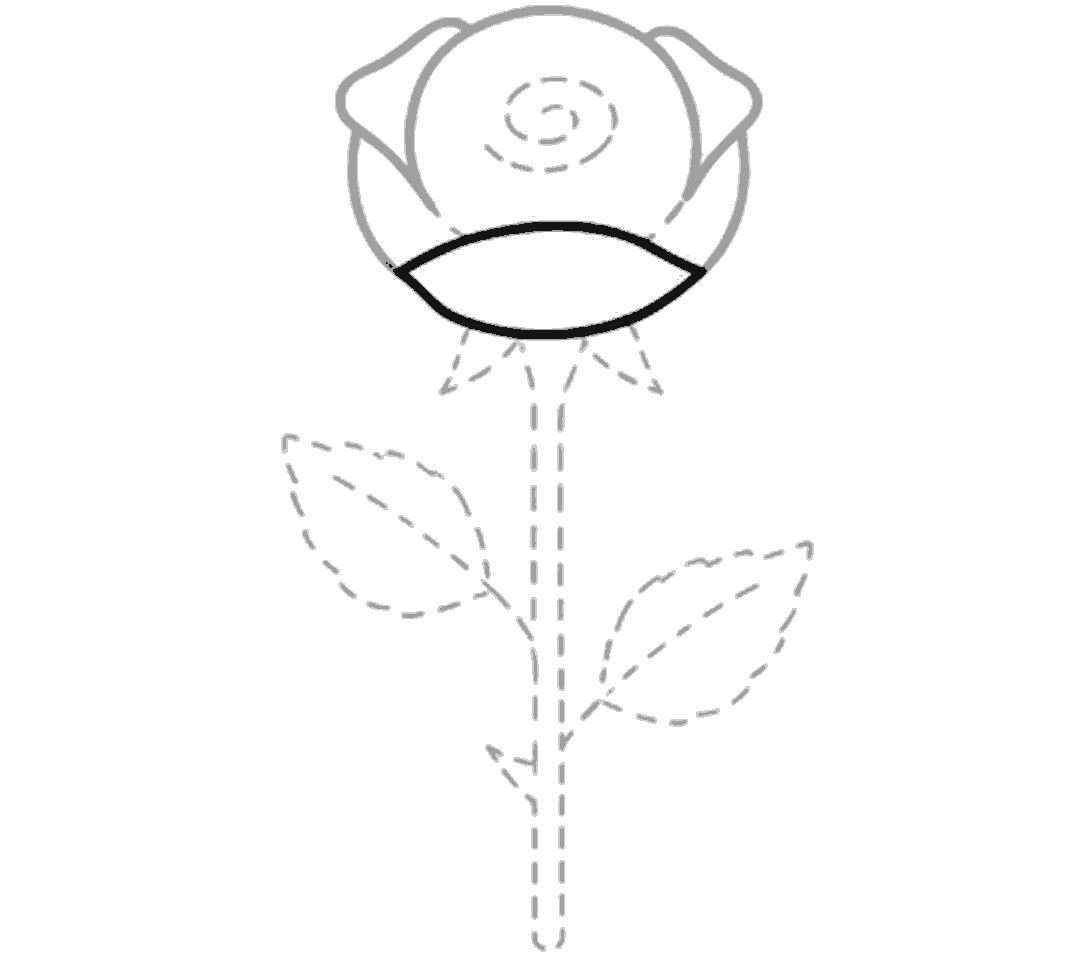
Step 5
Draw the front petal
Across the lower part of the flower head, draw a wide curved band like a smile. Close it with a second curved line underneath to make the front petal.
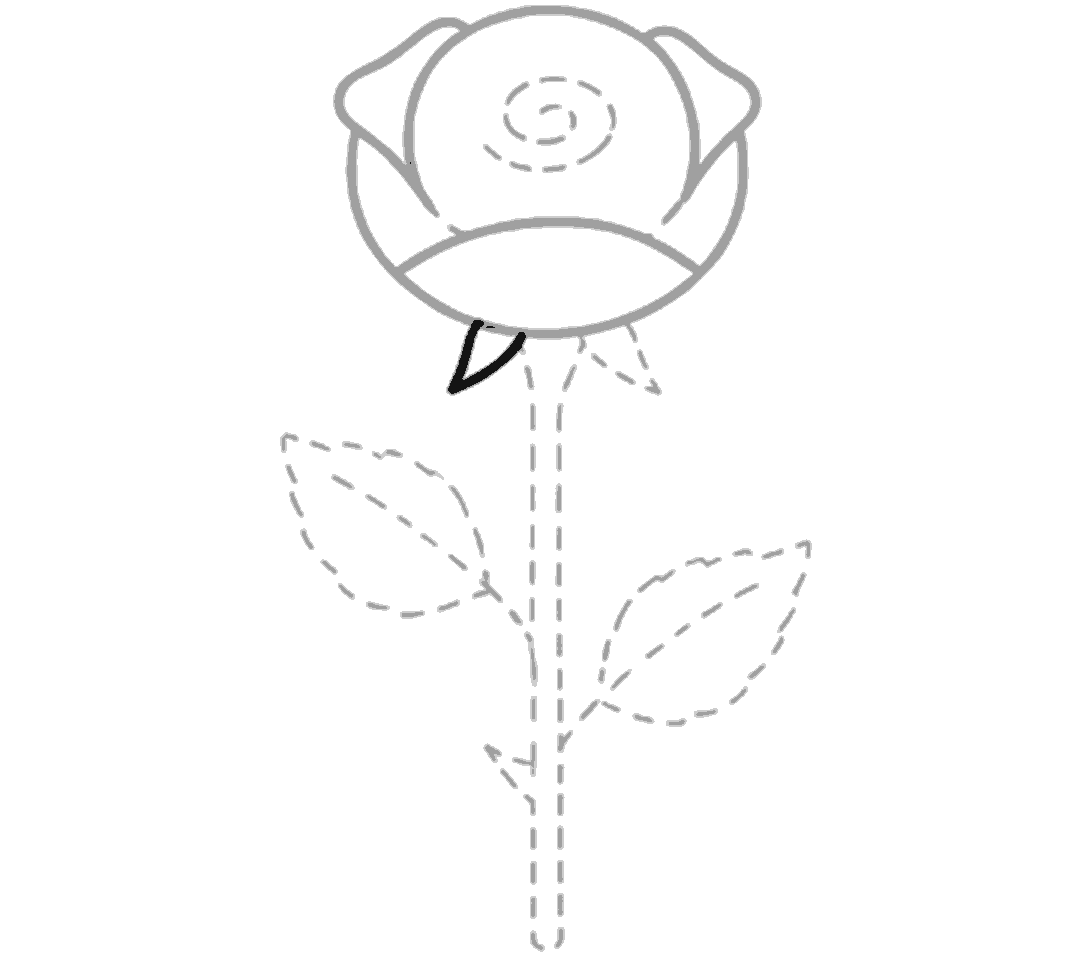
Step 6
Draw one sepal
Under the bloom, draw one small pointed leaf shape on the left. It should hang down from the base of the flower.
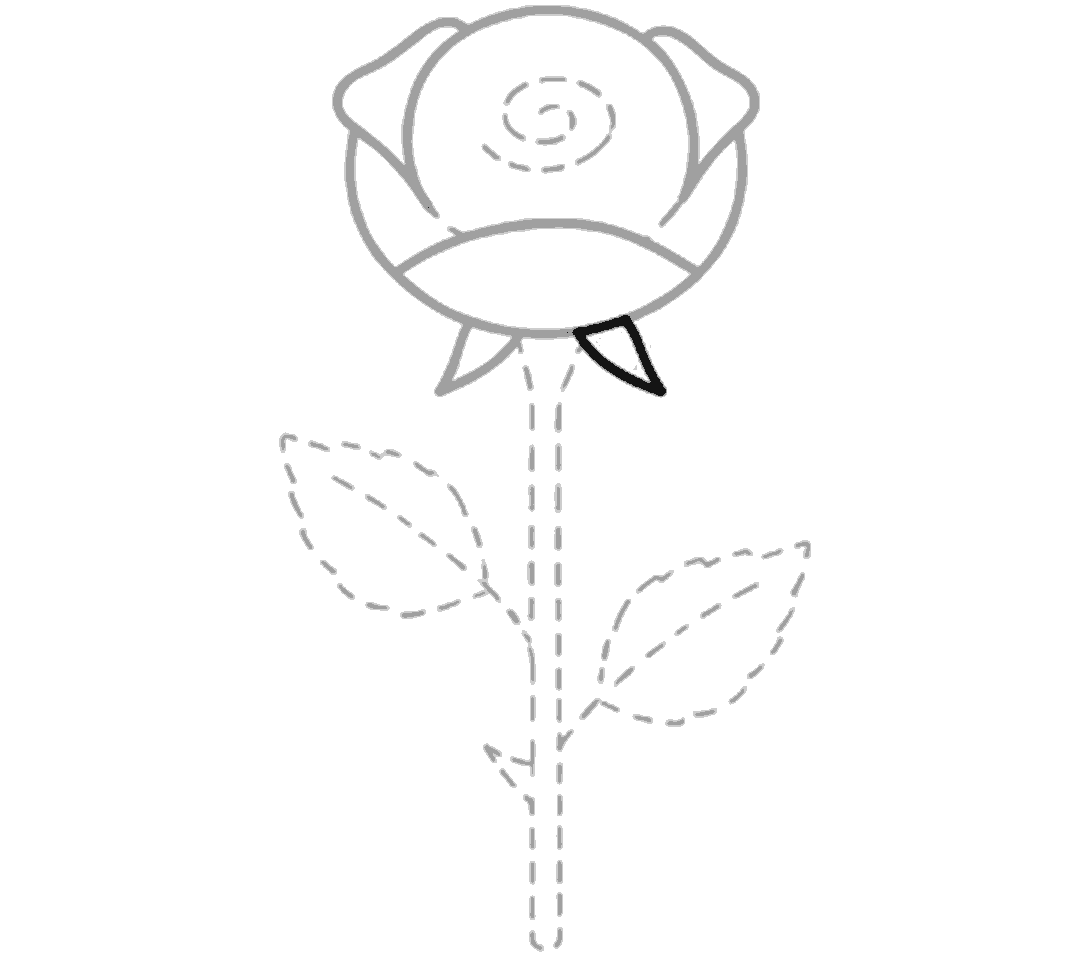
Step 7
Draw the other sepal
Draw a matching pointed shape under the right side of the bloom. Leave the middle one as a guide for now.
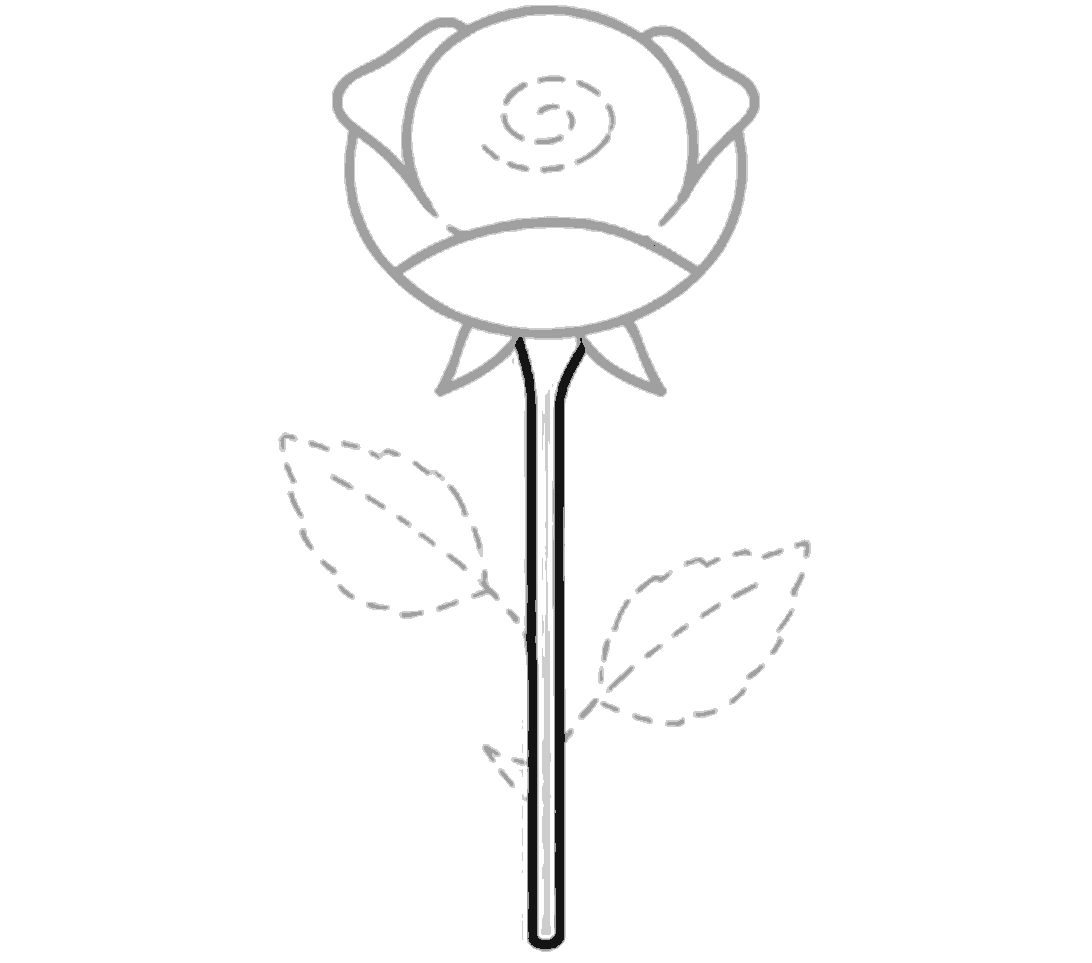
Step 8
Trace the stem
Draw the long stem using the two straight guide lines. Round the bottom end so the stem looks smooth.
Step 9
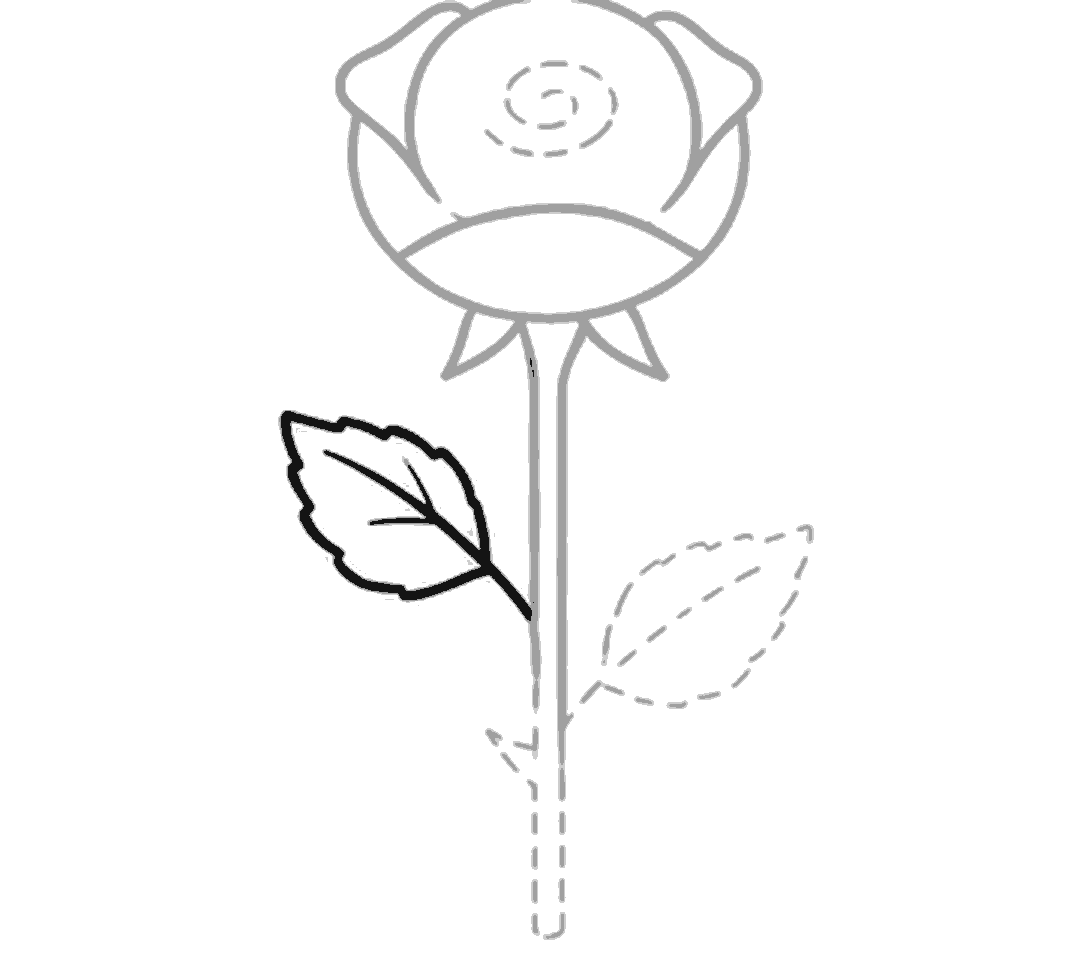
Draw the left leaf
On the left side, draw the leaf edge with small bumpy points. Then add the center vein and two short side veins inside.
Step 10
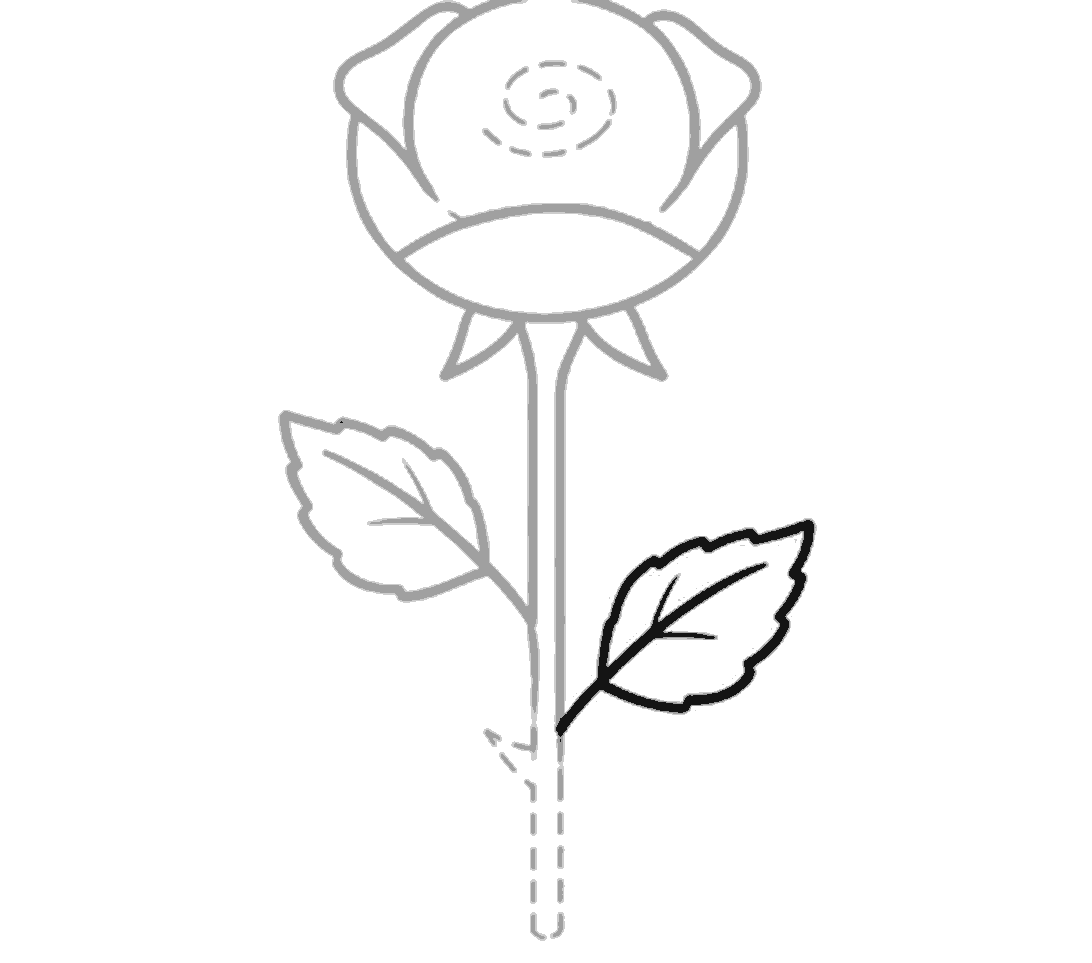
Draw the right leaf
Now draw the right leaf the same way. Make the pointed bumpy edge first, then add the center vein and short side veins.
Step 11
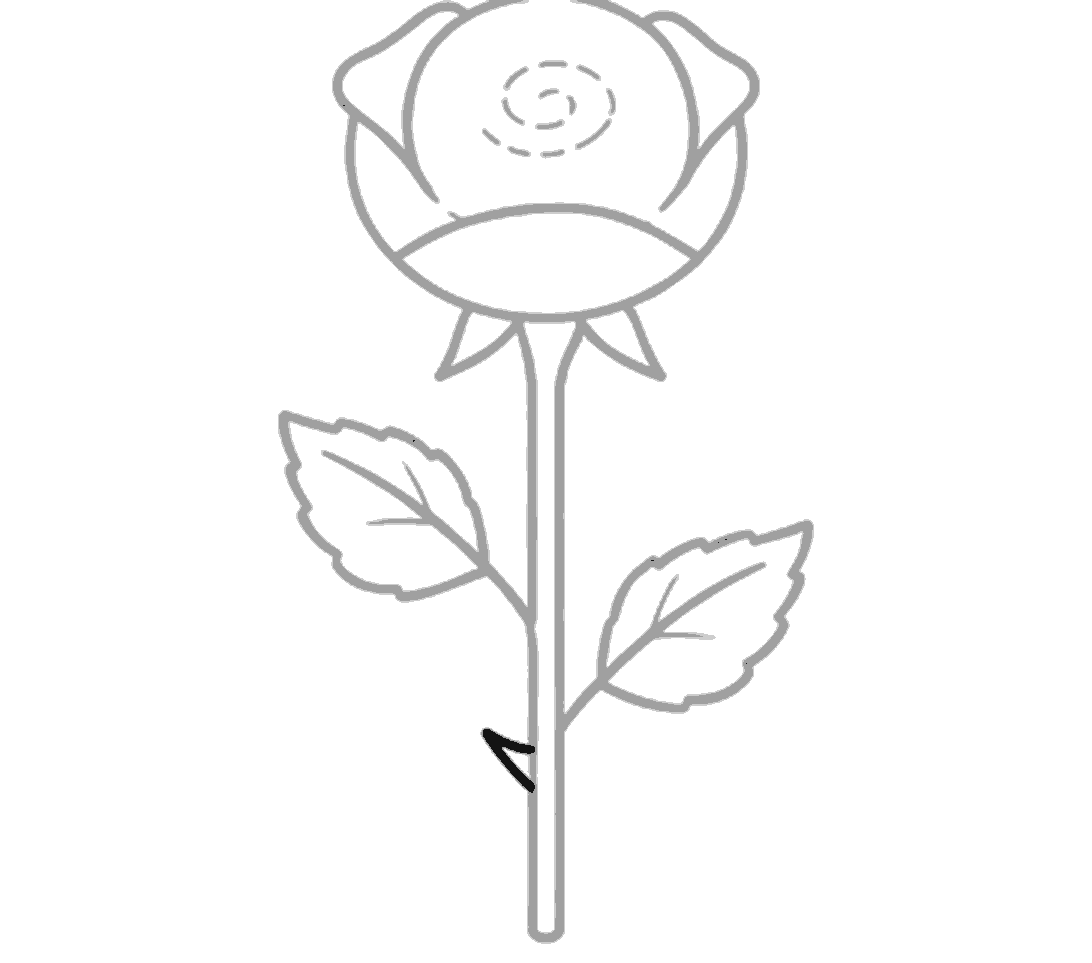
Add the thorn
Draw the small thorn on the stem with two short lines meeting in a point. It should stick out to the left.
Finished
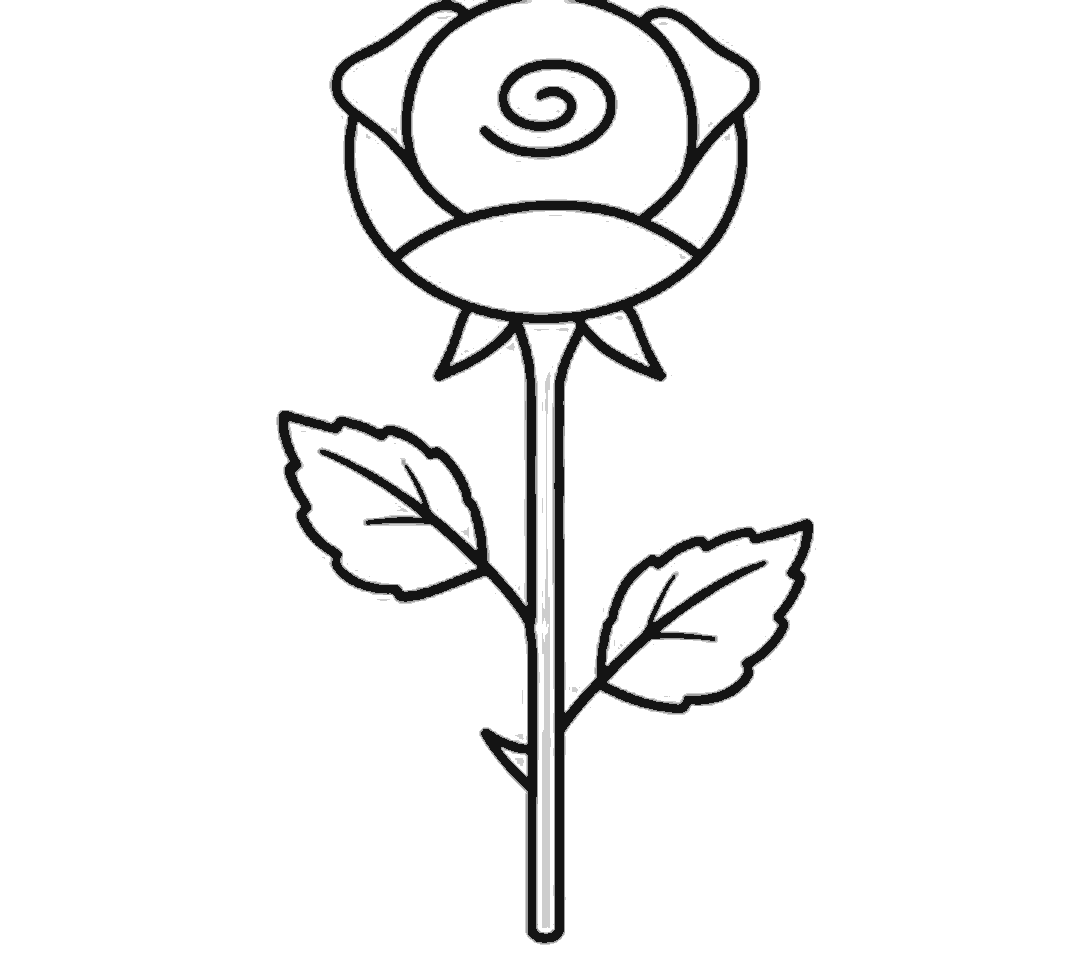
Finish and clean up
Go over the lines you are keeping, including the spiral in the middle of the rose and the center sepal under the flower. Rub out the pale dotted guides when you are done.
Tips for this one
- Keep the first guide lines very light so they are easy to rub out.
- Make the leaf edges with tiny bumps, not sharp zigzags.
- If the petals do not match exactly, that is fine. Flowers are not perfectly even.
Now try this
- Draw a longer stem with more thorns.
- Add another rosebud beside this one.
- Color the petals red, pink, or yellow and the leaves green.
Questions
- My rose looks too round. How can I fix it?
- That is okay for this drawing. You can make it look more like a rose by keeping the top petals folded and the front petal wide across the bottom.
- Do both leaves need to match?
- No. Real leaves often look a little different from each other. Keep the same general size and shape, but small changes are fine.
- What if I drew the guide lines too dark?
- Go over the final lines first so you know what to keep. Then rub the guides out slowly with a clean eraser so you do not smudge the drawing.