
How to Draw a Cat
- 8 steps
- Ages 5 and up
- About 15 minutes
- easy
This cat is a good beginner drawing for children and anyone helping them. You only need a pencil, an eraser, and something dark to trace the final lines. Start with the big head shape, then add the chest, front paws, ears, face, tail, and body sides. The pale dotted lines are light guide shapes to sketch first. Follow the black lines in each picture for what to draw in that step. In the last step, go over the lines you want to keep and rub out the dotted guides.
What you need: a pencil, an eraser, black pen or dark pencil, paper.
Print this guide as a PDF, 395 KB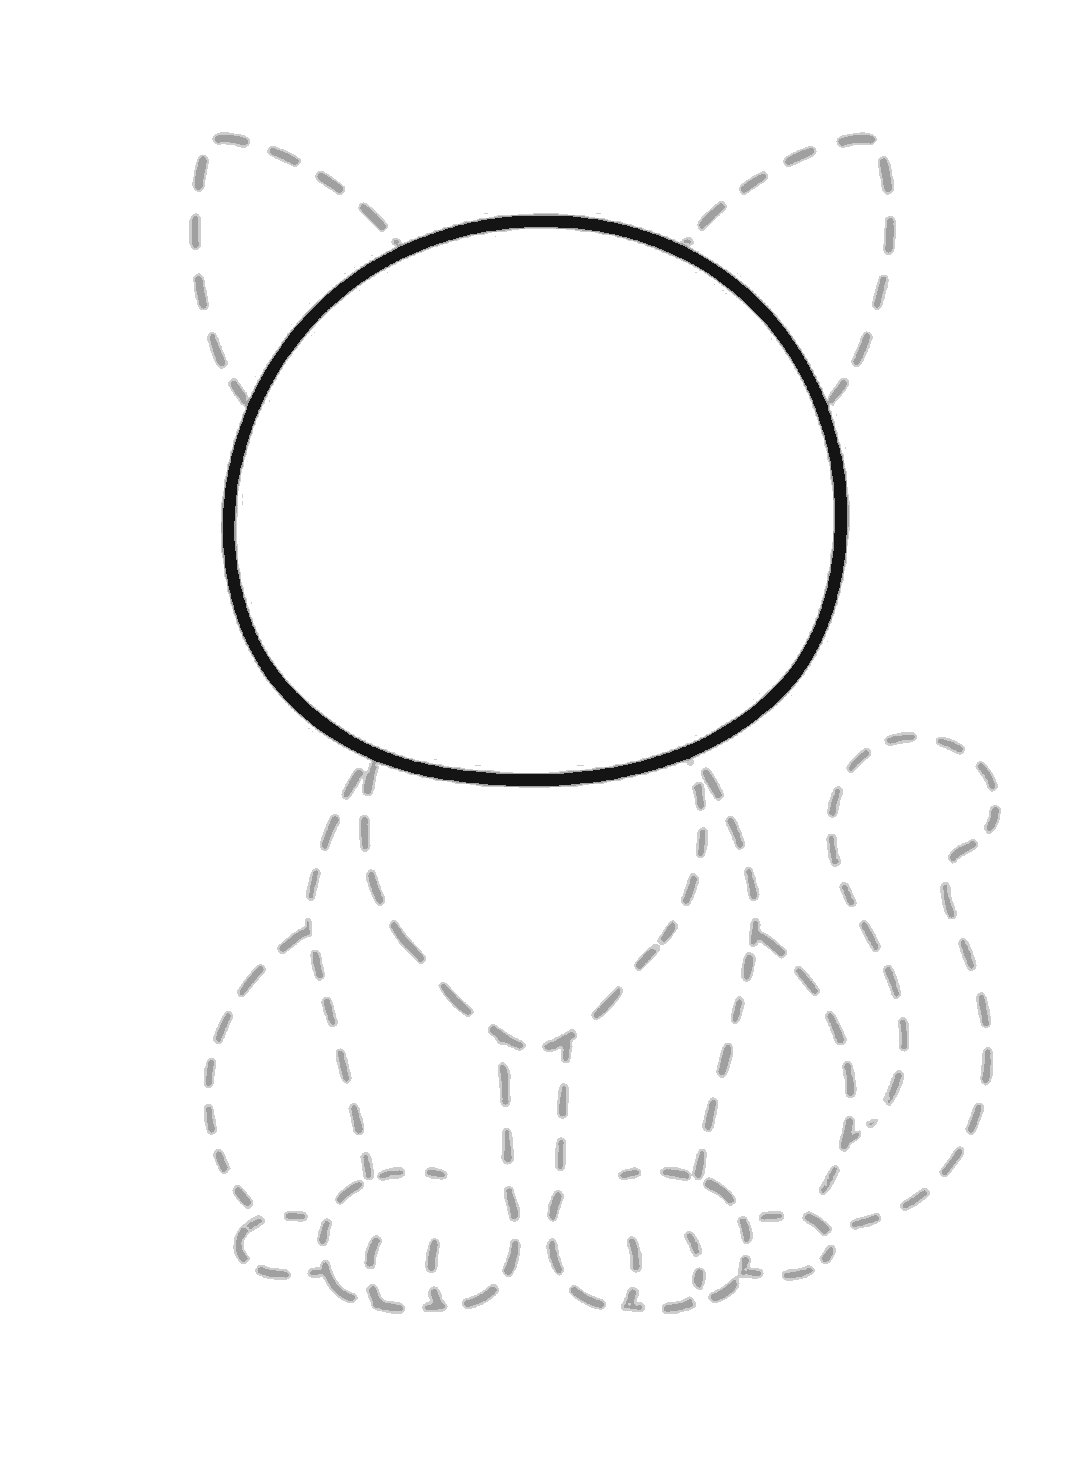
Step 1
Draw the big head
Draw one large round head shape in the middle. It is a little wider at the top and flatter at the bottom.
Step 2
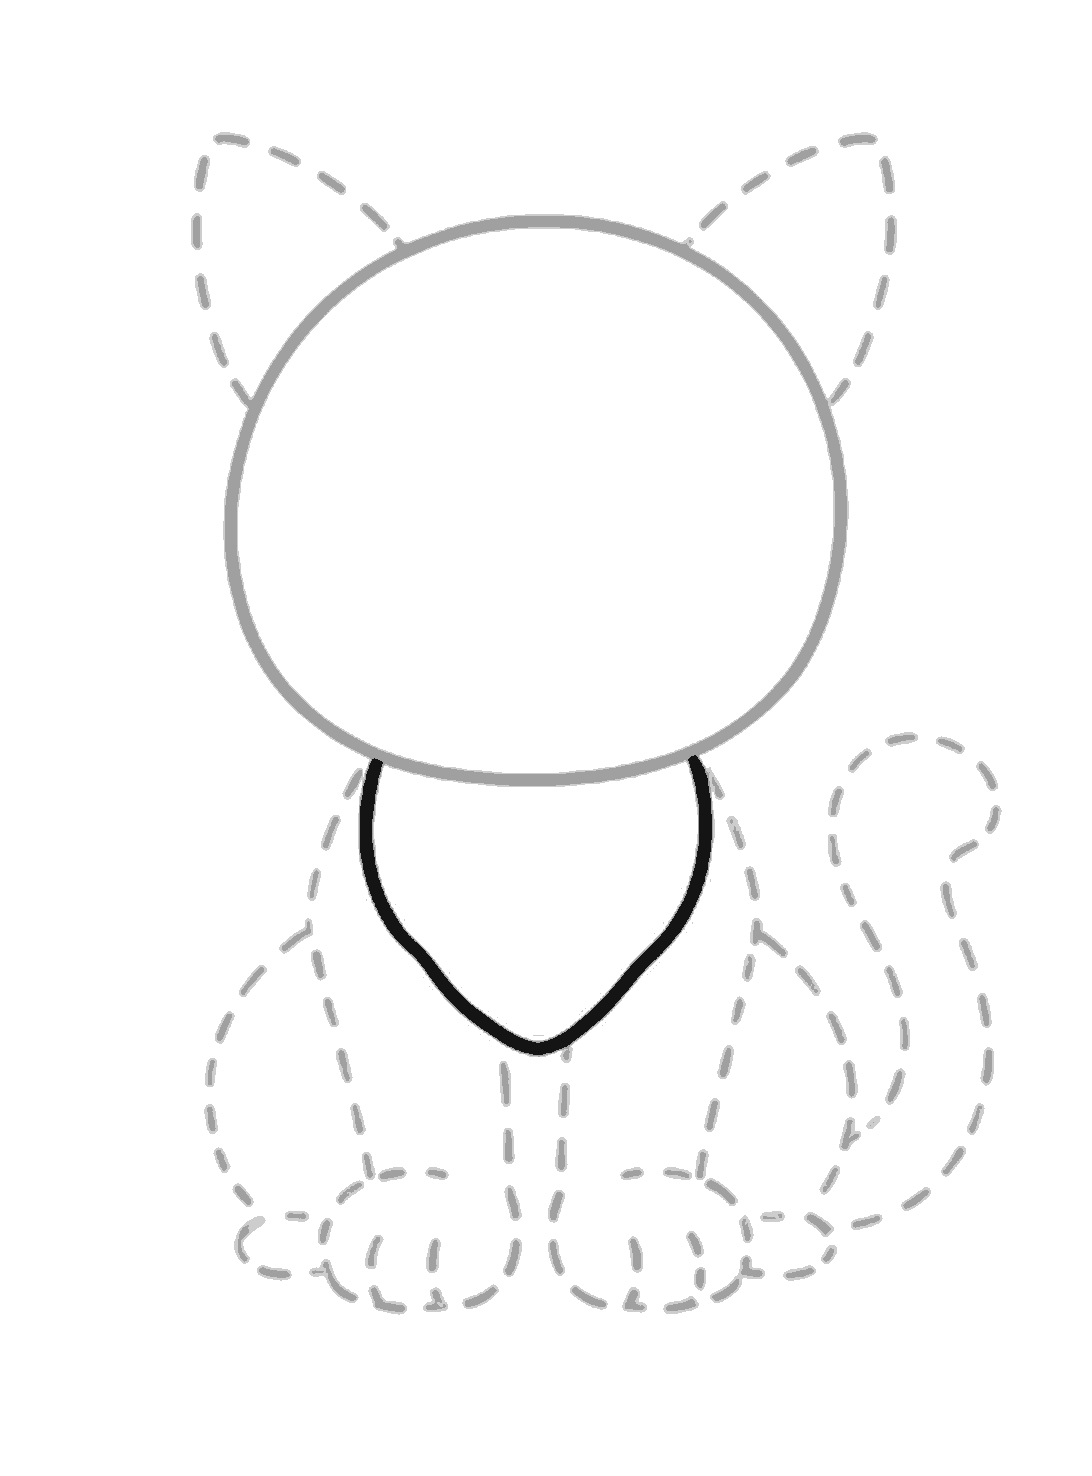
Add the chest shape
Under the head, draw a pointed chest shape. It curves out at the sides and comes to a soft point near the bottom.
Step 3
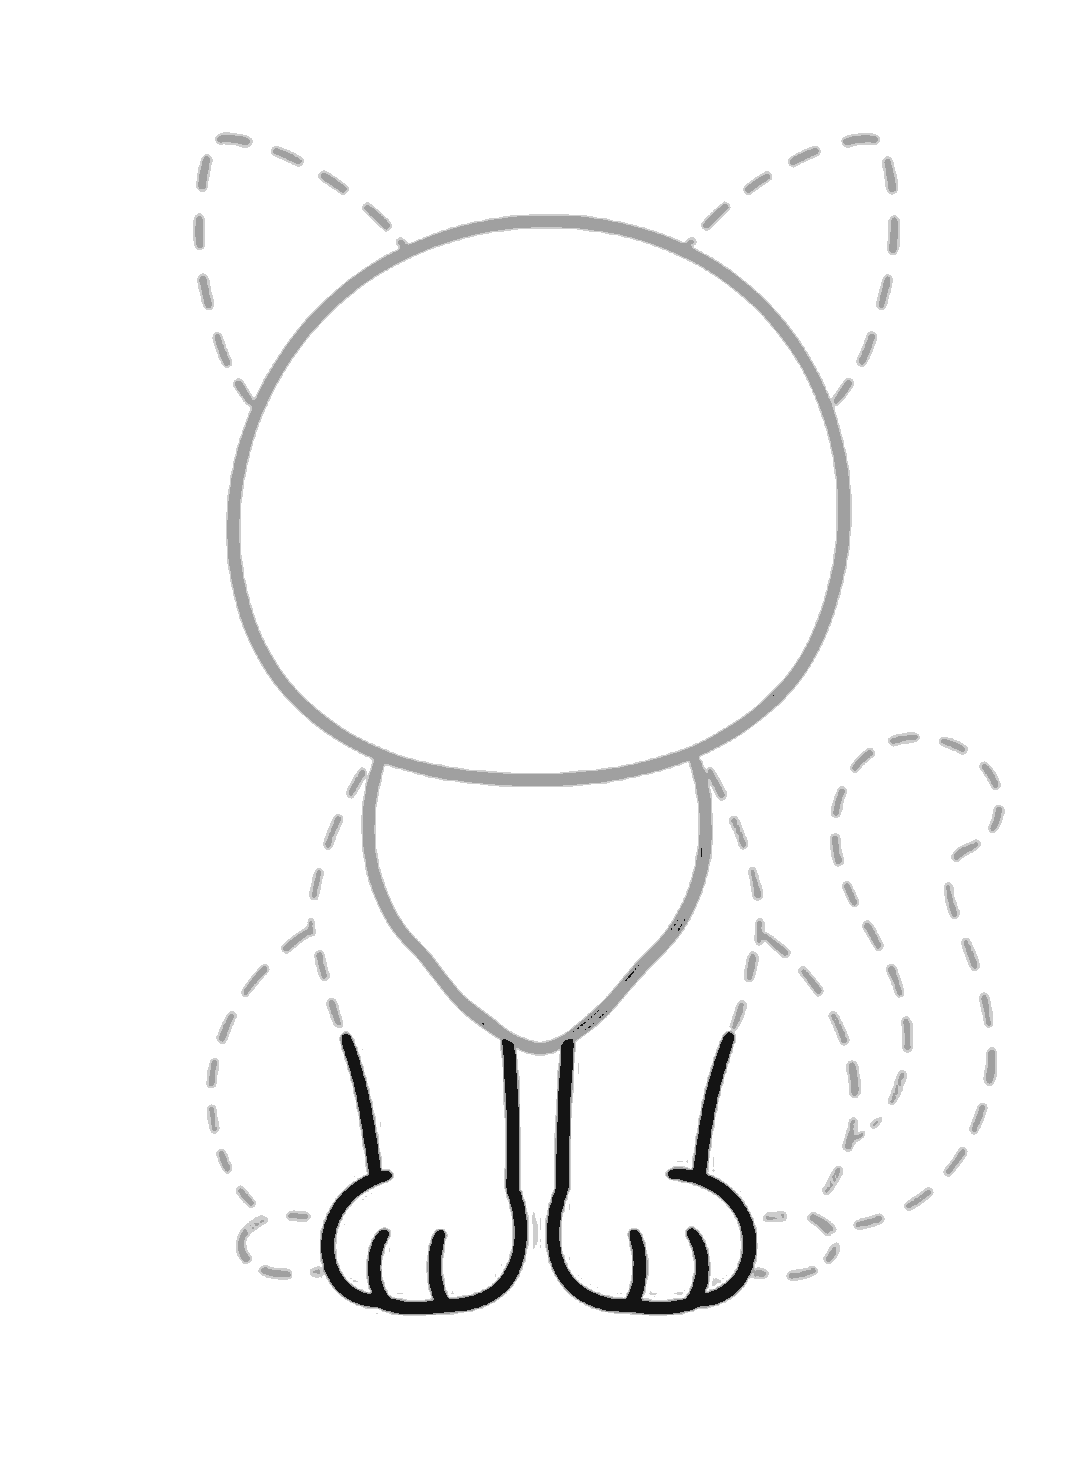
Draw the front legs
Draw two straight front legs down from the chest. Add two rounded paws at the bottom, with short toe lines on each paw.
Step 4
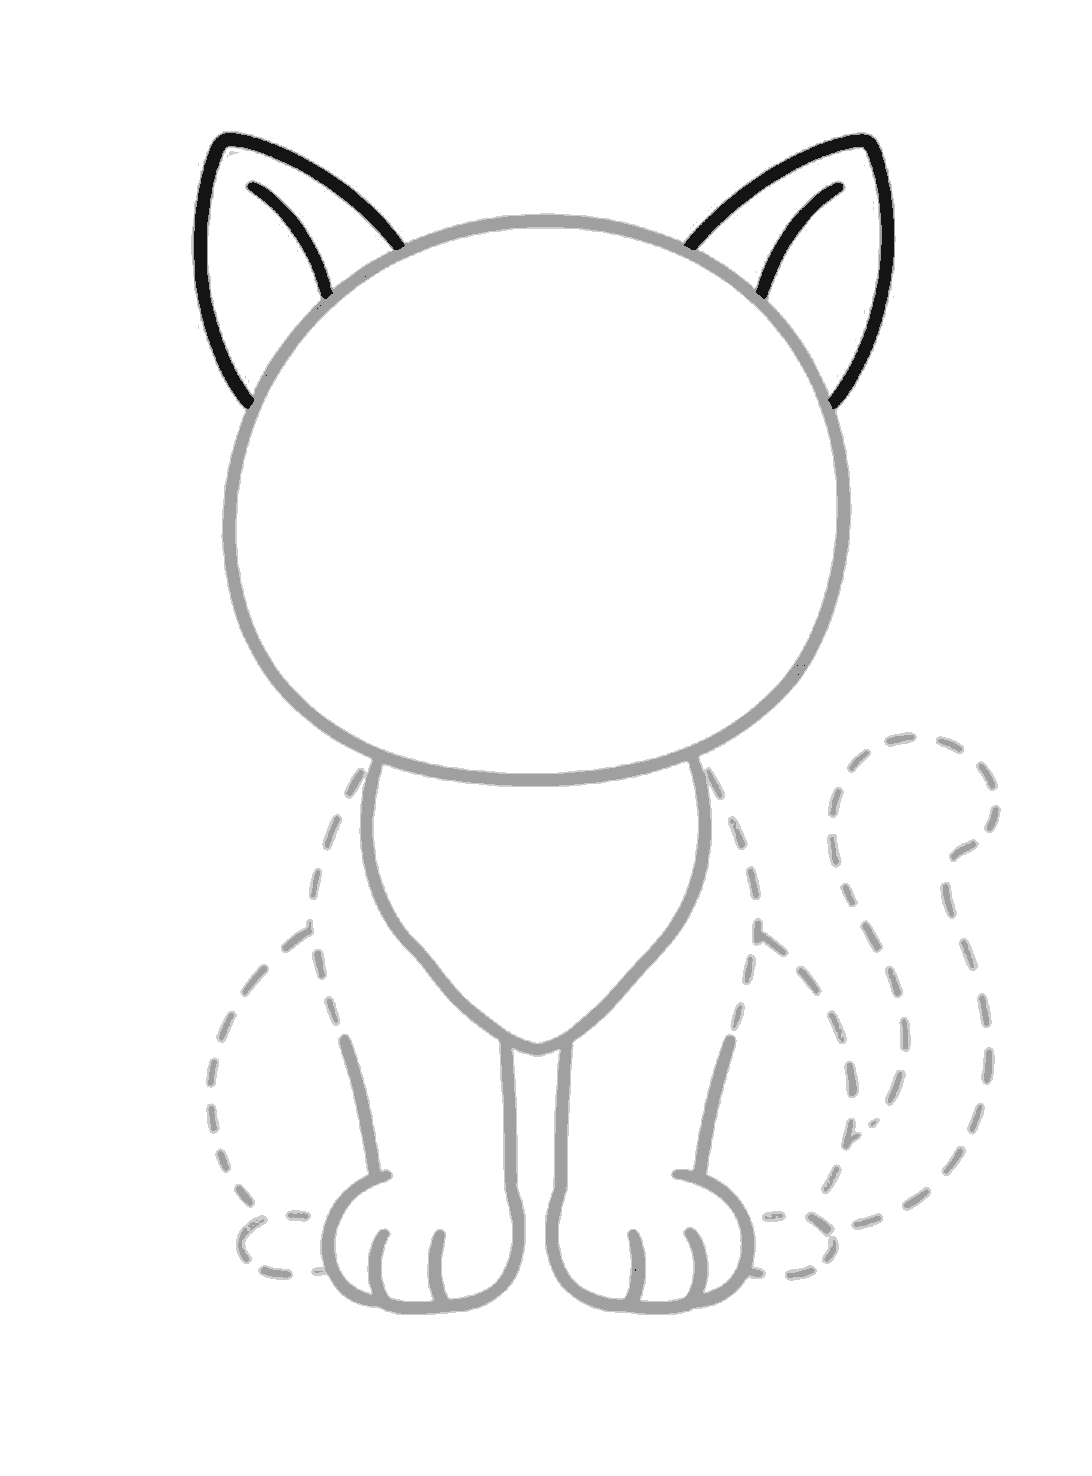
Add the ears
Draw two tall pointed ears on top of the head. Then add one curved line inside each ear.
Step 5
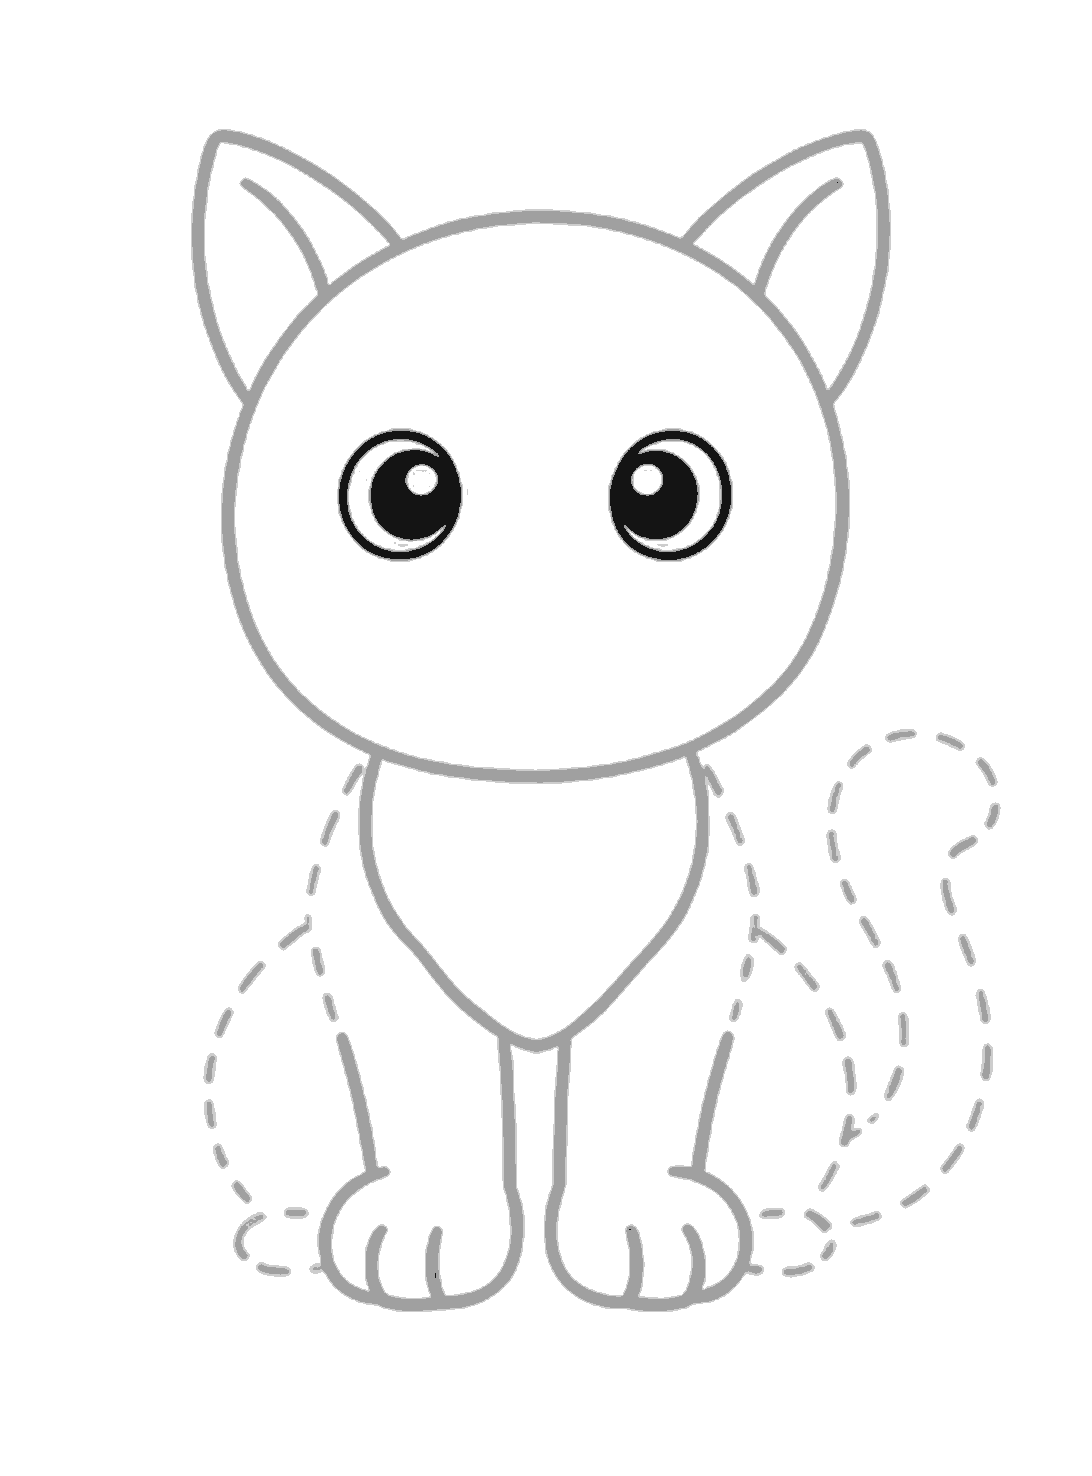
Draw the eyes
Draw two big round eyes on the face. Fill in the pupils but leave small white circles and curved highlights inside them.
Step 6
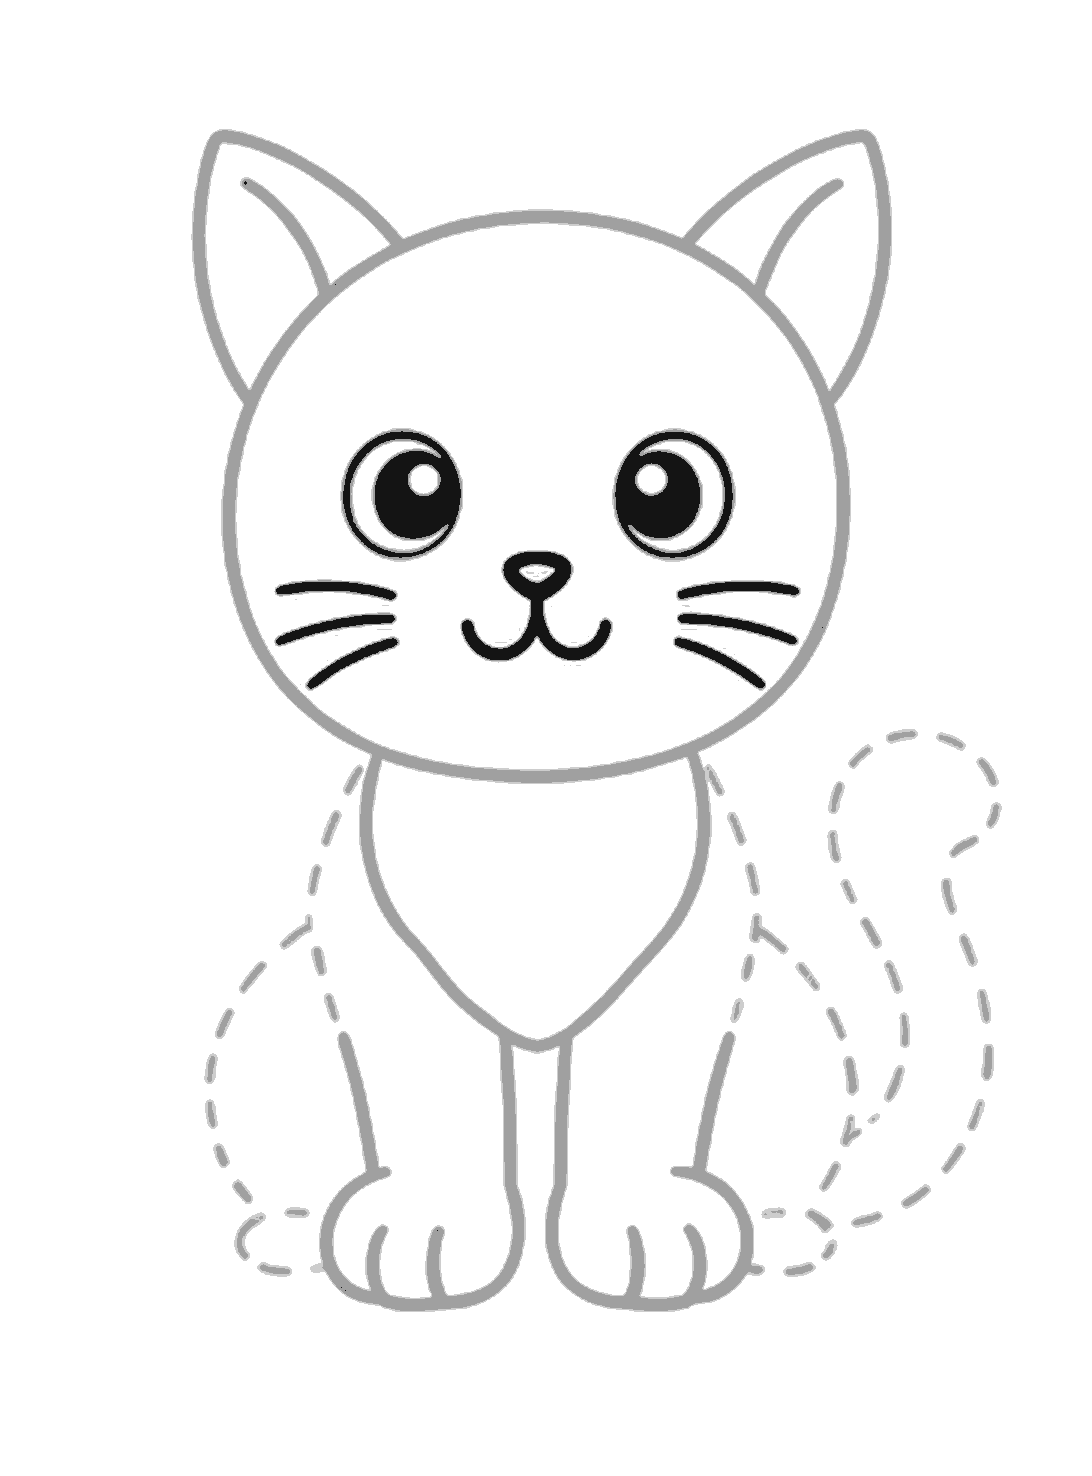
Add the nose and whiskers
Draw a small nose in the middle, then draw a short line down and two curved mouth lines. Add three whiskers on each side of the face.
Step 7
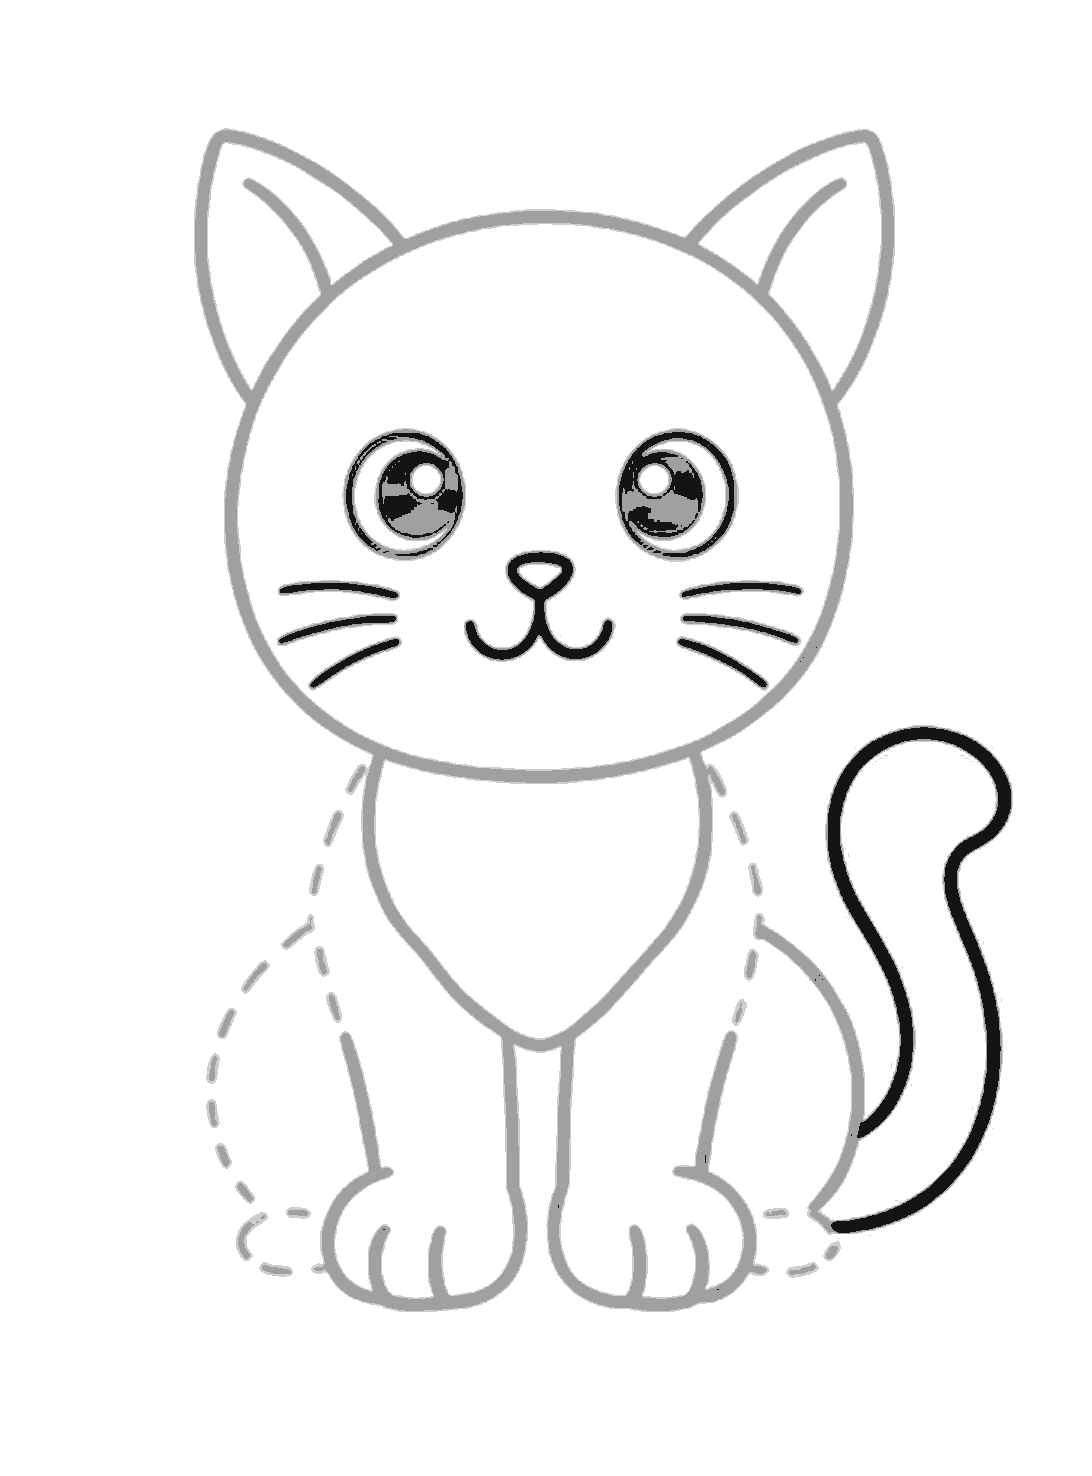
Draw the tail
On the right side, draw a long tail that curls up, around, and back down. Keep the end rounded.
Finished
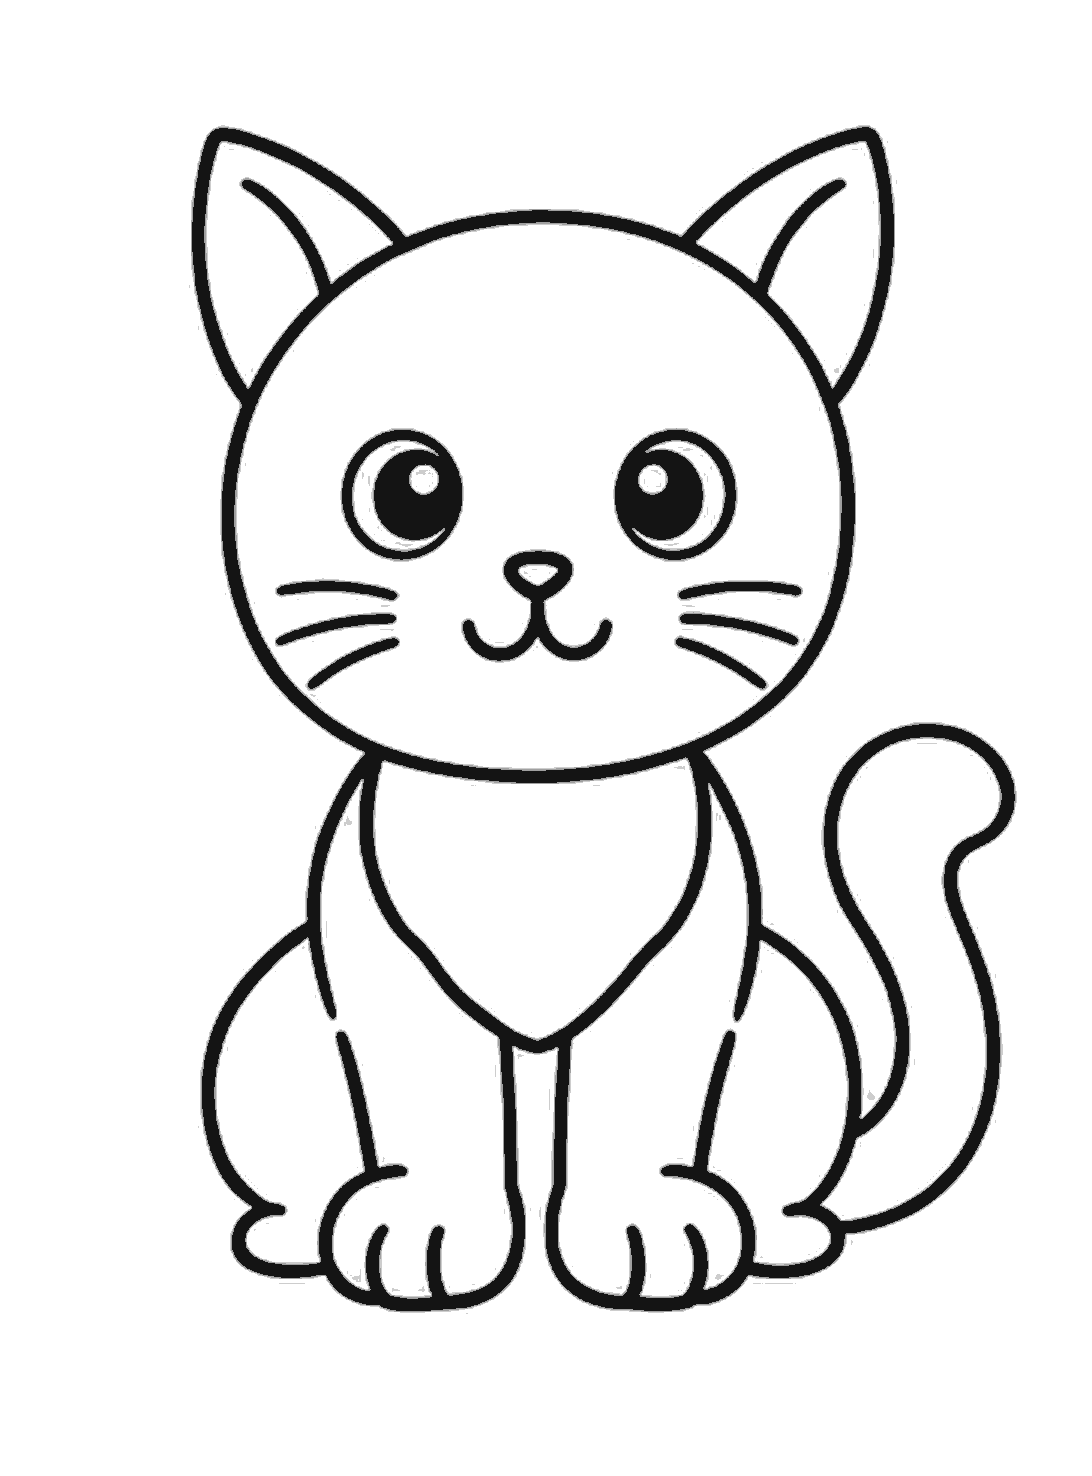
Finish the cat
Go over the body sides, the paws, and the tail base with darker lines. Then trace any other lines you want to keep and rub out the pale dotted guides.
Tips for this one
- Keep the first guide lines light so they are easy to rub out.
- Make both eyes the same size for a calm, cute look.
- Round paws and soft curves help the cat look friendly.
Now try this
- Draw a bow around the cat's neck.
- Turn the tail the other way.
- Add a ball of yarn beside the cat.
Questions
- My cat's head looks too big. Is that wrong?
- No. This cat has a big head on purpose, so it looks cute and simple. If you want, you can make the body a little wider to match it.
- Do I have to draw the dotted guide shapes first?
- They help a lot, especially with size and placement. If you feel confident, you can draw the final lines straight in.
- How can I make my cat look different?
- Change the eyes, tail curve, or ear shape a little. You can also add stripes, spots, or a different face expression.