
How to Draw a Fox
- 8 steps
- Ages 6 and up
- About 15 minutes
- easy
This fox is a good drawing for children who can make simple curved lines and a few pointy shapes. A grown-up can help with the long ovals and the fluffy tail. Start with light guide shapes, then add the black outline step by step. The fox sits sideways with tall ears, a neat body, and a big bushy tail. At the end, go over the lines you want to keep and rub out the dotted guides.
What you need: a pencil, an eraser, black pen or dark pencil, paper.
Print this guide as a PDF, 344 KB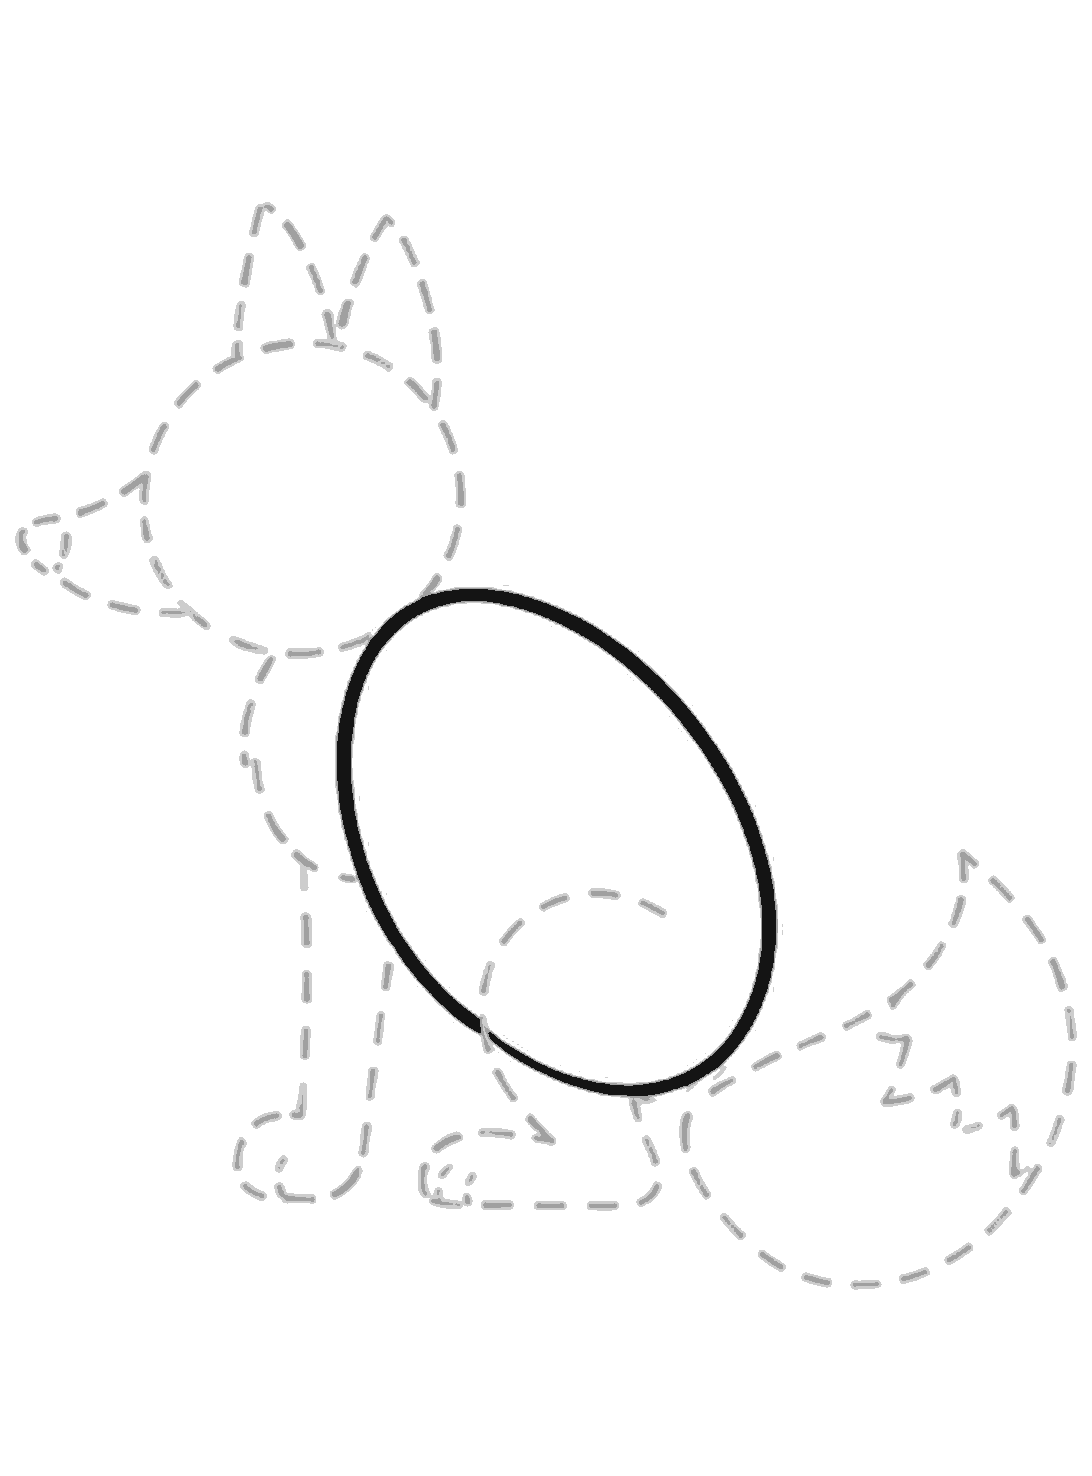
Step 1
Draw the body oval
Draw a large slanted oval in the middle for the fox's body. Tilt it down to the right, just like the picture.
Step 2
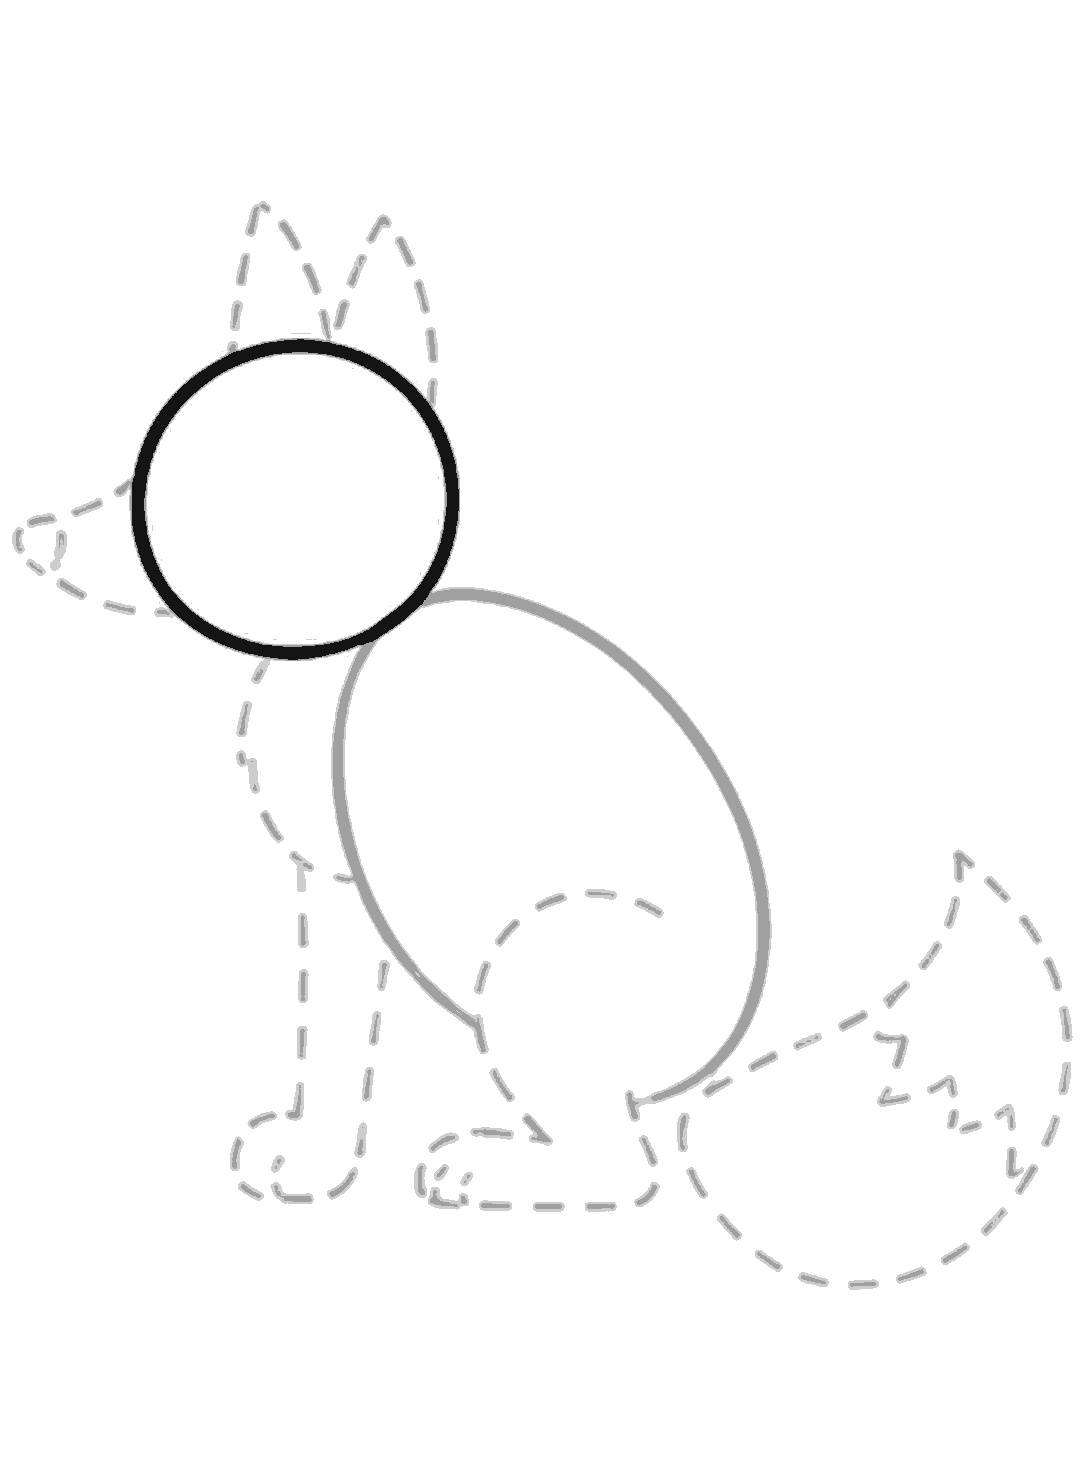
Add the head circle
Draw a round circle for the head at the top left of the body. Let the circle touch the body oval.
Step 3
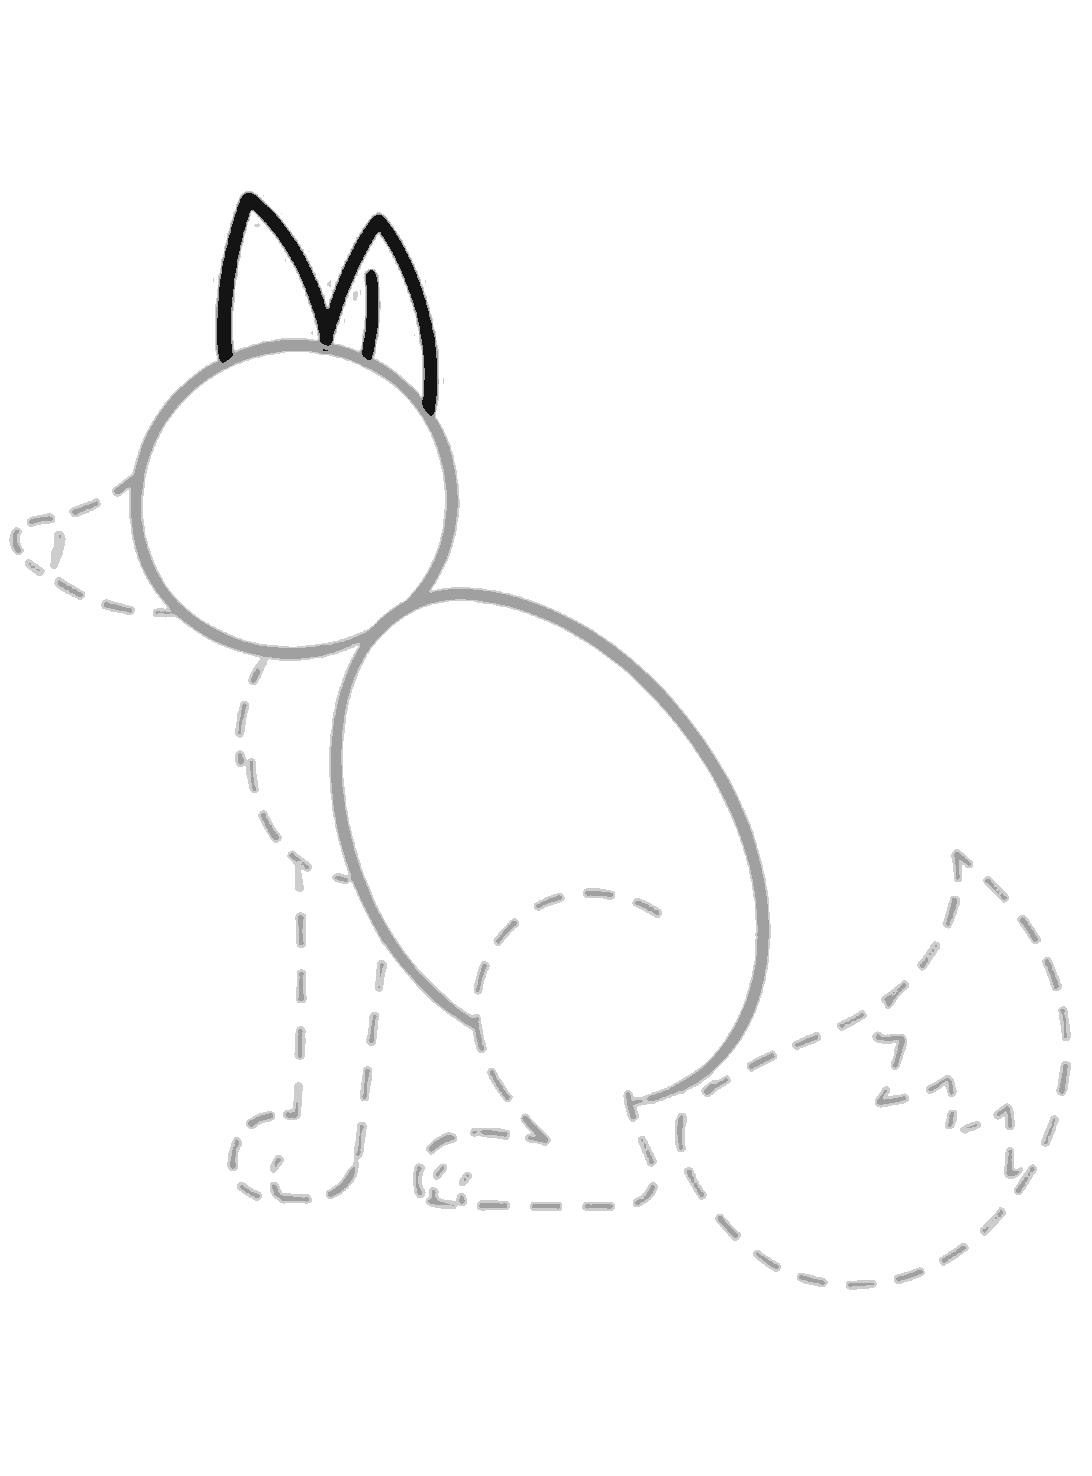
Make two tall ears
Draw two tall pointy ears on top of the head. Add one short line inside the ear on the right.
Step 4
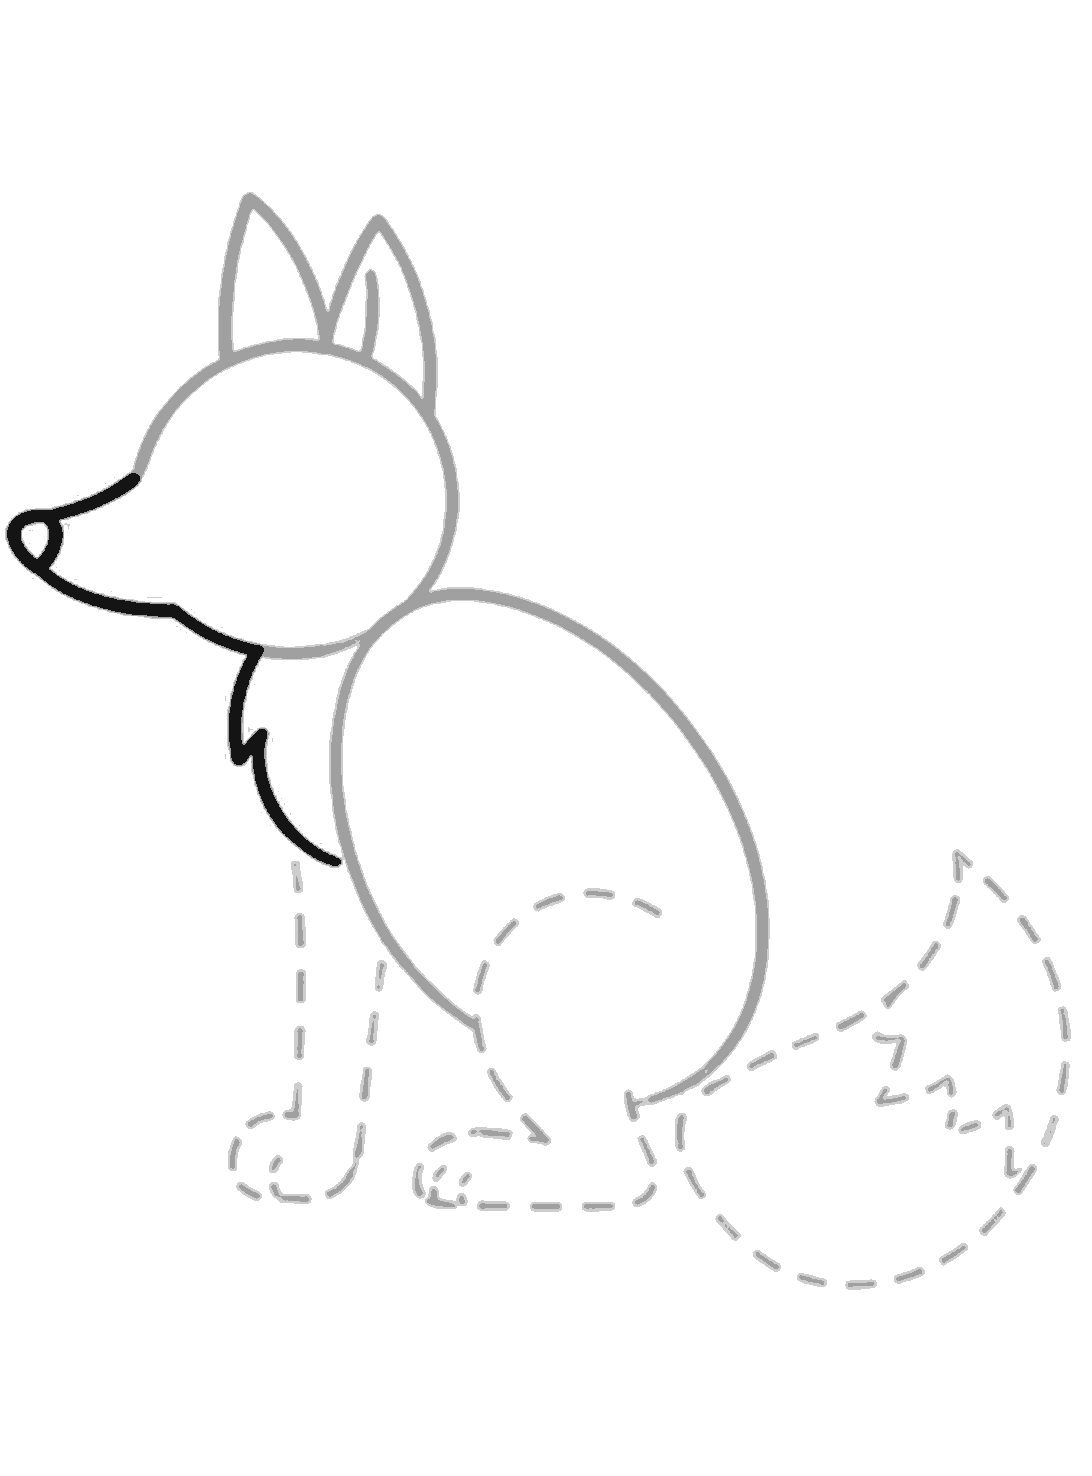
Shape the face and chest
Draw the long snout from the left side of the head and add the small nose at the tip. Then draw the furry chest under the head with two soft points and a curved line back toward the body.
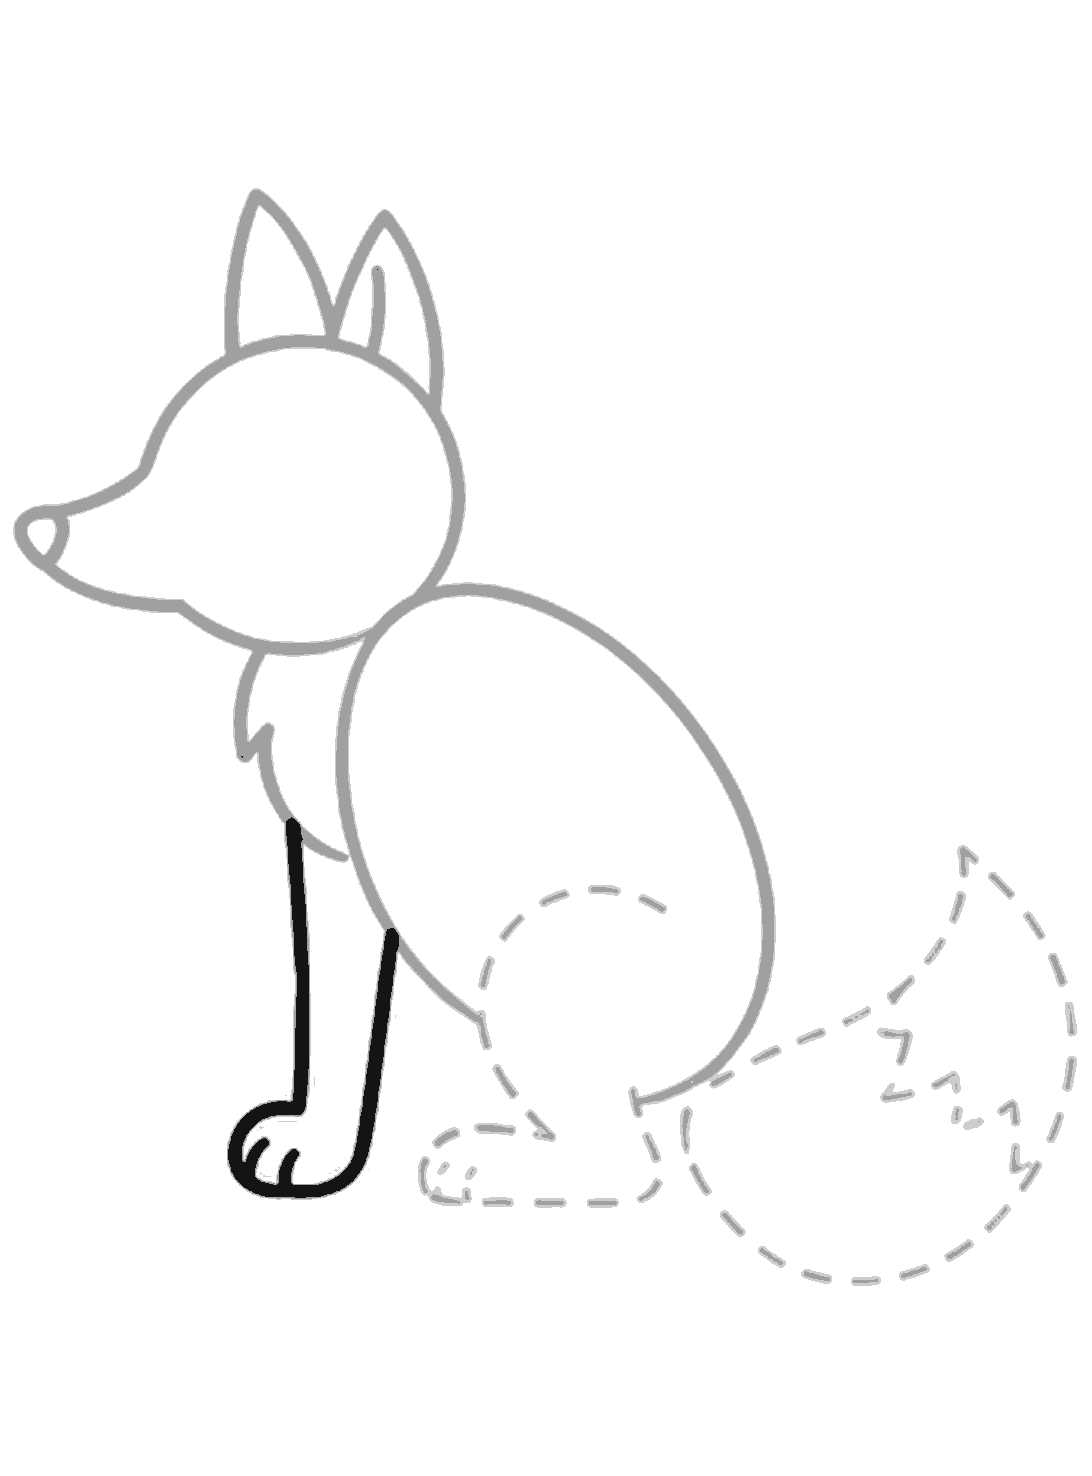
Step 5
Draw the front legs
Draw the front leg straight down from the chest and round the paw at the bottom. Add two short toe lines, then draw the second front leg behind it with a long narrow line.
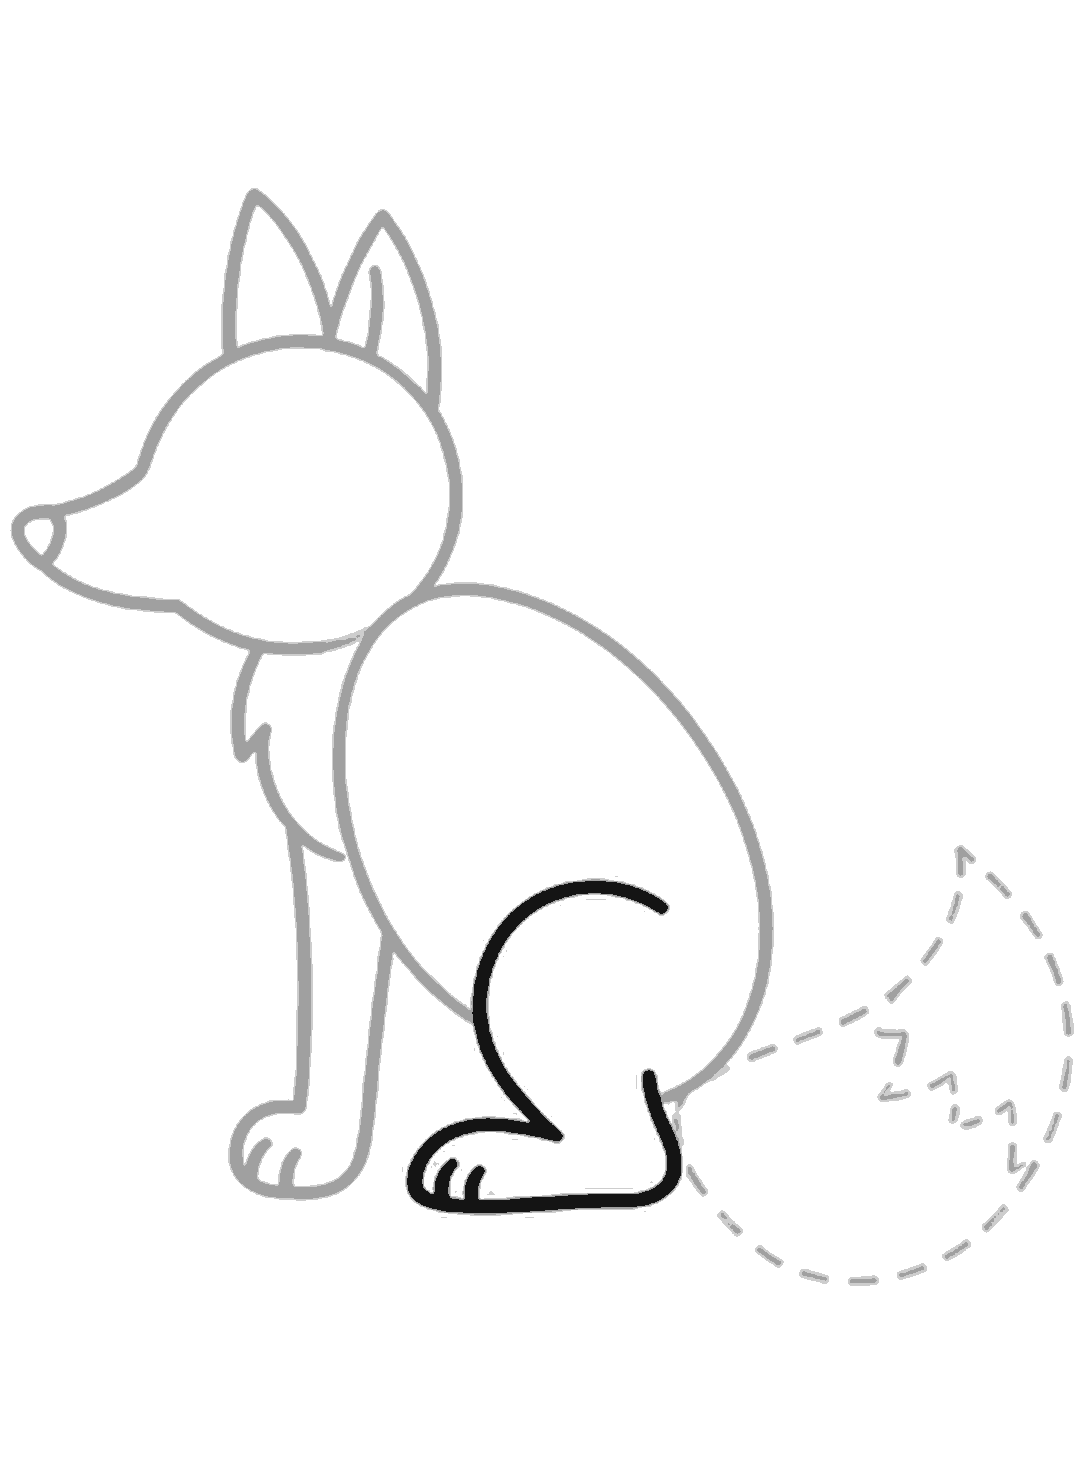
Step 6
Add the back leg
Draw a big curved back leg under the body. Finish it with a rounded paw and a few short toe lines.
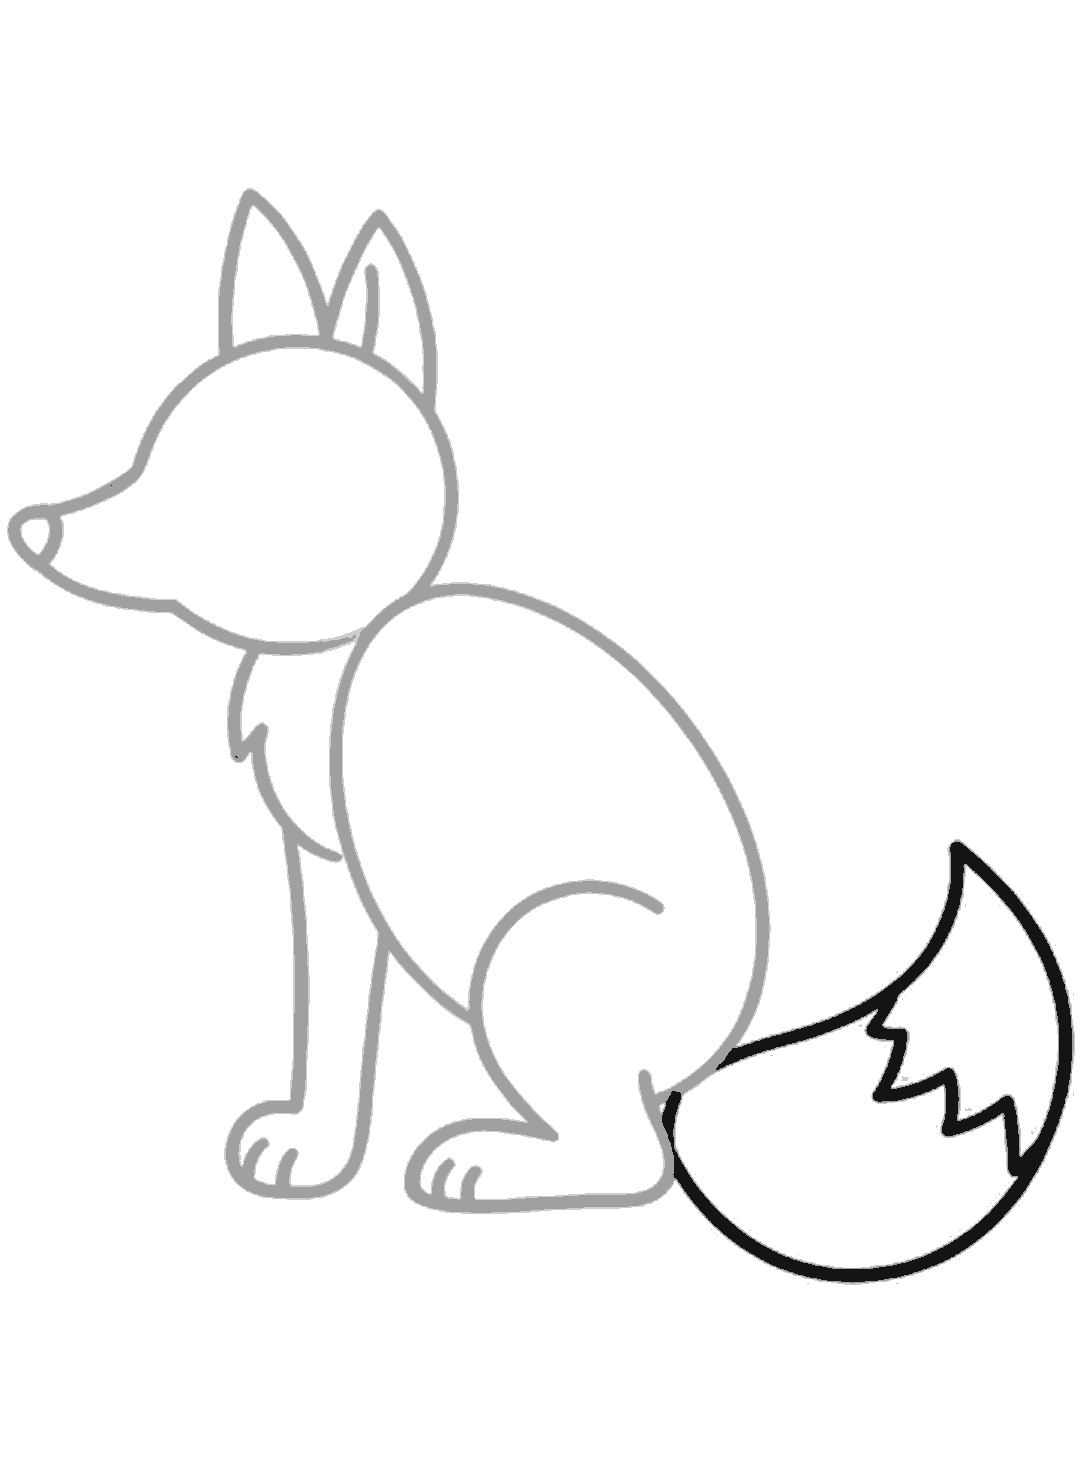
Step 7
Draw the bushy tail
Draw the large curled tail behind the fox, starting near the back leg and sweeping up and around. Add the zigzag line near the tip to show the fluffy tail marking.
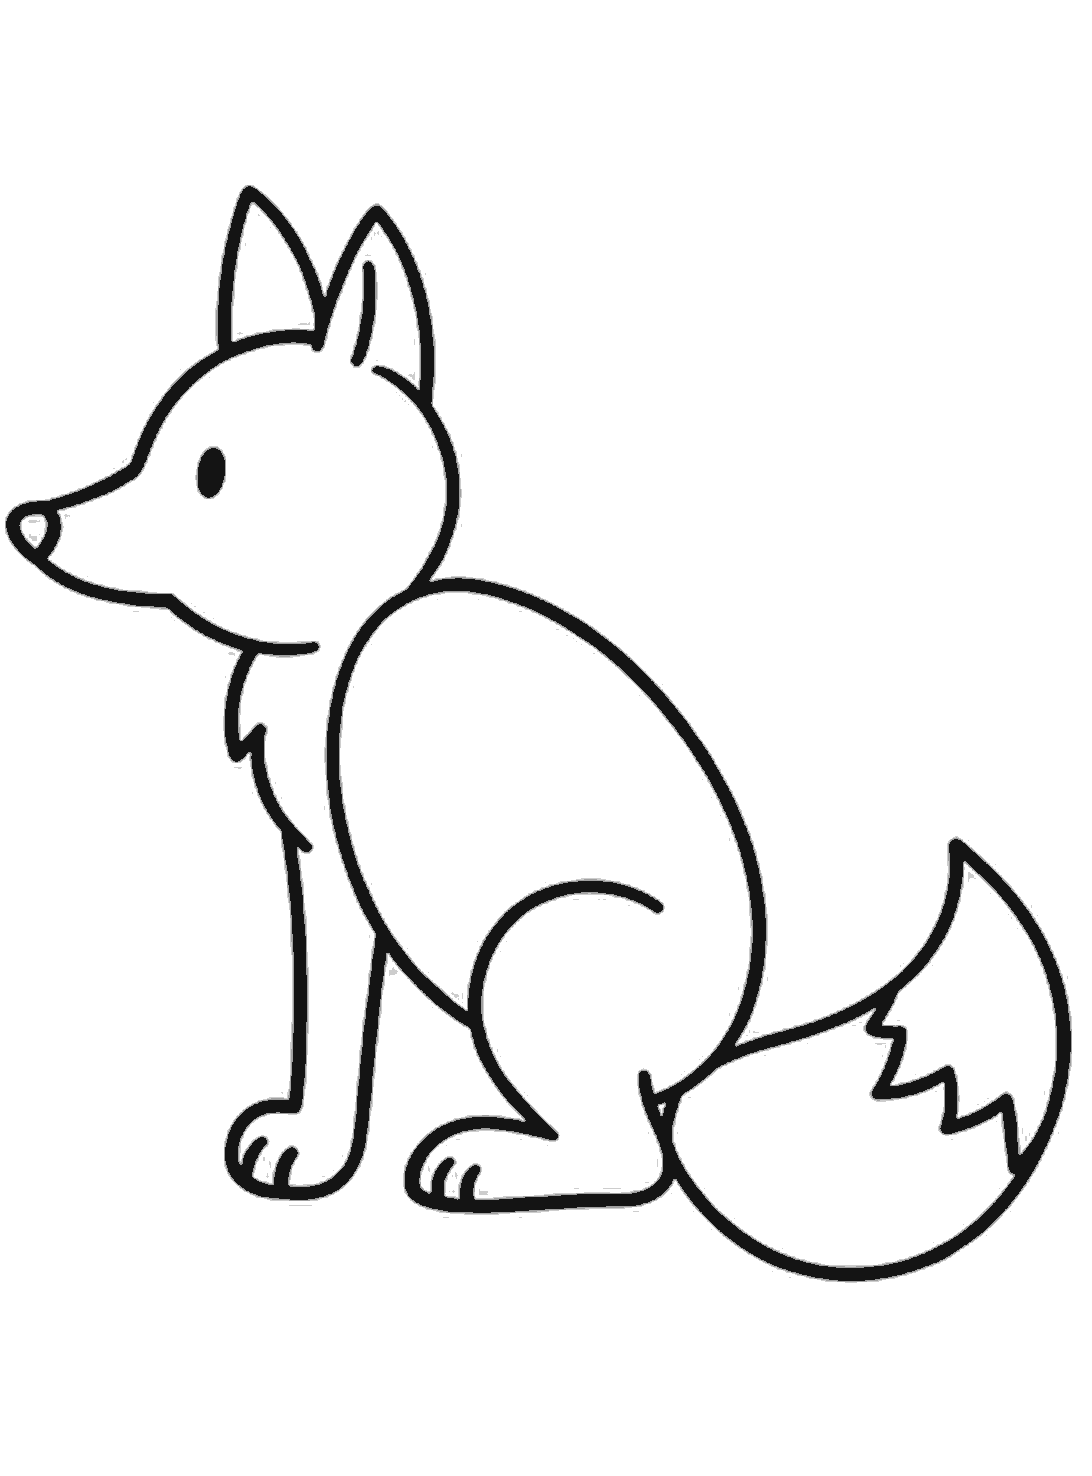
Finished
Finish the fox
Go over the lines you are keeping, including the eye and the small curved line on the head. Rub out the dotted guide shapes so the fox looks clean and finished.
Tips for this one
- Keep the first guide shapes light so they are easy to rub out.
- Point the ears upward to help the fox look alert.
- Make the tail large. Fox tails look extra fluffy and full.
Now try this
- Draw the fox standing instead of sitting.
- Add grass, snow, or a little forest background.
- Give the fox a scarf or make it a baby fox.
Questions
- My fox head looks too big. What should I do?
- That is okay for a cute cartoon fox. If you want, make the body oval a little bigger so the drawing feels more balanced.
- Do both front legs need to show fully?
- No. In this drawing, one front leg is in front and the other is only partly shown. That still makes the fox look right from the side.
- How can I make the tail look fluffy?
- Make the tail big and rounded, and keep the tip wide. The zigzag line near the end helps it look soft and furry.