
How to Draw a Fish
- 8 steps
- Ages 5 and up
- About 10 minutes
- easy
This fish is a good one for young children and anyone who wants a simple sea animal to draw. You only need a few basic shapes and short curved lines. Start with a big oval body, then add the mouth, eye, fins, and tail. The pale dotted lines are light guide shapes to help with placing the parts. The black lines show what to draw in each step. At the end, go over the lines you want to keep and rub out the dotted guides.
What you need: a pencil, an eraser, black pen or dark pencil, paper.
Print this guide as a PDF, 328 KB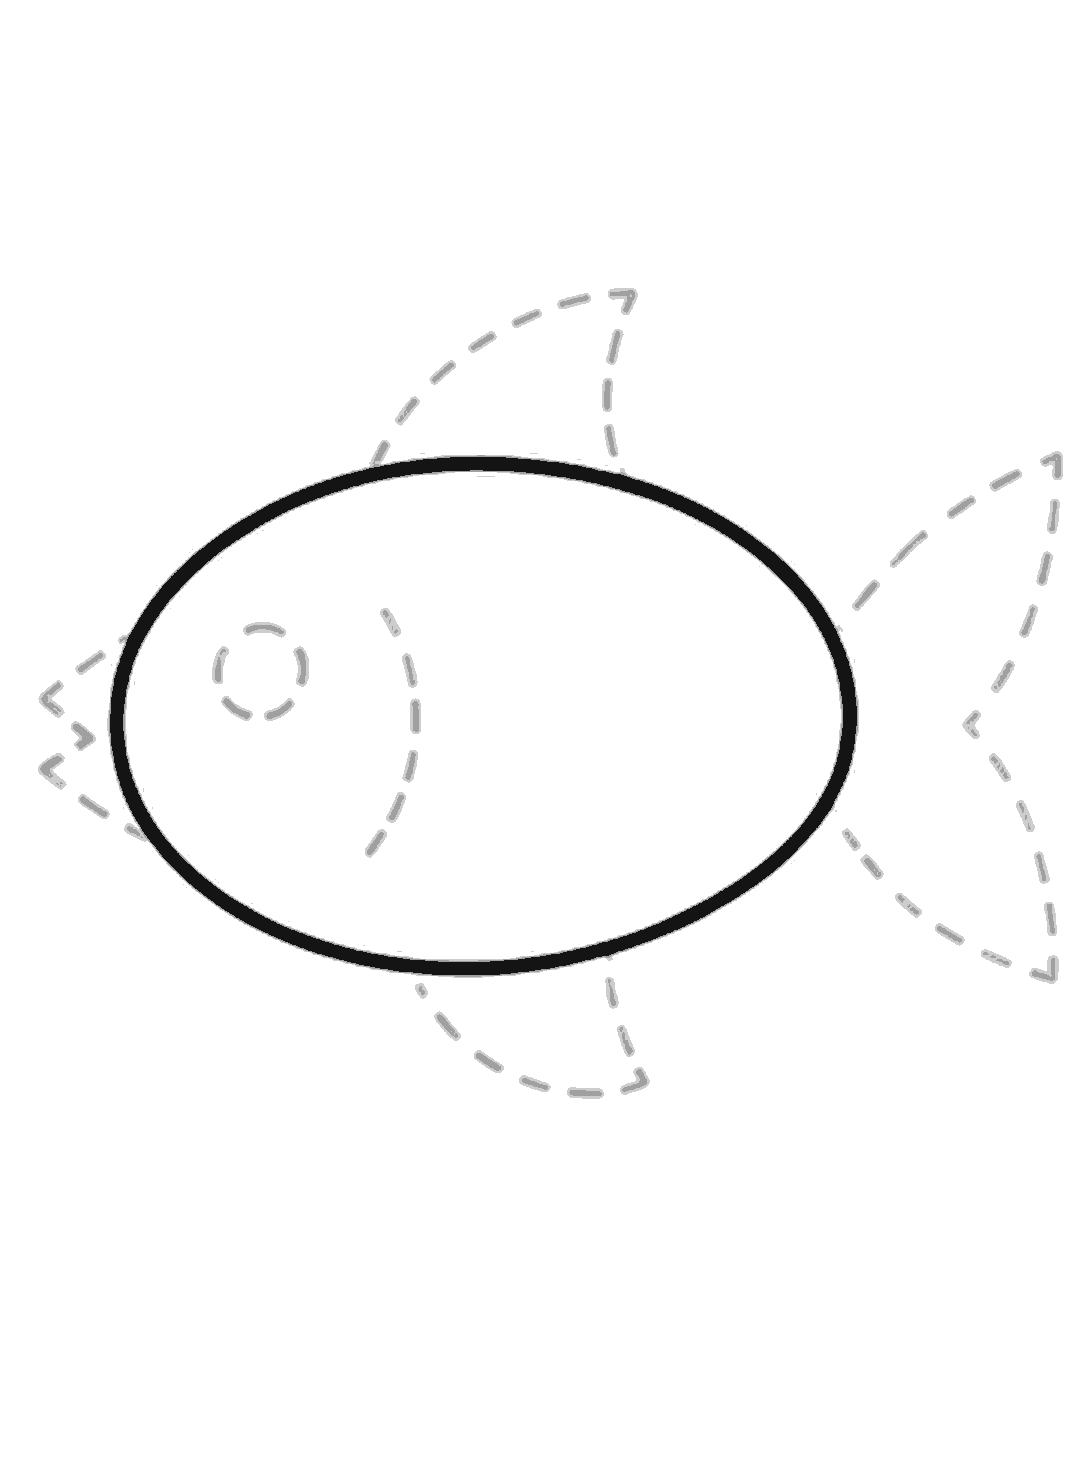
Step 1
Draw the body oval
Draw one large oval across the middle for the fish's body.
Step 2
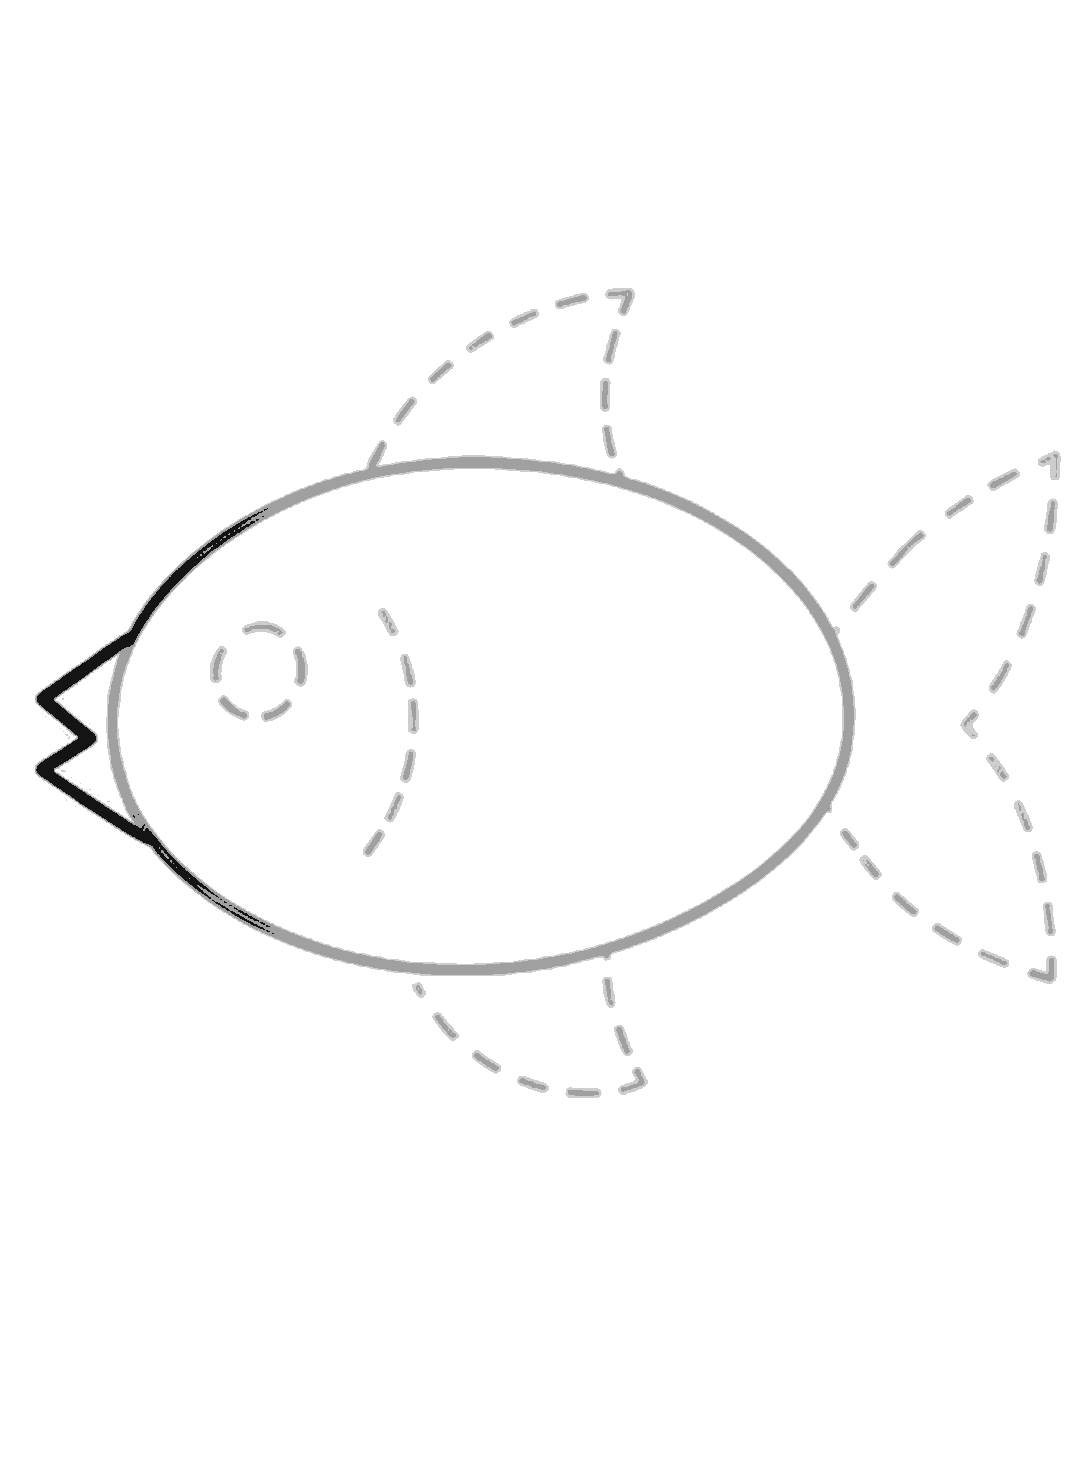
Add the mouth
On the left end of the oval, draw a small zigzag mouth shape that points out from the body.
Step 3
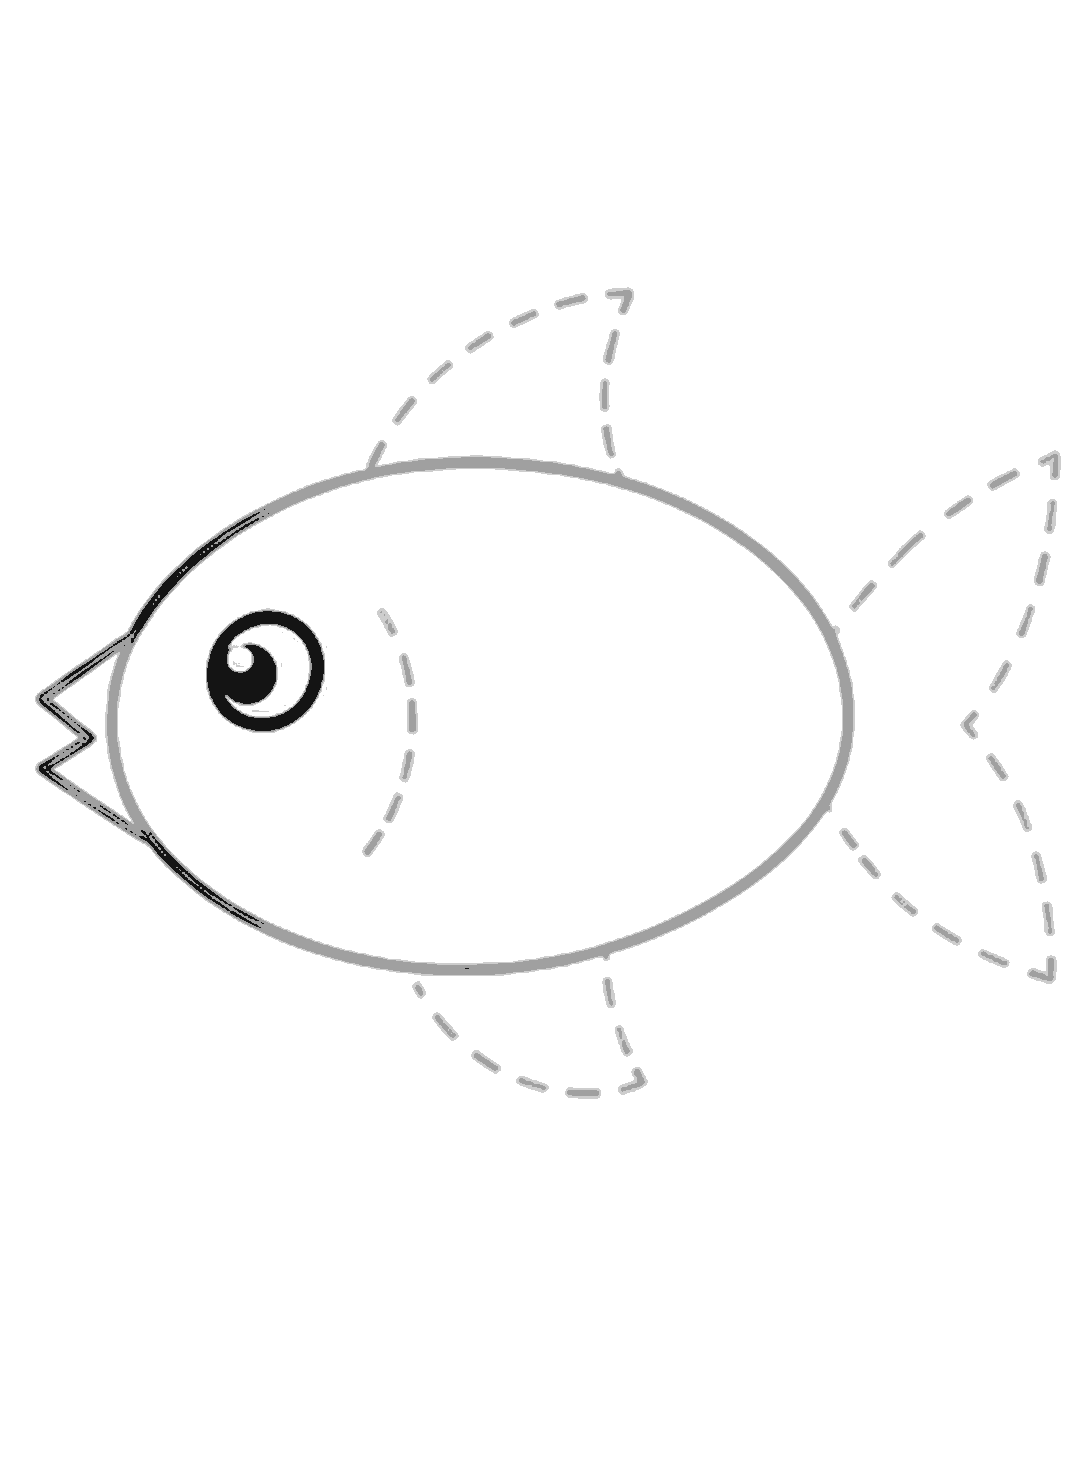
Draw the eye
Inside the dotted eye guide, draw a round eye with a dark middle and a small white shine left uncolored.
Step 4
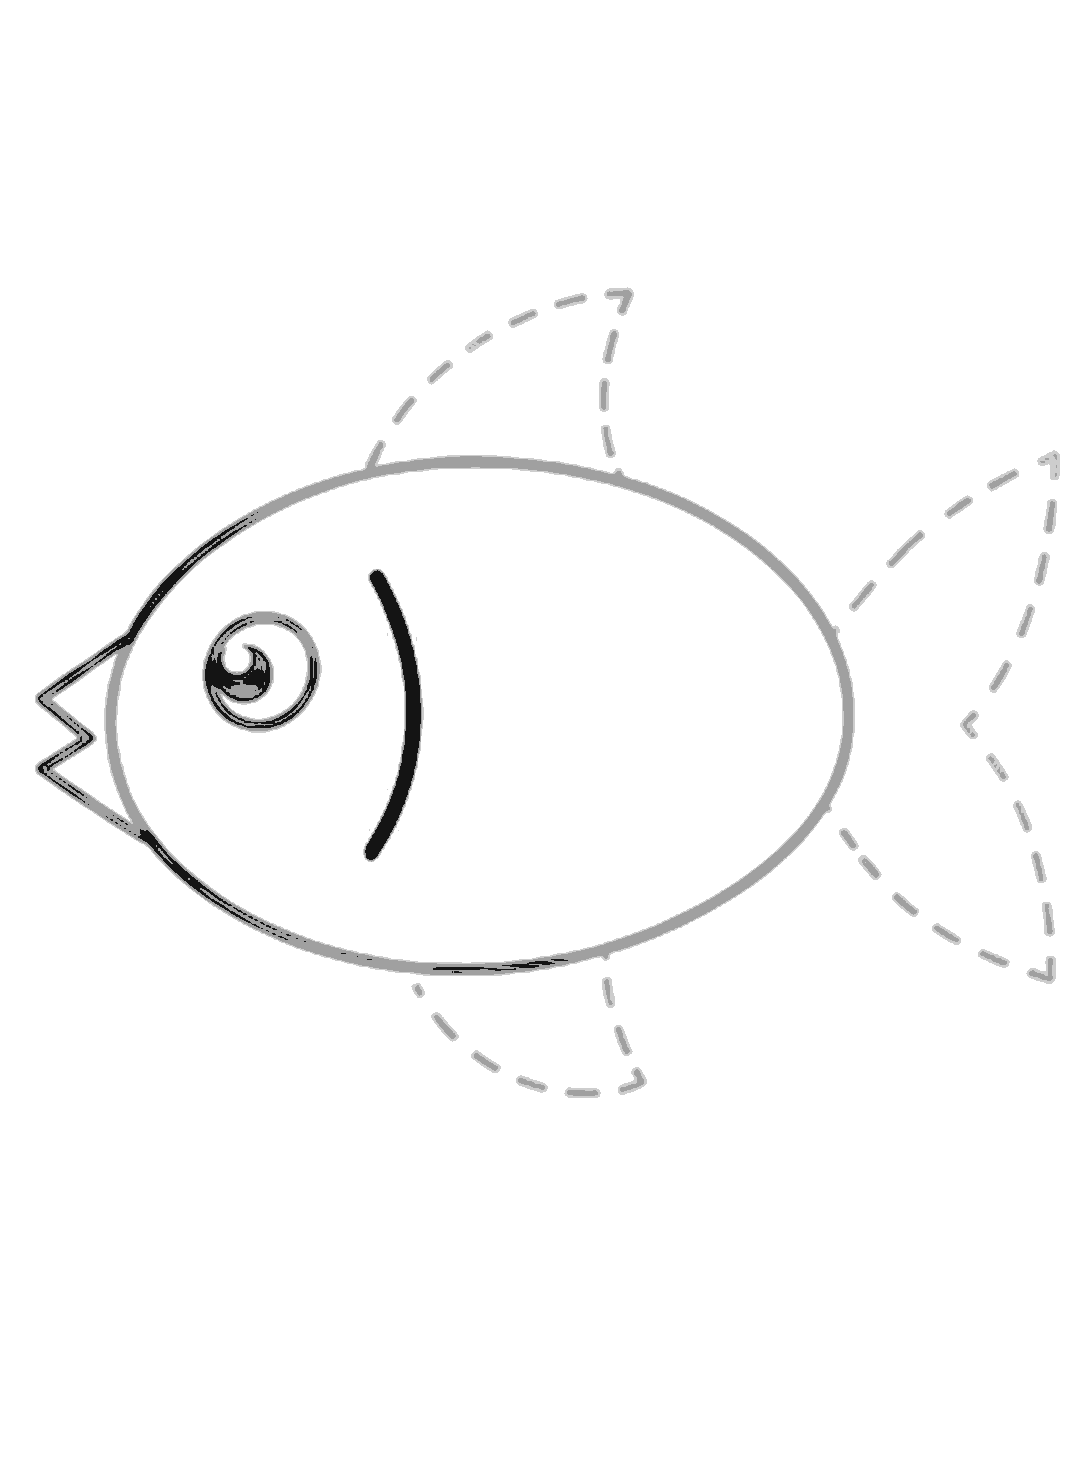
Add the gill line
Draw one curved line behind the eye, from higher up on the body down toward the belly.
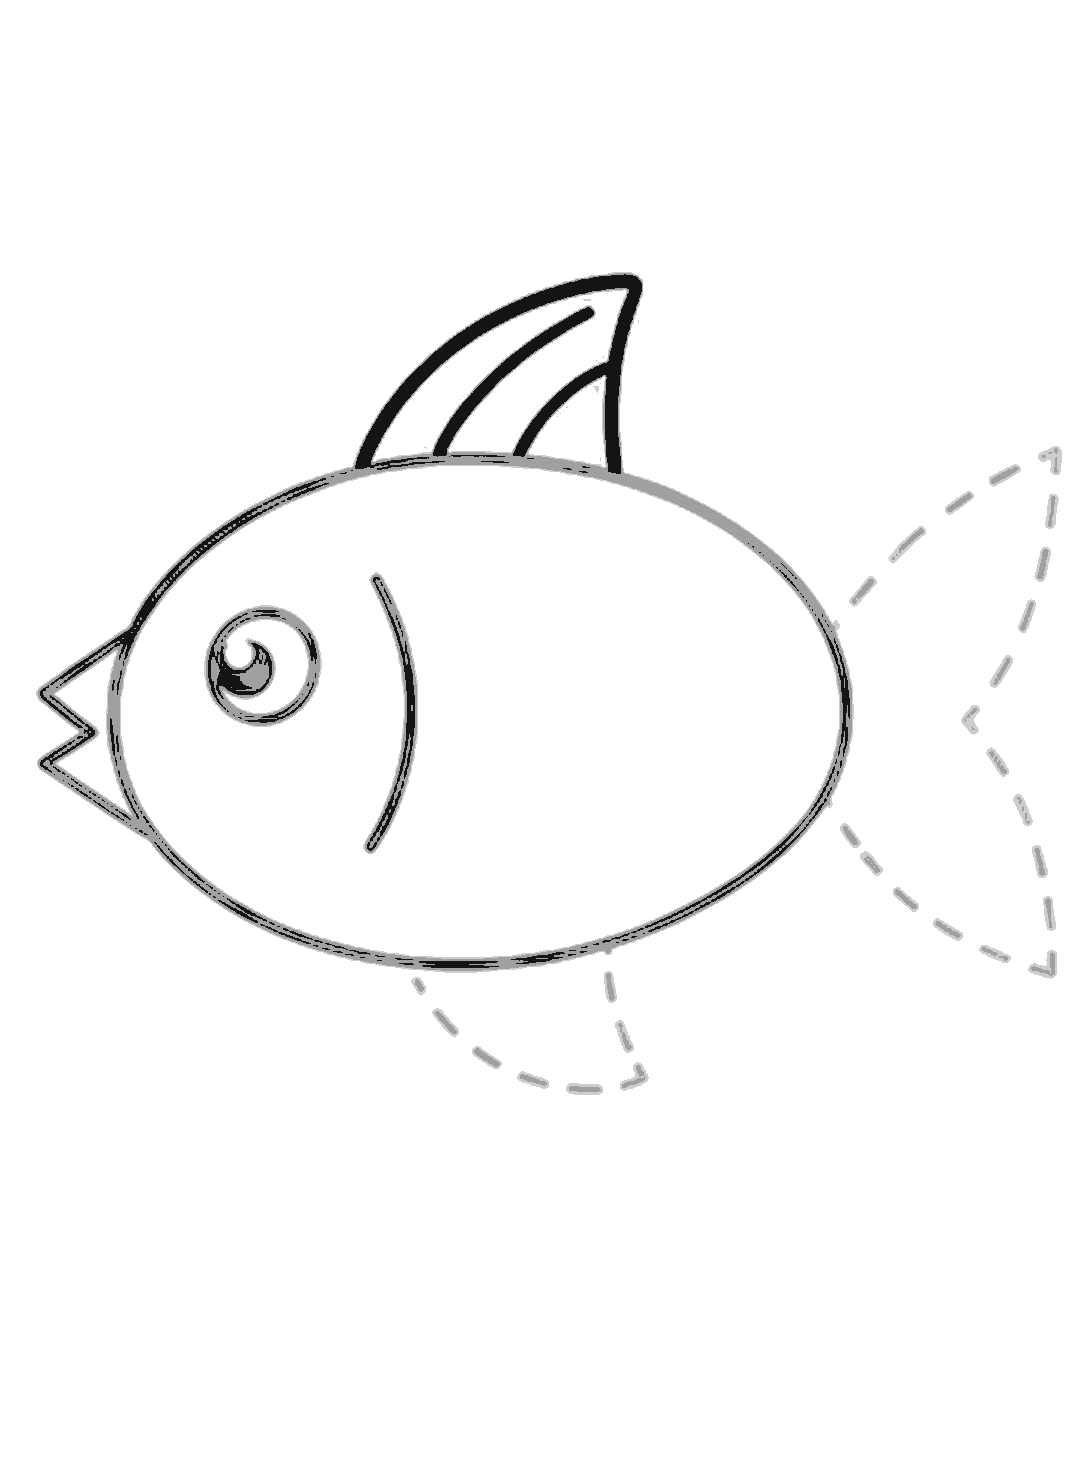
Step 5
Make the top fin
Use the dotted guide on top to draw the top fin. Then add two curved lines inside it.
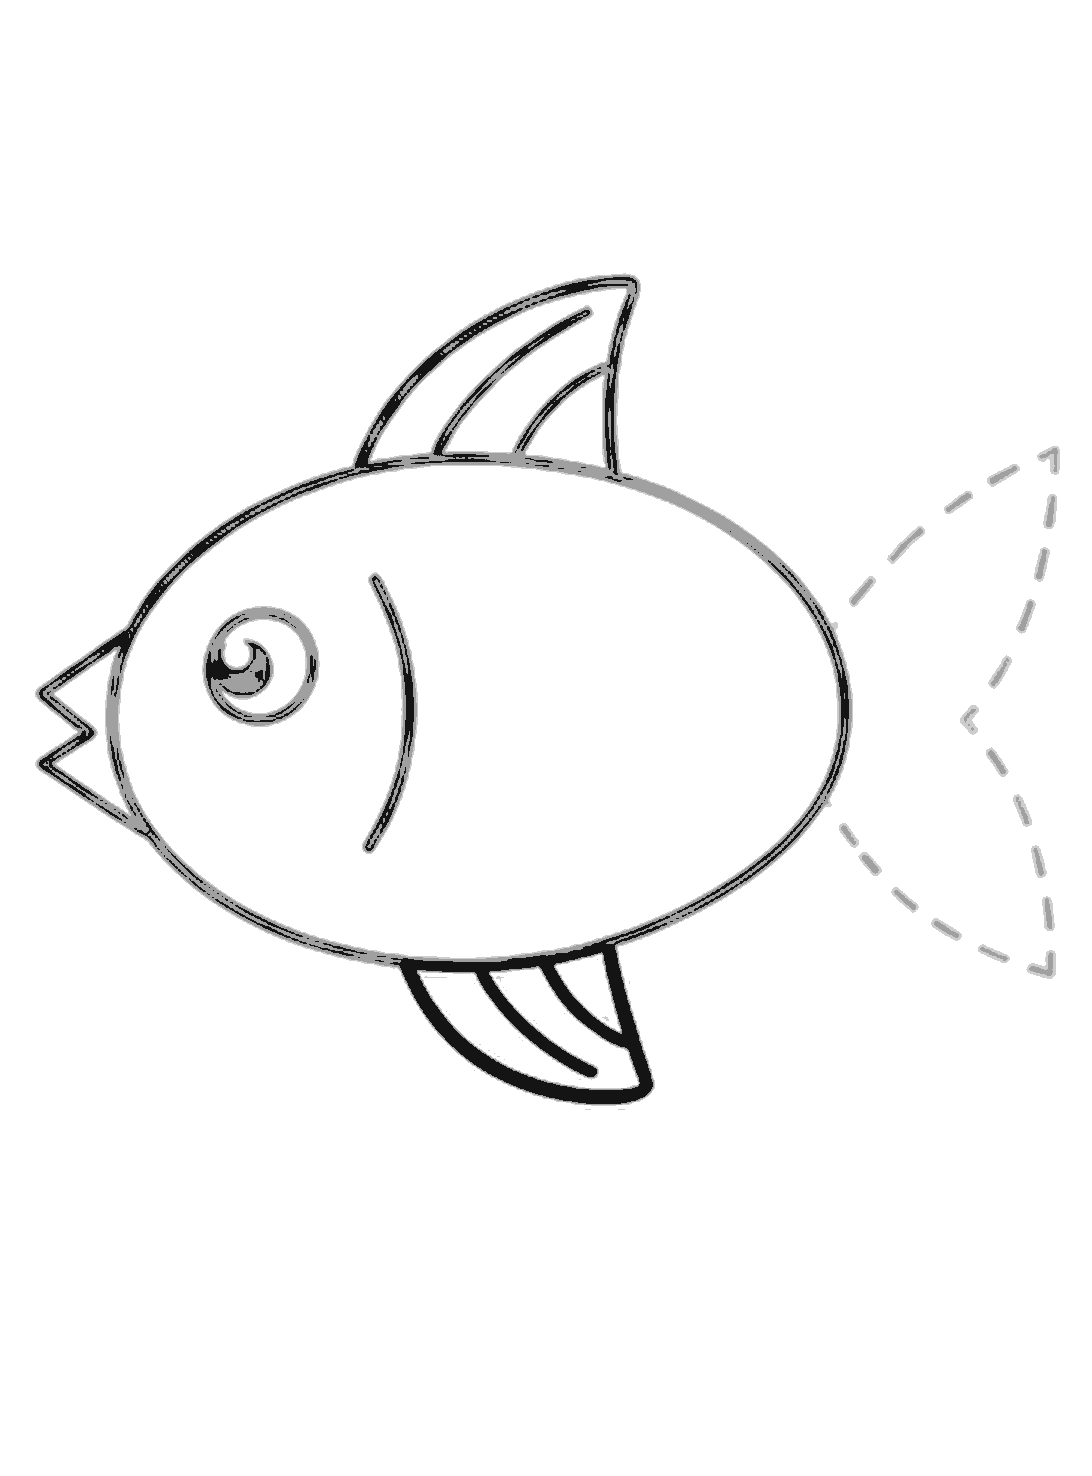
Step 6
Draw the bottom fin
Use the dotted guide under the body to draw the bottom fin. Add two curved lines inside this fin too.
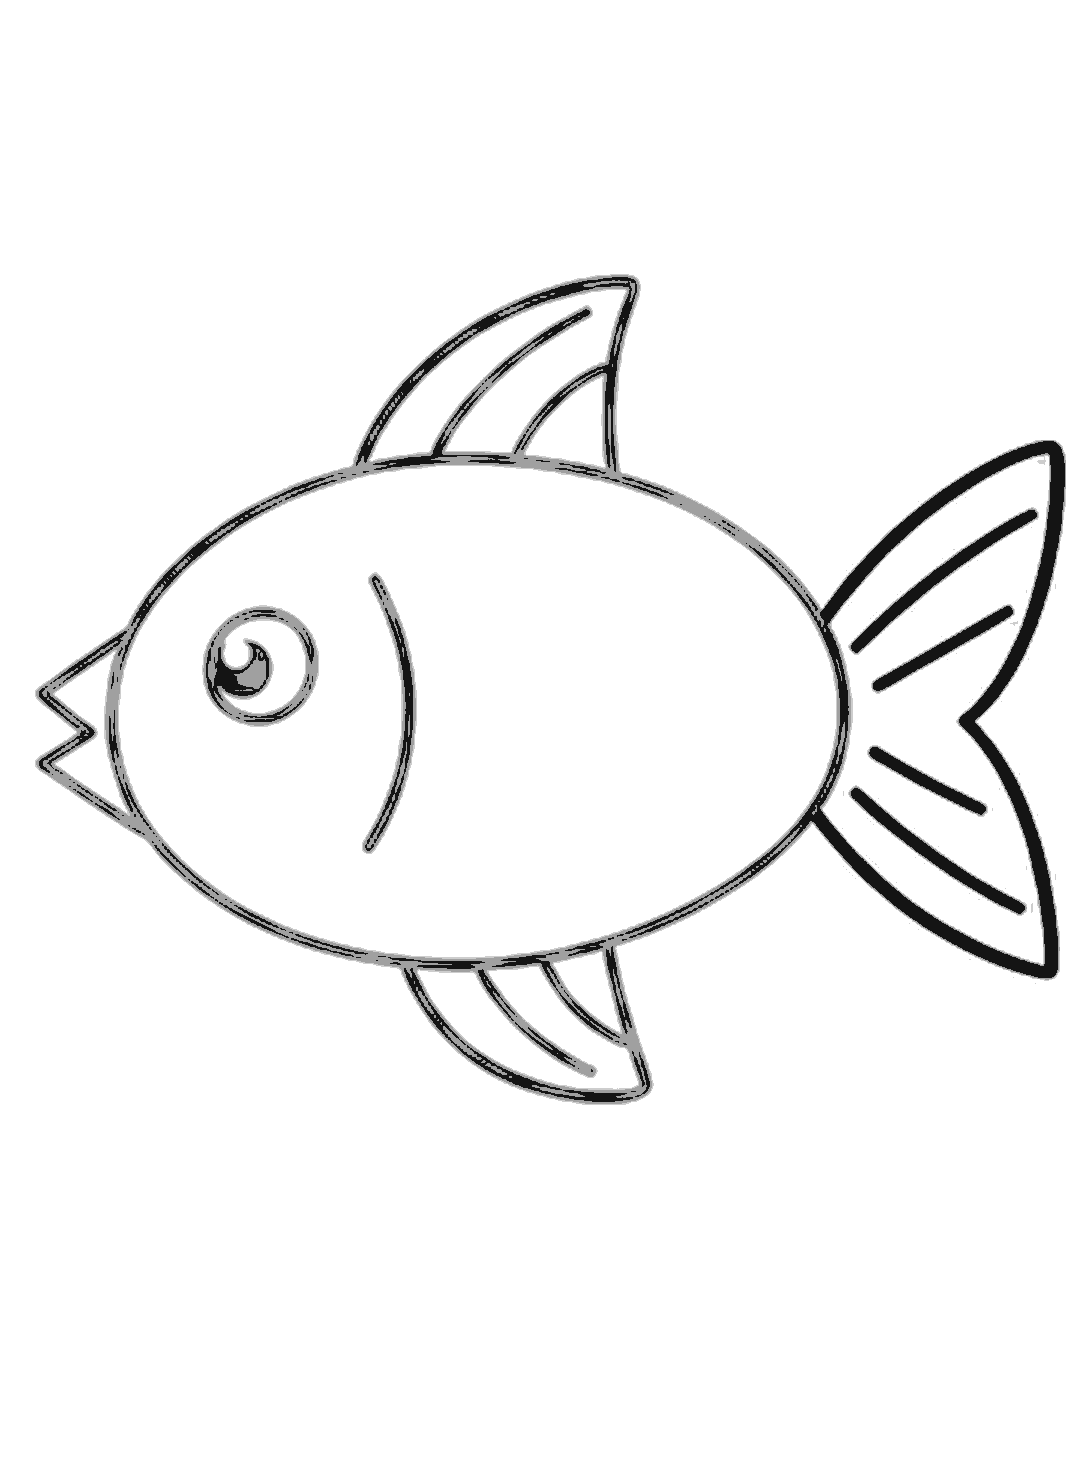
Step 7
Finish the tail
At the back, draw the tail with two pointed lobes using the dotted guide. Add four short slanted lines inside the tail.
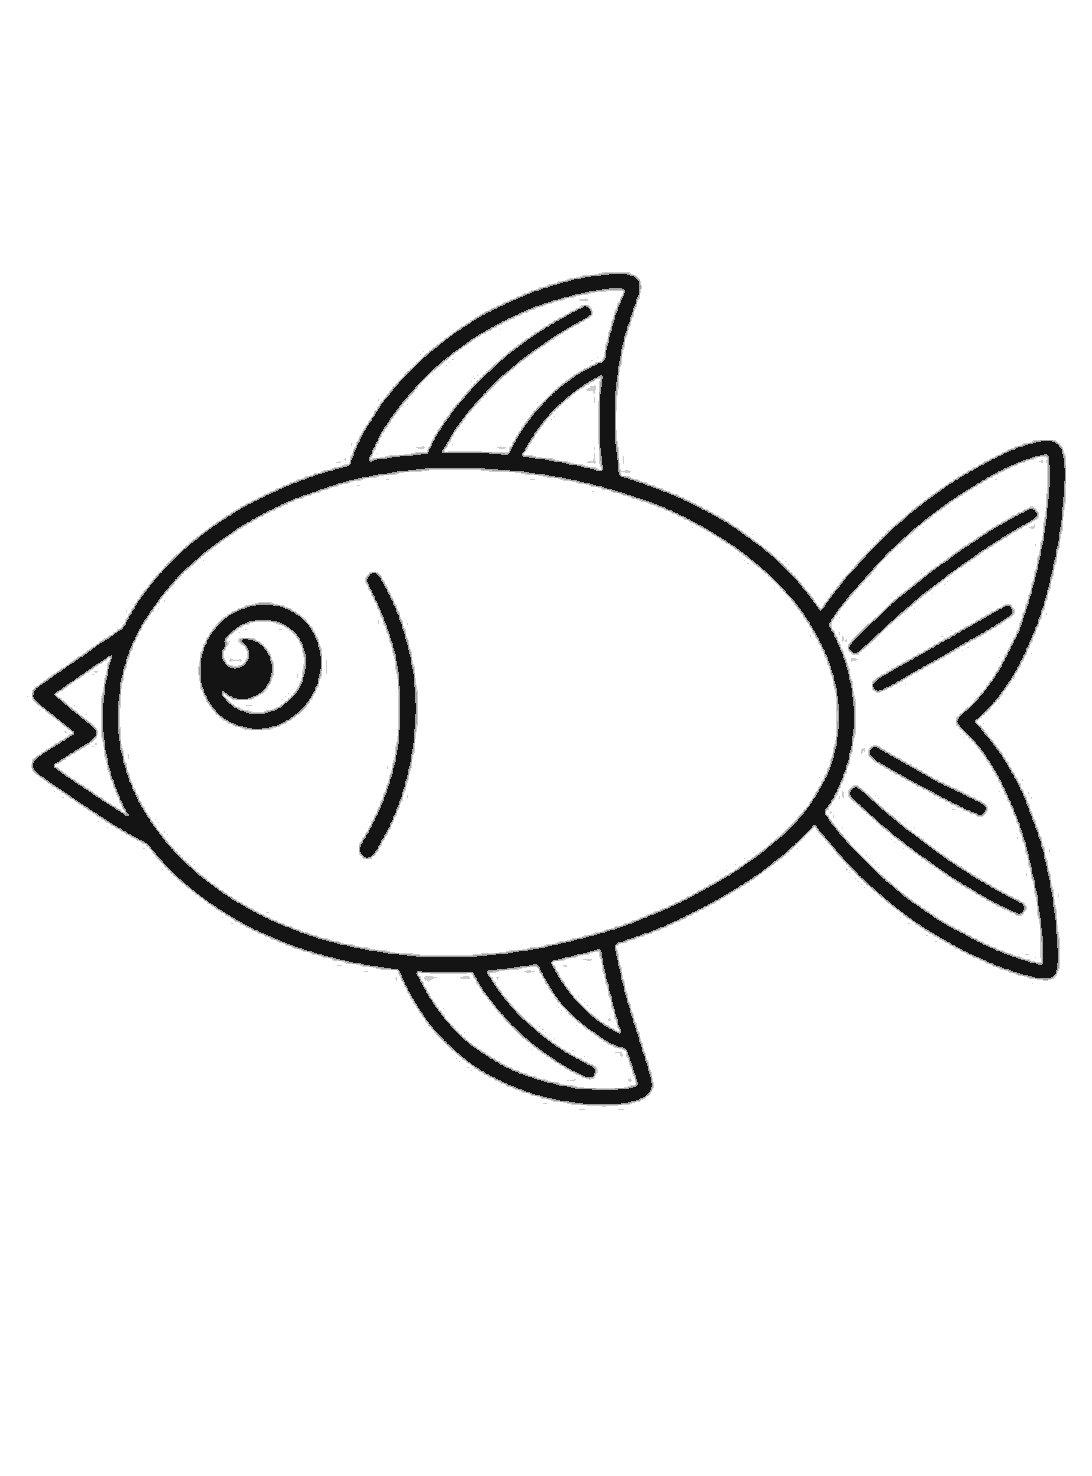
Finished
Go over and clean up
Go over the body and all the parts you are keeping with darker lines. Rub out the pale dotted guides when you are done.
Tips for this one
- Keep the first oval big and smooth.
- Draw the dotted guide shapes lightly so they are easy to rub out.
- Leave a tiny white spot in the eye to make it look shiny.
Now try this
- Draw bubbles around the fish.
- Add stripes or spots on the body.
- Draw seaweed and rocks under the fish.
Questions
- What if my oval is not perfect?
- That is fine. A fish body can be a little wider or longer and still look good. Try to keep the line smooth as you go around.
- Does the fish need both fins?
- Yes, this drawing shows one fin on top and one underneath. They help the fish look balanced and complete.
- Can I color the fish any way I want?
- Yes. You can make it orange, blue, yellow, or rainbow. Adding a lighter belly can also look nice.