
How to Draw a Butterfly
- 8 steps
- Ages 5 and up
- About 15 minutes
- easy
This butterfly is a nice simple drawing for children who are learning to follow shapes step by step. You only need a pencil, an eraser, and something to add color if you want. Start with the long body in the middle, then add the big top wings and the smaller bottom wings. After that, draw the face and the curly feelers. In the last step, darken the lines you want to keep and rub out the dotted guide shapes.
What you need: a pencil, an eraser, black pen or a darker pencil, crayons or colored pencils.
Print this guide as a PDF, 327 KB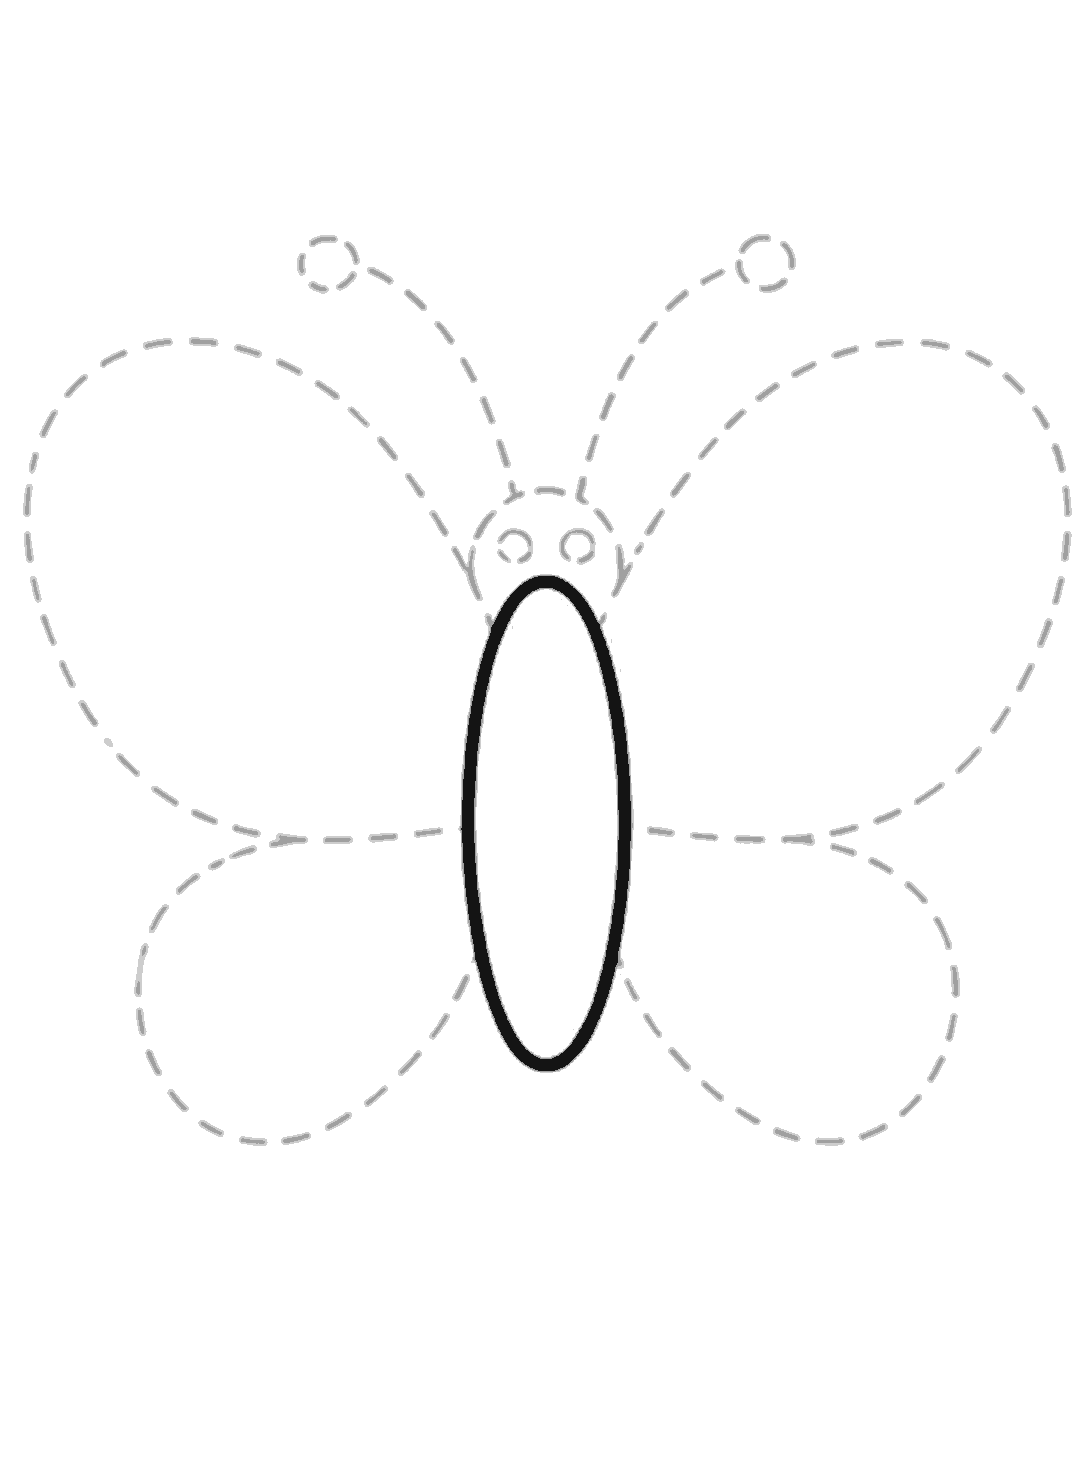
Step 1
Draw the body
Draw a tall, narrow oval in the middle for the butterfly's body.
Step 2
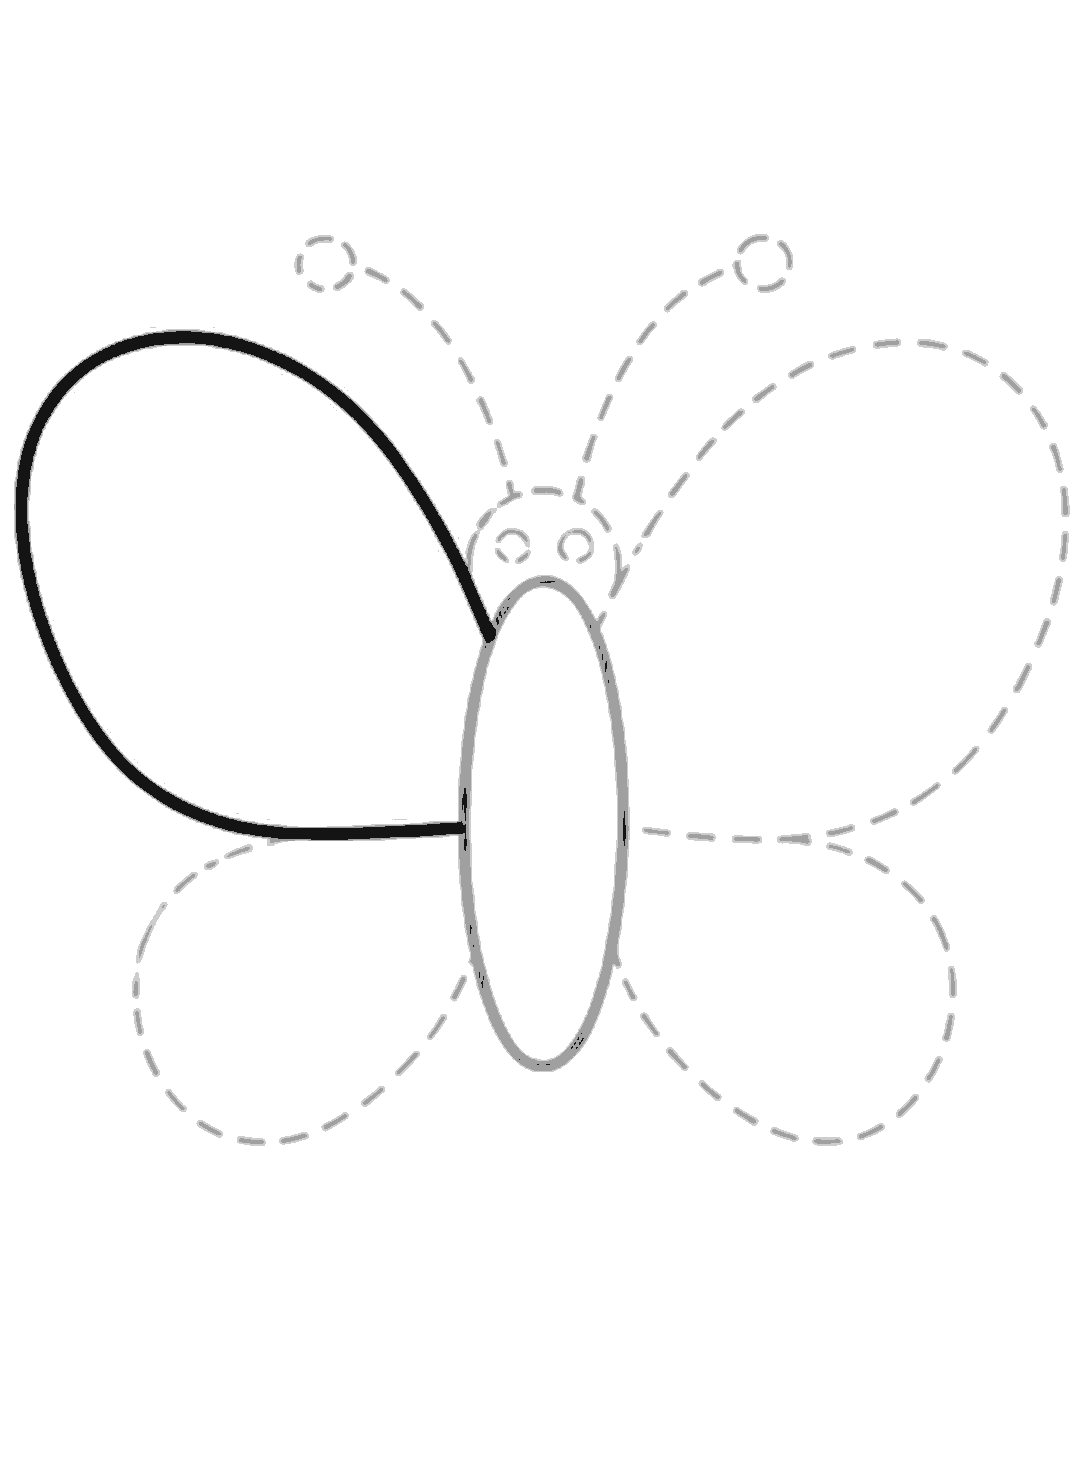
Add the left top wing
Draw the large top wing on the left. Start near the top of the body, curve out wide, then bring the line back to meet the body at the middle.
Step 3
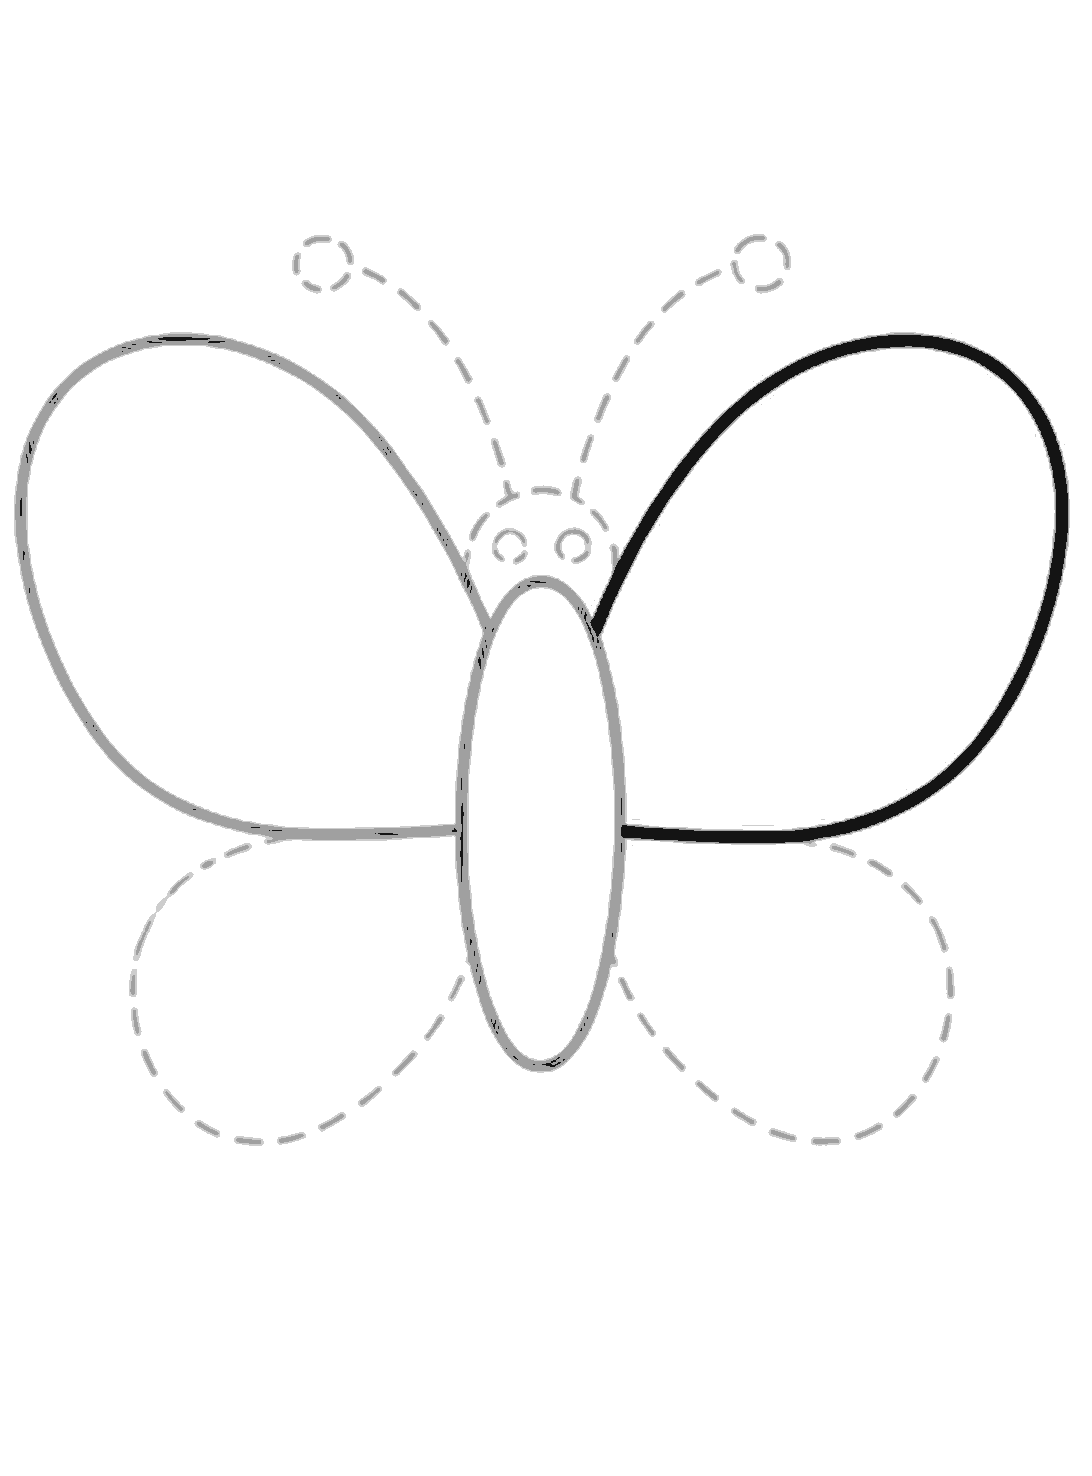
Add the right top wing
Draw the matching large top wing on the right. Curve it out and back in so it meets the body at the middle.
Step 4
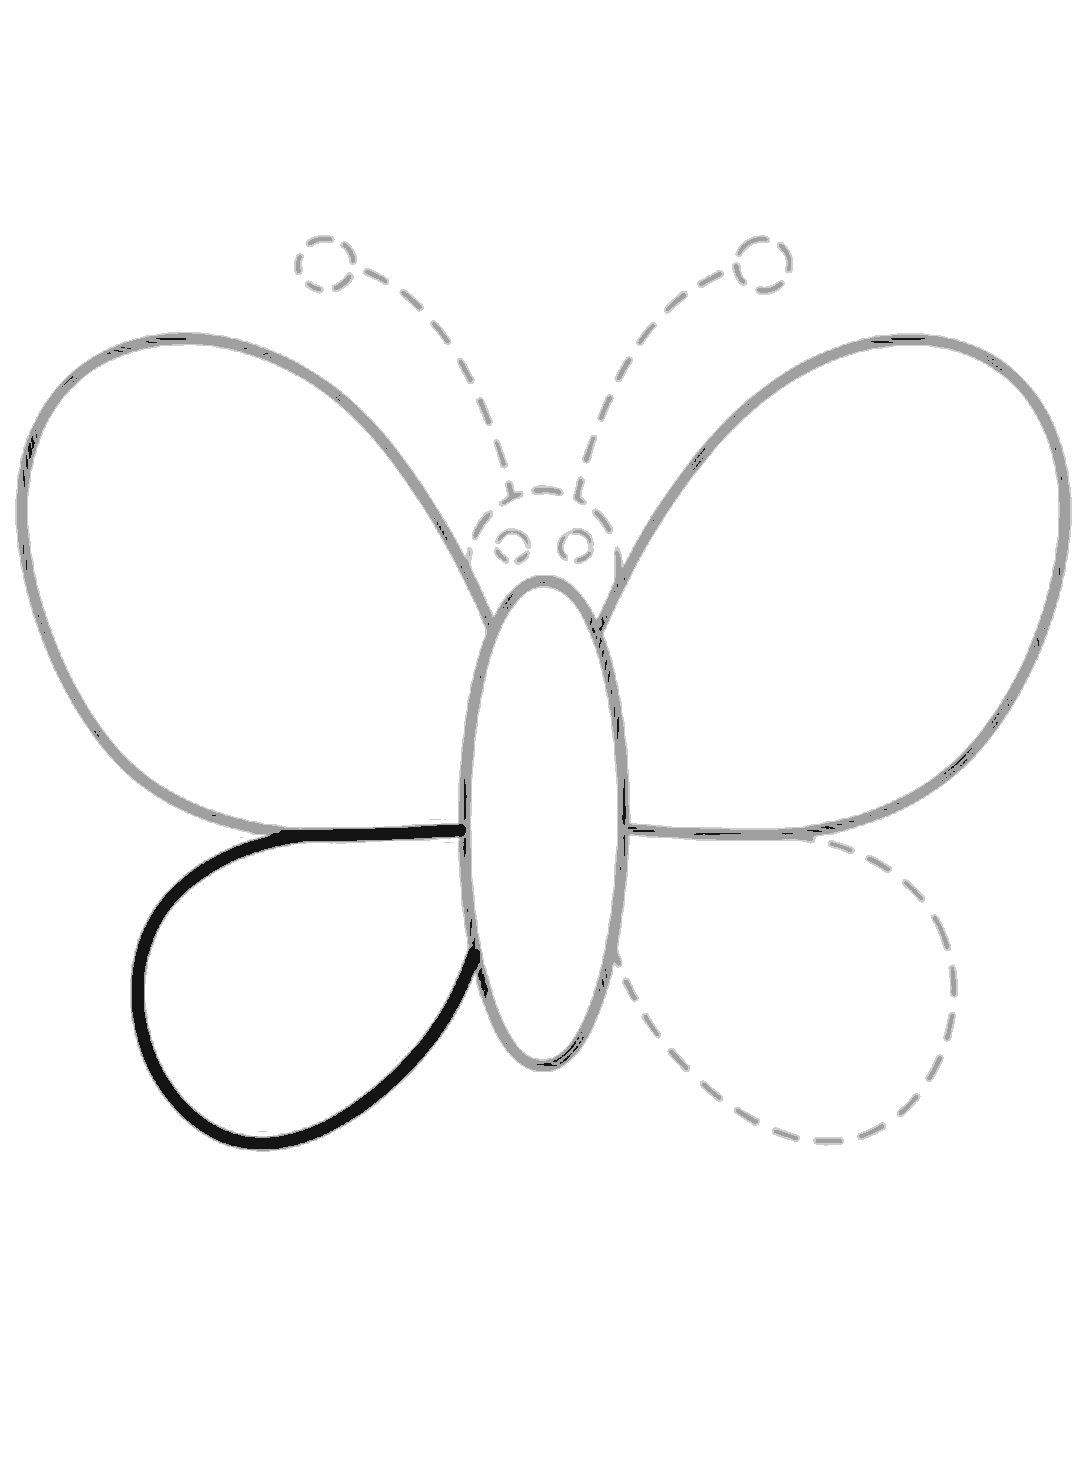
Draw the left bottom wing
Draw the smaller bottom wing on the left. Start at the middle beside the body, curve down and around, then come back up near the lower body.
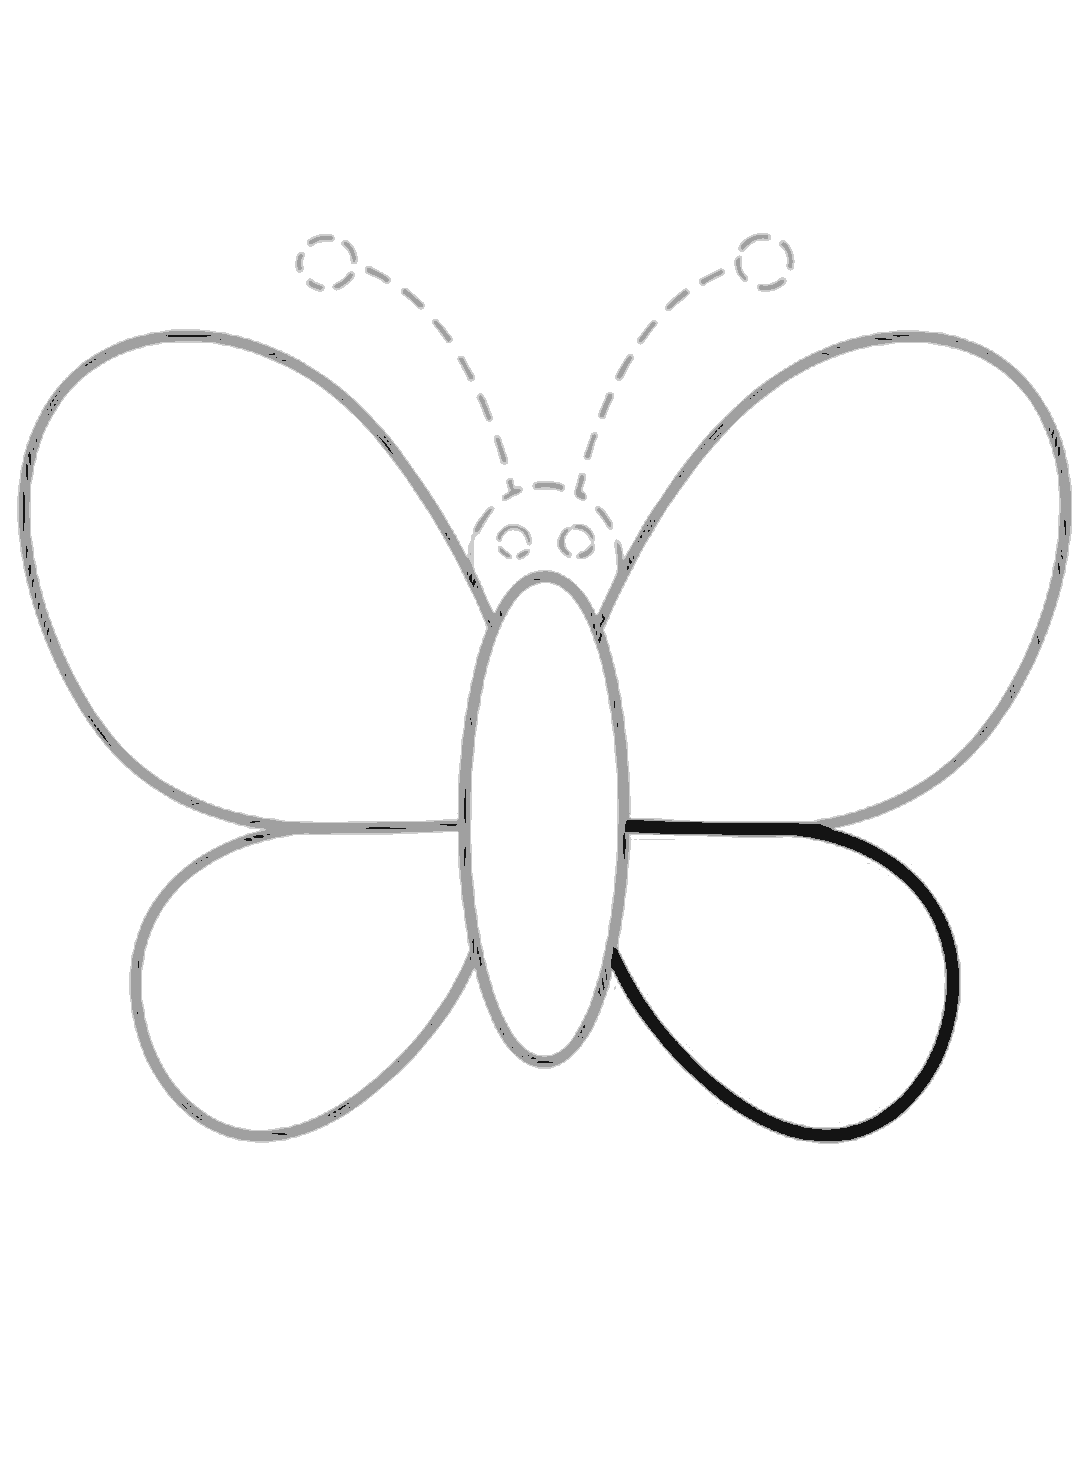
Step 5
Draw the right bottom wing
Draw the matching bottom wing on the right. Curve it down and around, then bring it back to the body.
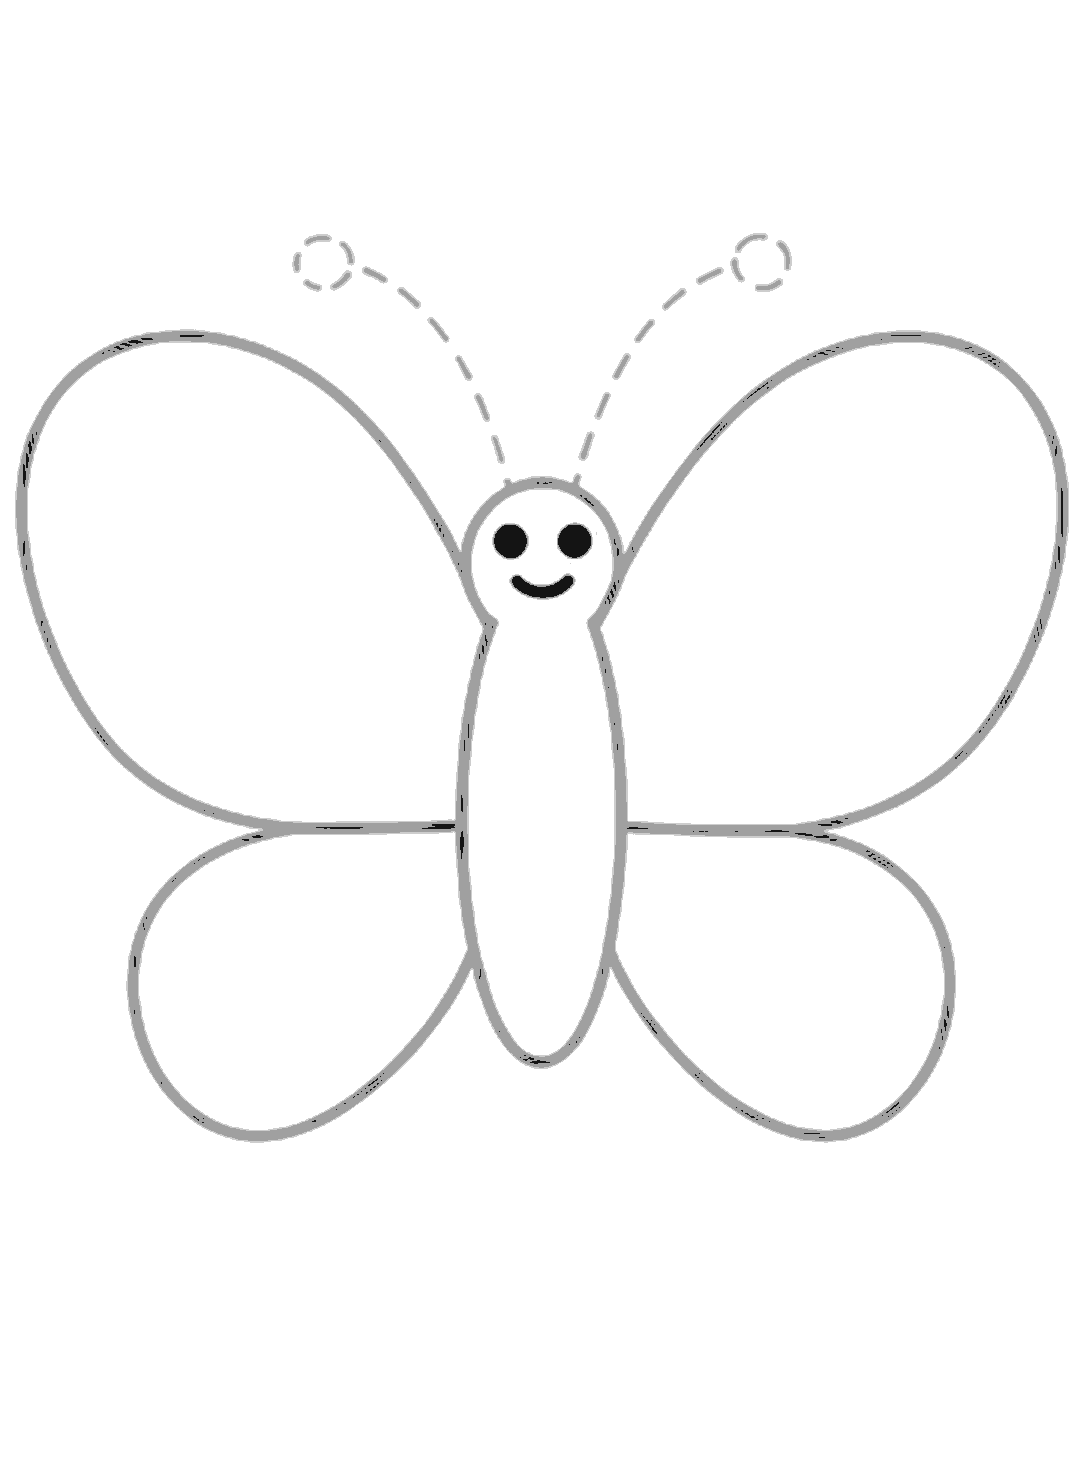
Step 6
Add the face
Draw two filled circles for the eyes and a small smiling curve underneath.
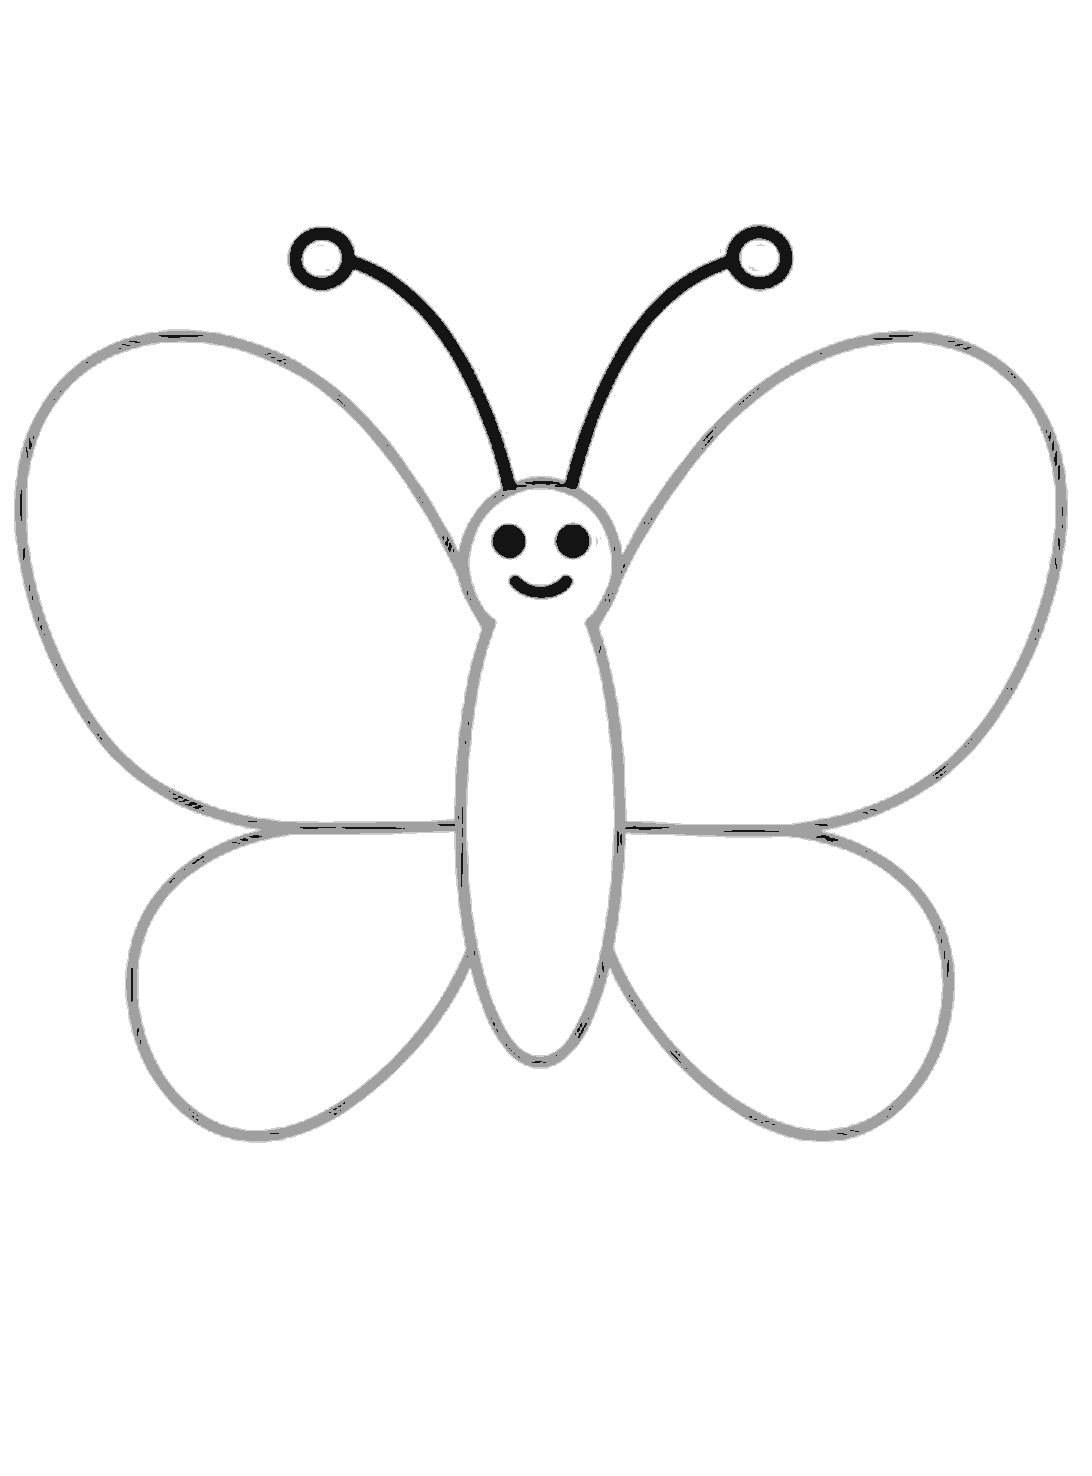
Step 7
Draw the feelers
Draw two long curved feelers going up from the head. Add a small circle at the end of each one.
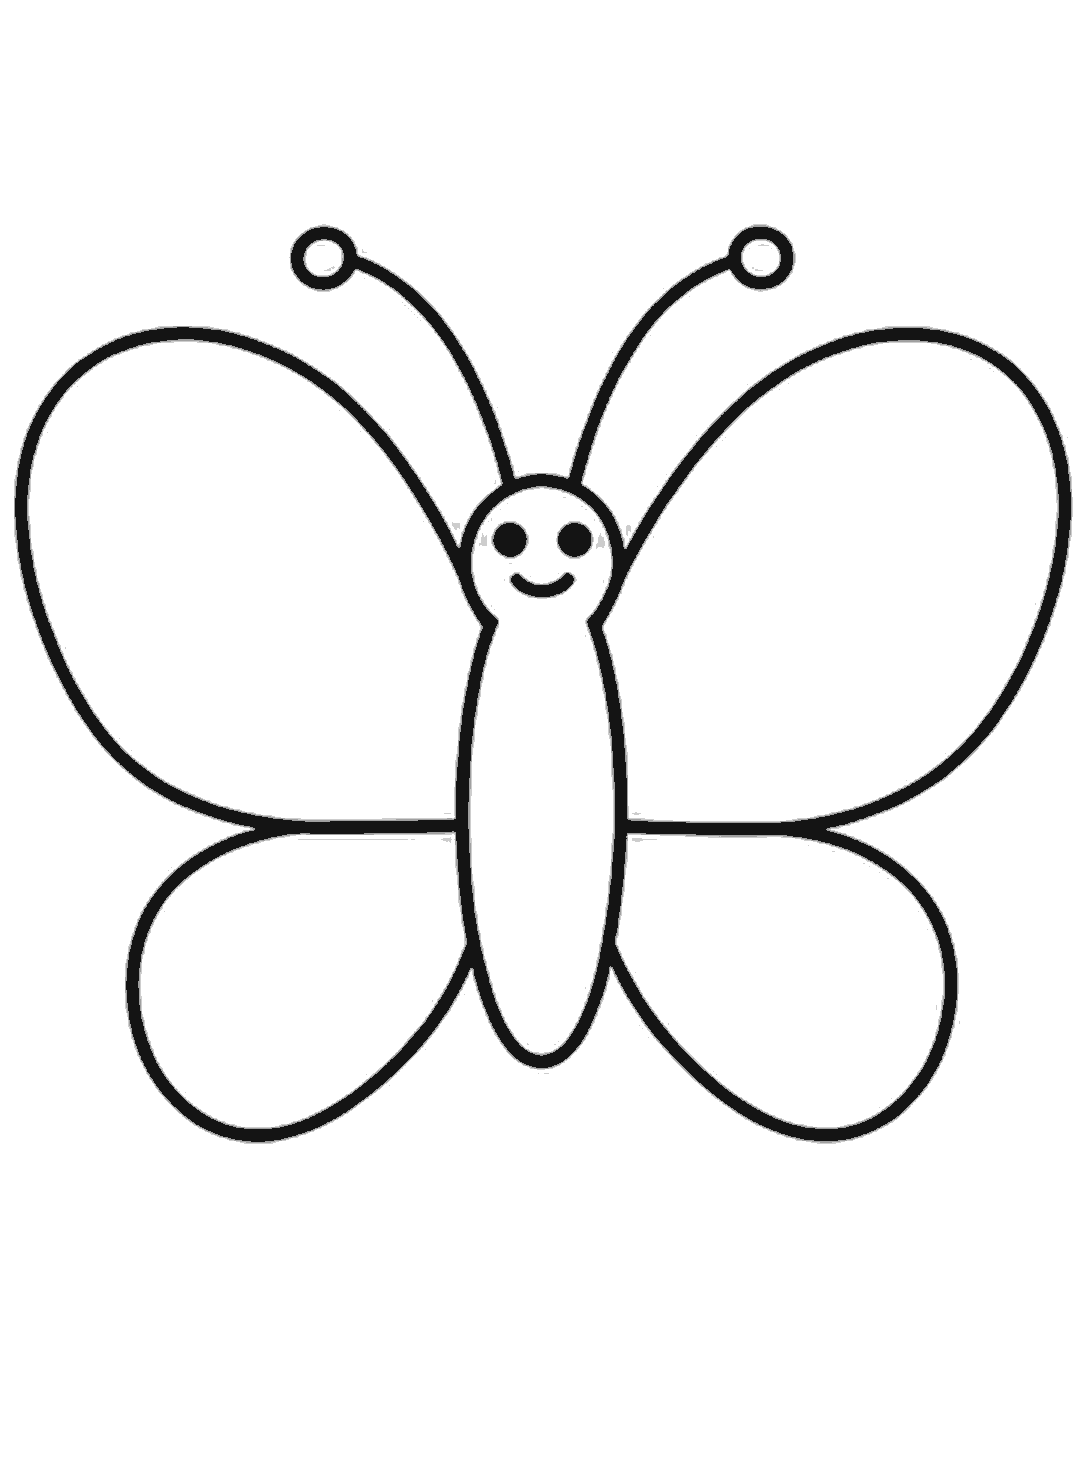
Finished
Finish and clean up
Go over the butterfly outline, face, and feelers with darker lines. Rub out the pale dotted guides when you are done.
Tips for this one
- Keep the top wings bigger than the bottom wings.
- If one wing looks different, gently adjust the curve until both sides feel balanced.
- Draw the guide shapes lightly so they are easy to rub out.
Now try this
- Add spots or stripes on the wings.
- Draw the butterfly on a flower.
- Color each wing a different bright color.
Questions
- My wings do not match. What should I do?
- That is very normal. Look at the height and width of each wing, then change one curve a little at a time until the sides look closer.
- Do I need to draw the guide shapes first?
- Guide shapes can really help with spacing. If you feel confident, you can skip them and draw the final lines more freely.
- Can I decorate the wings?
- Yes. Once the outline is finished, you can add circles, lines, hearts, or simple shapes inside the wings.