
How to Draw a Pumpkin
- 8 steps
- Ages 5 and up
- About 10 minutes
- easy
This pumpkin drawing is a good choice for children who want a simple autumn picture. It helps to sketch the dotted guide shapes lightly first, then add the darker lines step by step. You will draw the round pumpkin, the curved sections, a curly vine, a stem, and a leaf. At the end, go over the lines you want to keep and rub out the dotted guides. Take your time with the long curves. They do not need to match perfectly to look good.
What you need: a pencil, an eraser, black pen or marker, some paper.
Print this guide as a PDF, 365 KB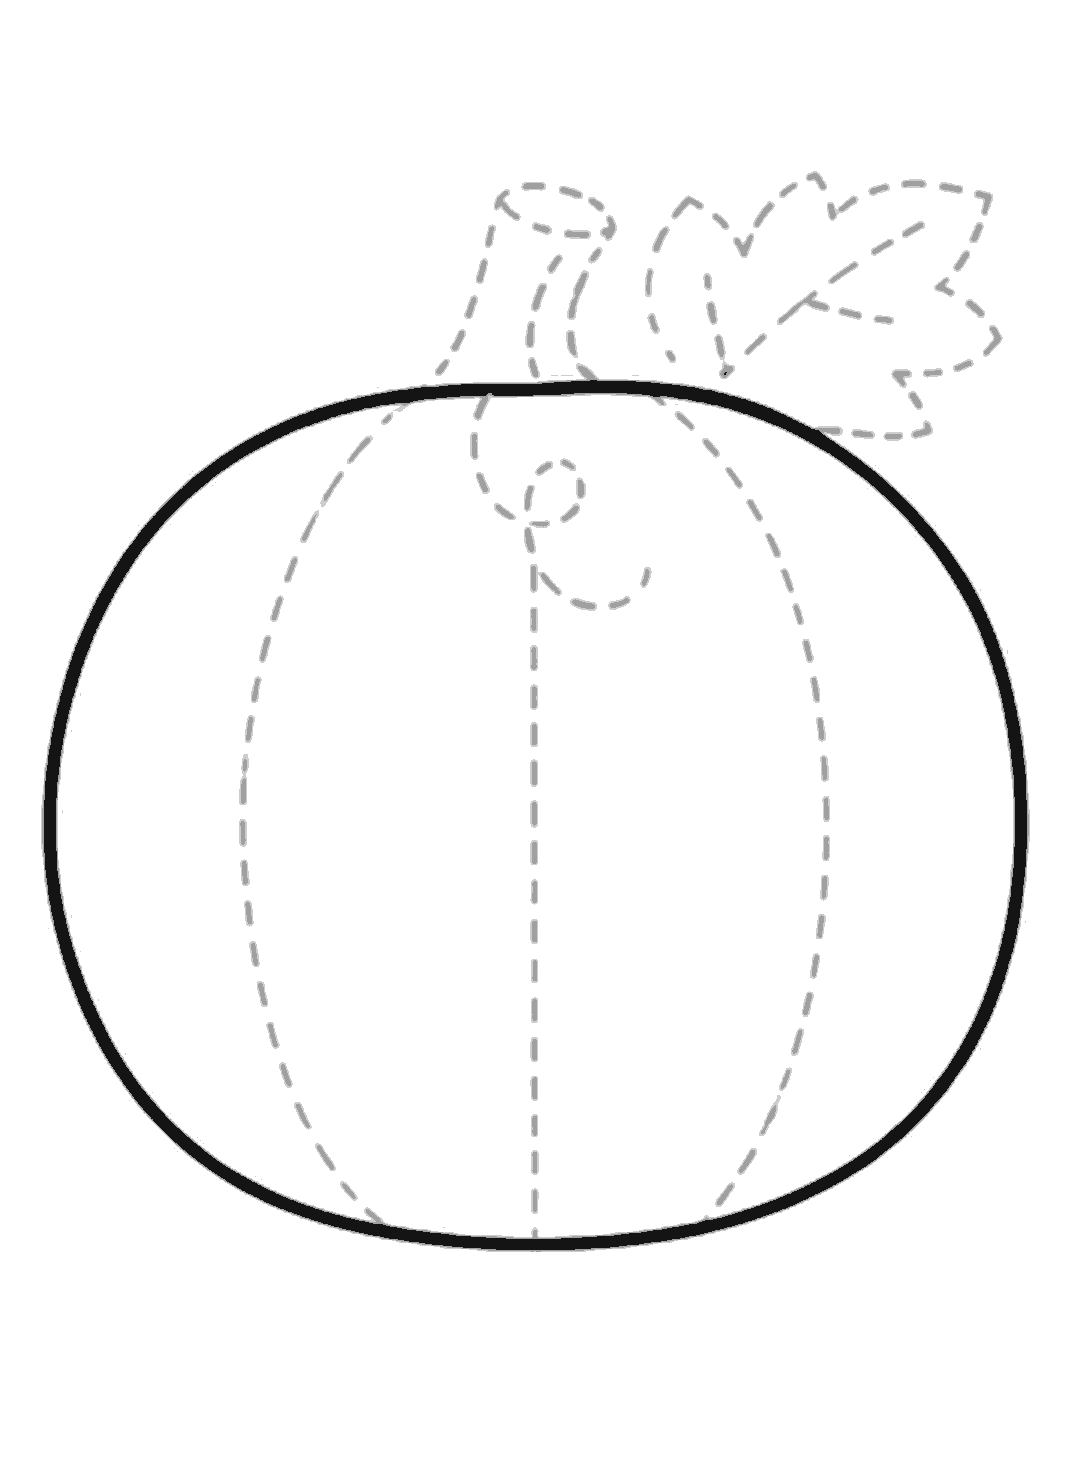
Step 1
Draw the pumpkin shape
Draw one big, wide, rounded shape for the pumpkin body. Make the top a little flatter and the bottom gently curved.
Step 2
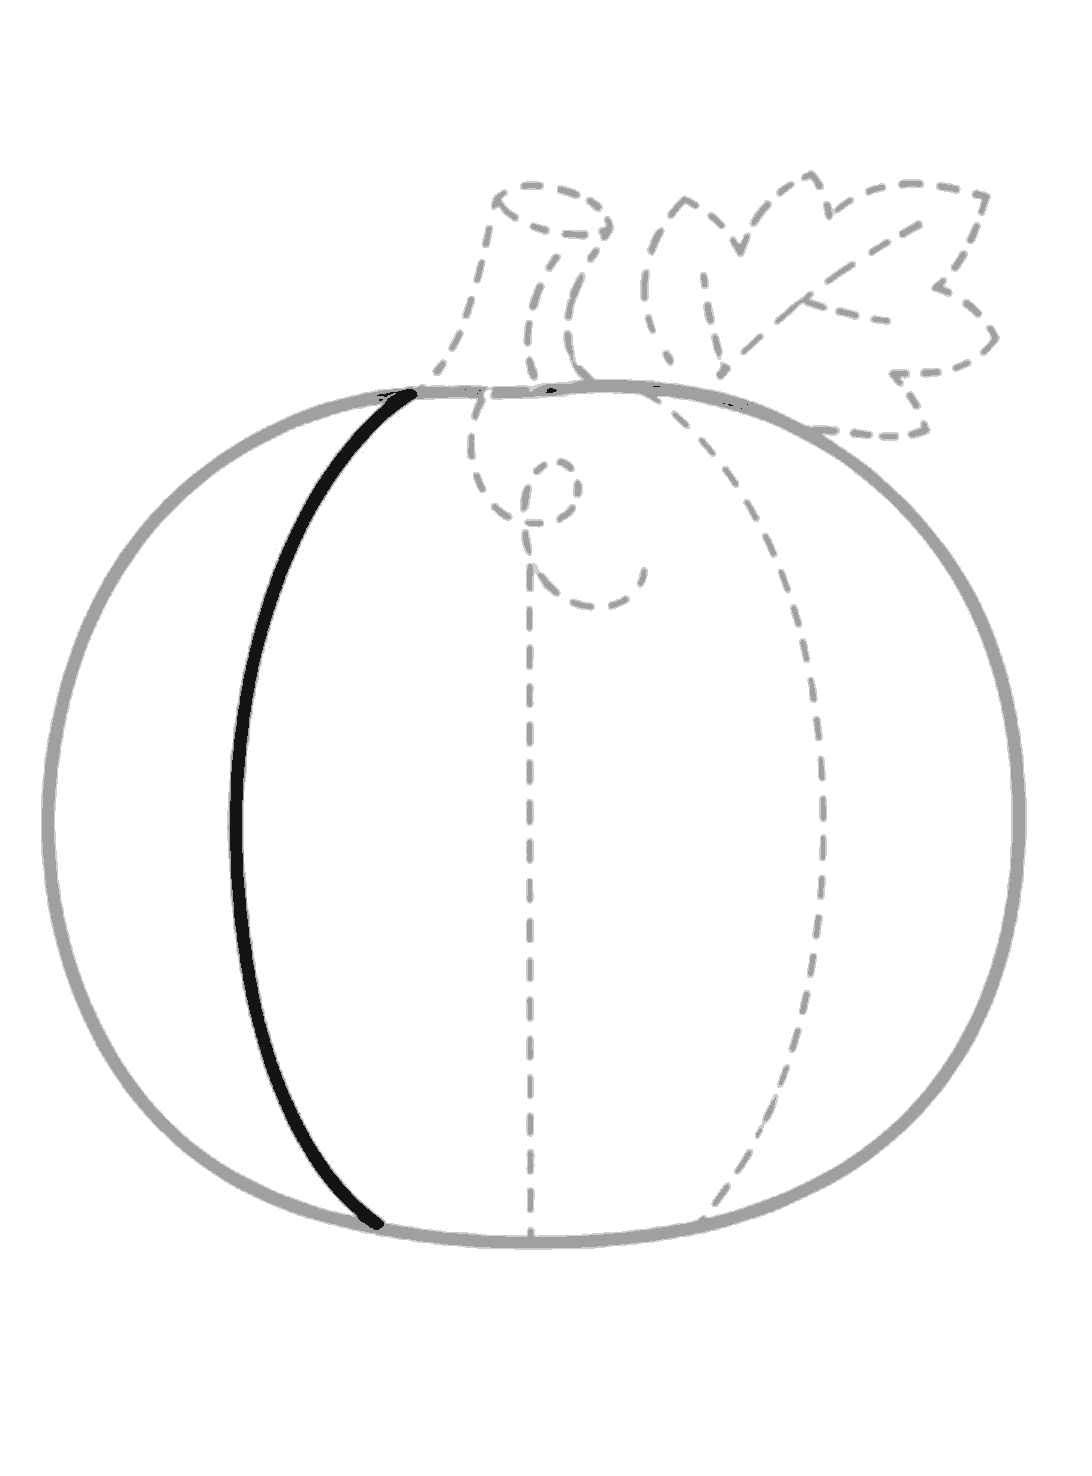
Add the left section
Draw a long curved line down the left side of the pumpkin. Start near the top and curve it down to the bottom.
Step 3
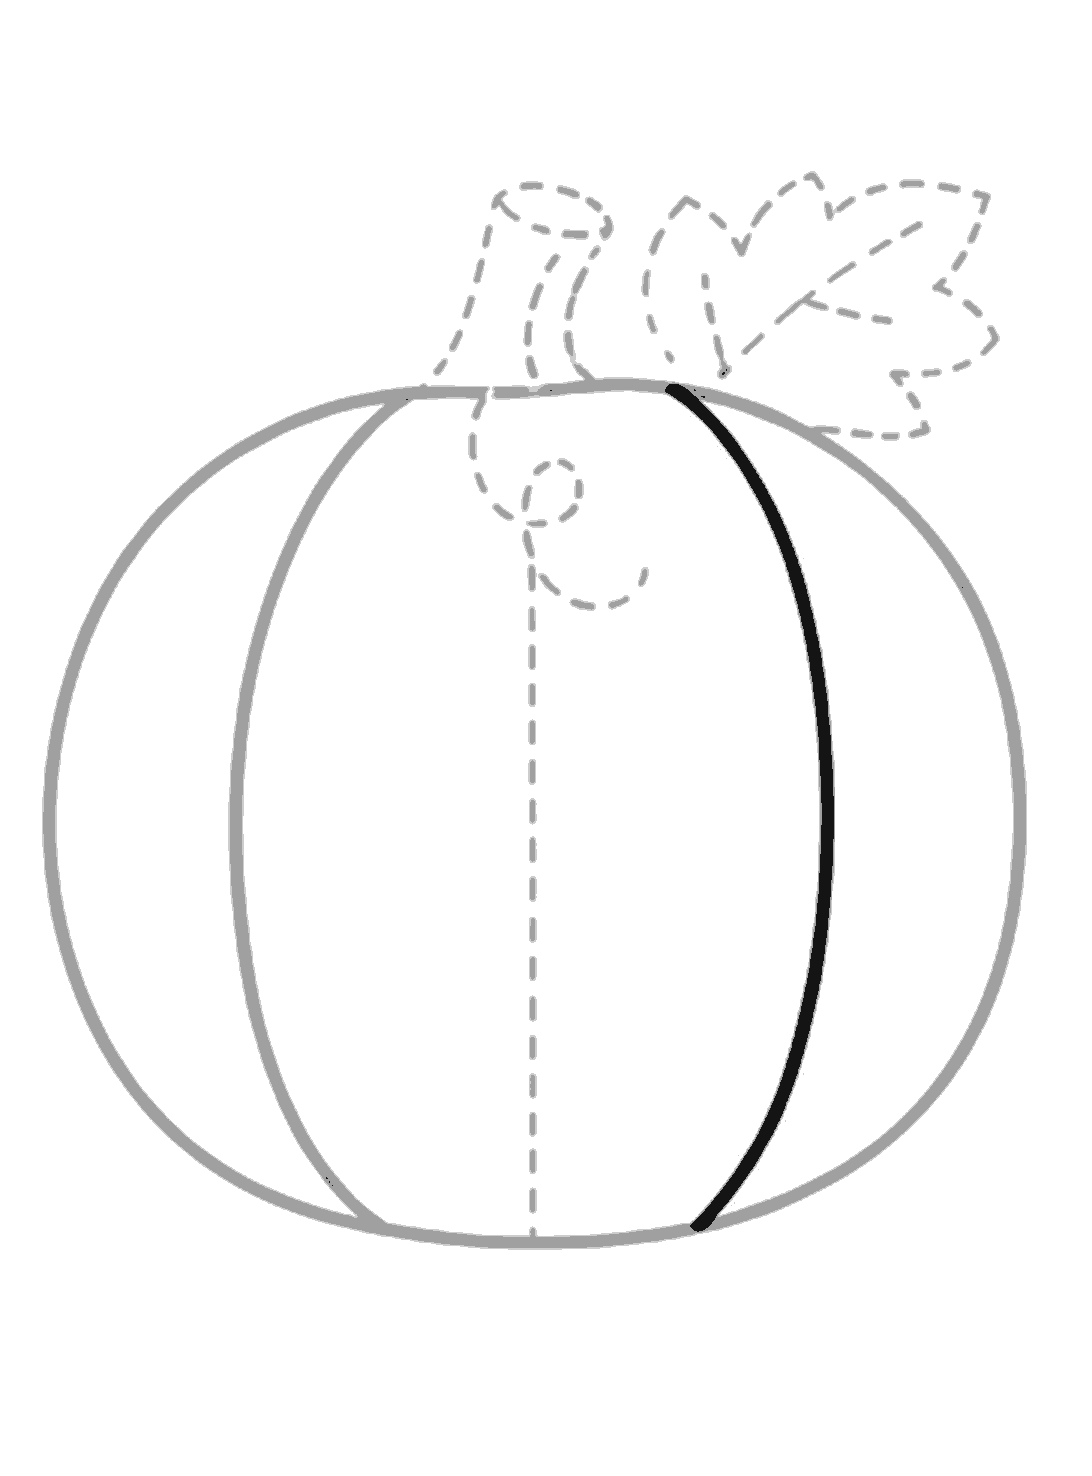
Add the right section
Draw a matching long curved line on the right side. It runs from the top edge down to the bottom edge of the pumpkin.
Step 4
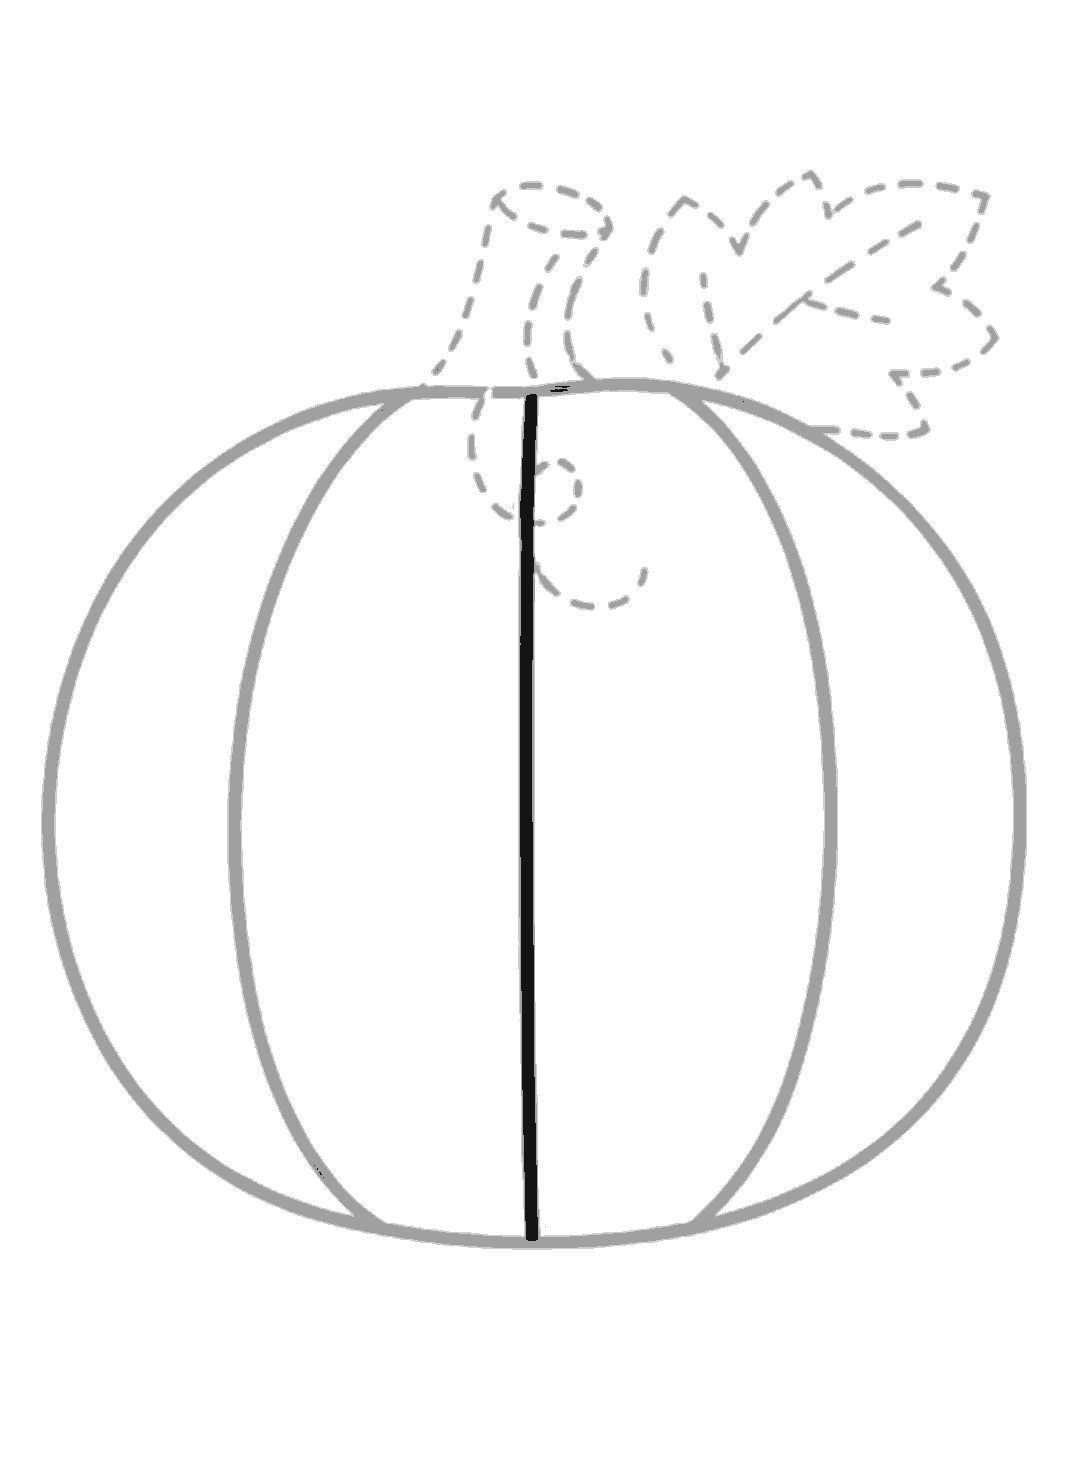
Draw the middle line
Draw a straight line down the middle of the pumpkin. Start at the top dip and bring it down to the bottom.
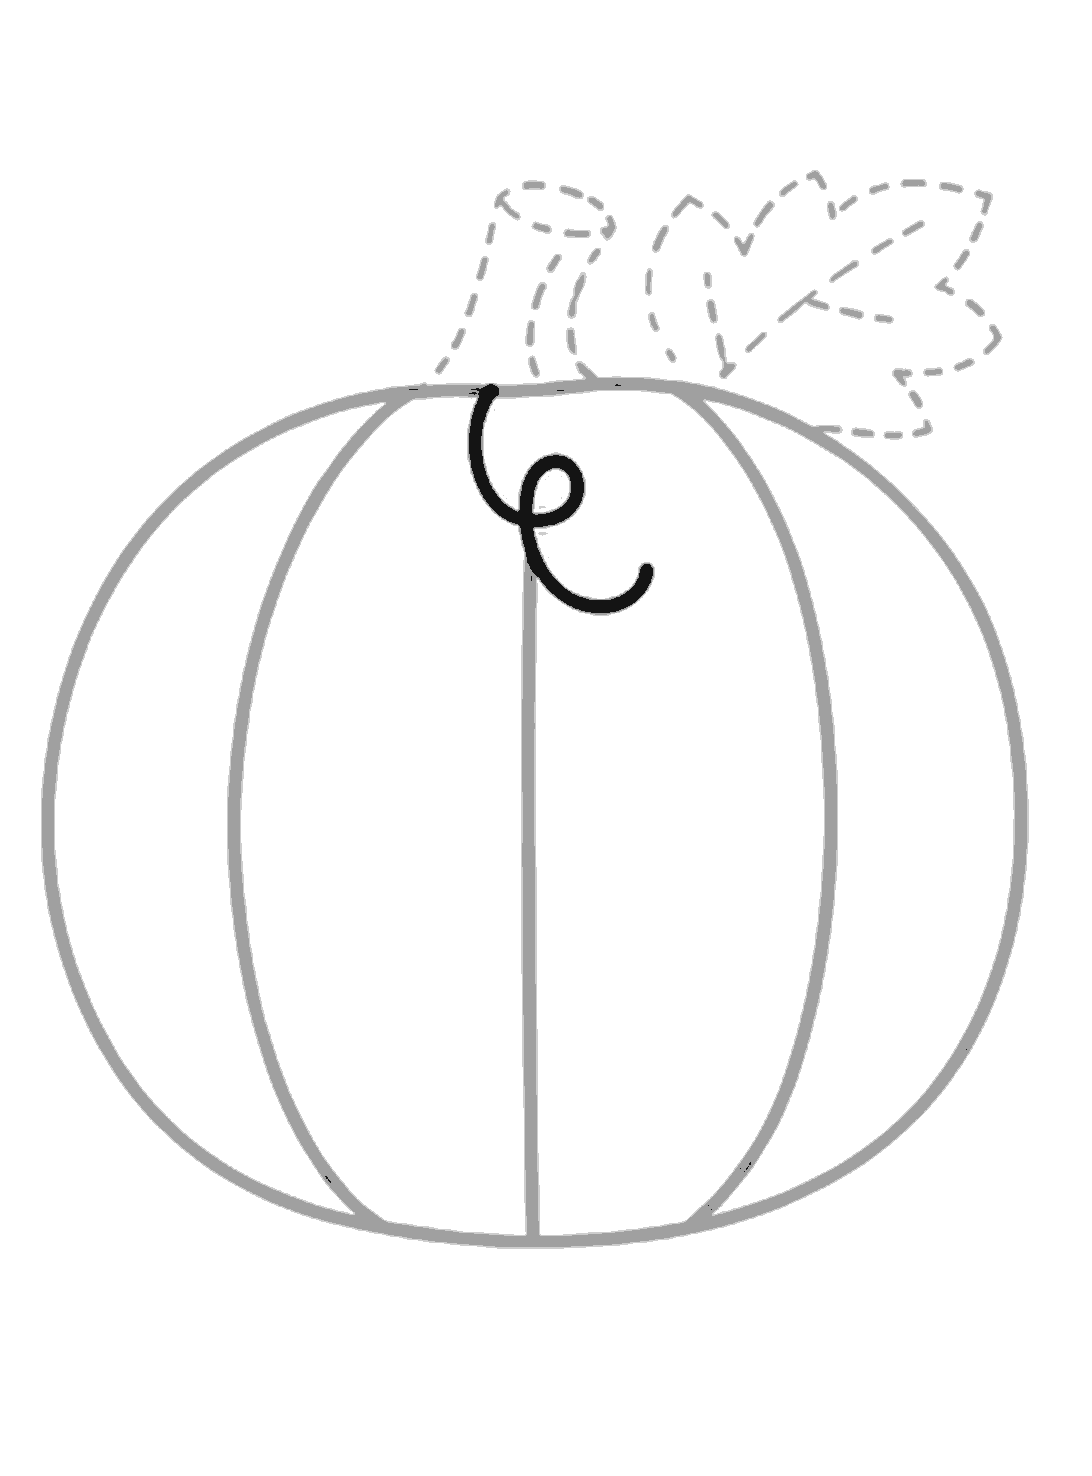
Step 5
Draw the curly vine
At the top middle, draw a curly vine that loops once and then curls down and out. Keep the line smooth and rounded.
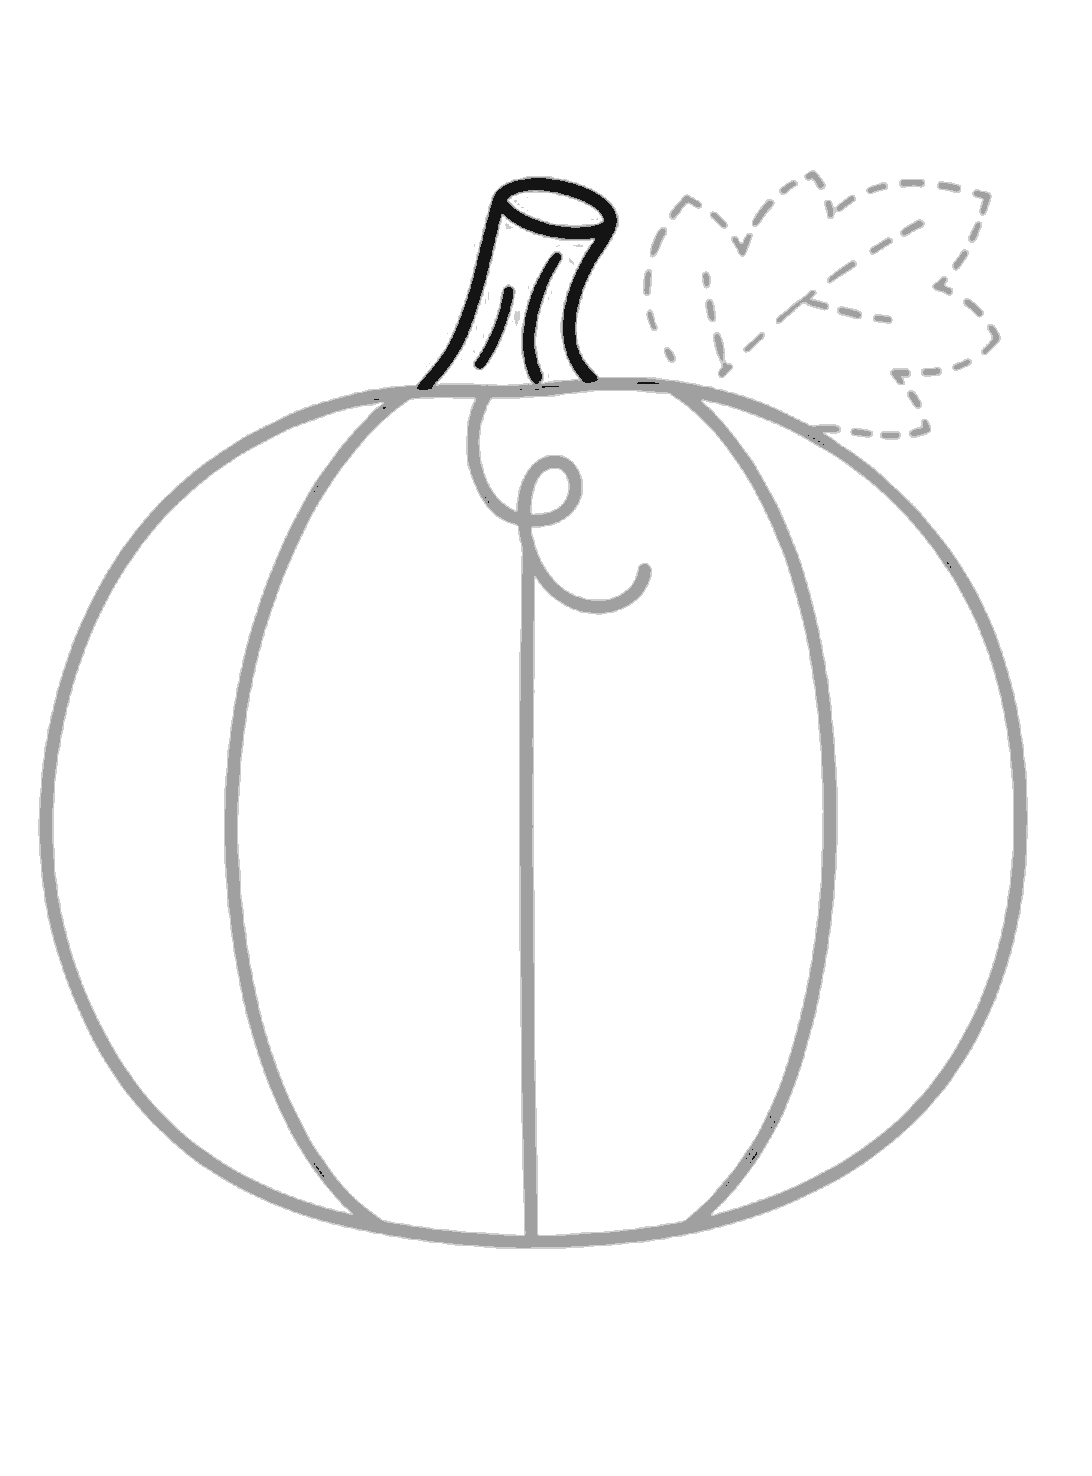
Step 6
Add the stem
Draw the stem on top of the pumpkin. Make it a tall shape with an oval opening at the top and a few short curved lines inside.
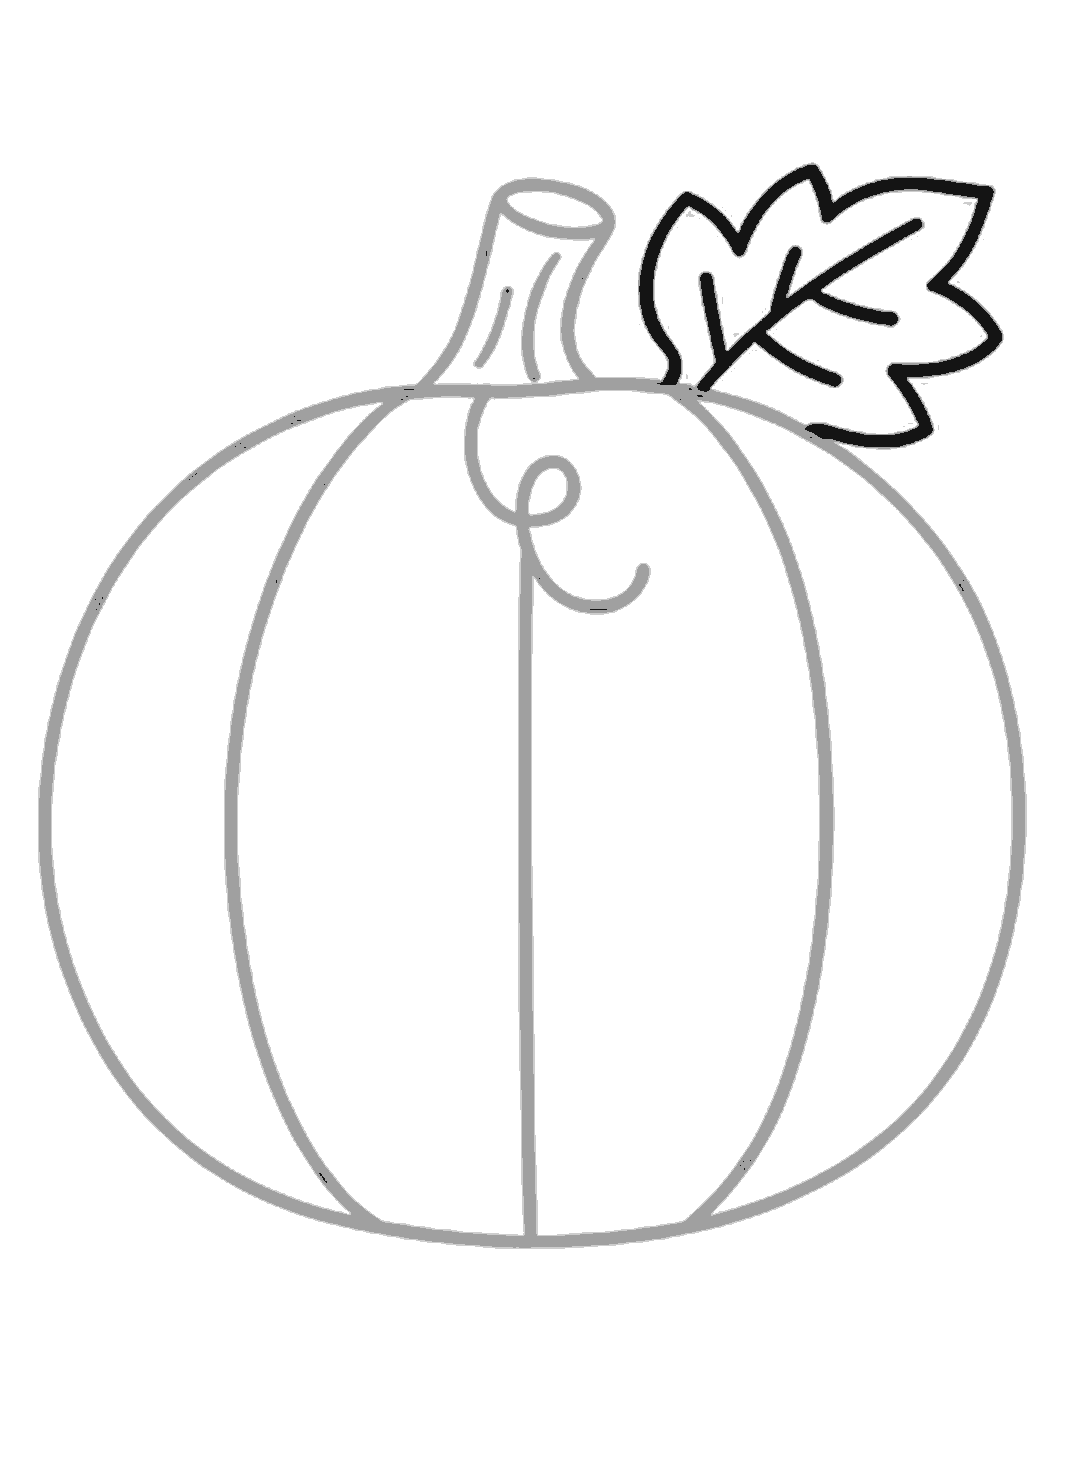
Step 7
Draw the leaf
Draw a leaf on the top right side of the stem. Give it pointed bumps around the edge and draw the leaf veins inside.
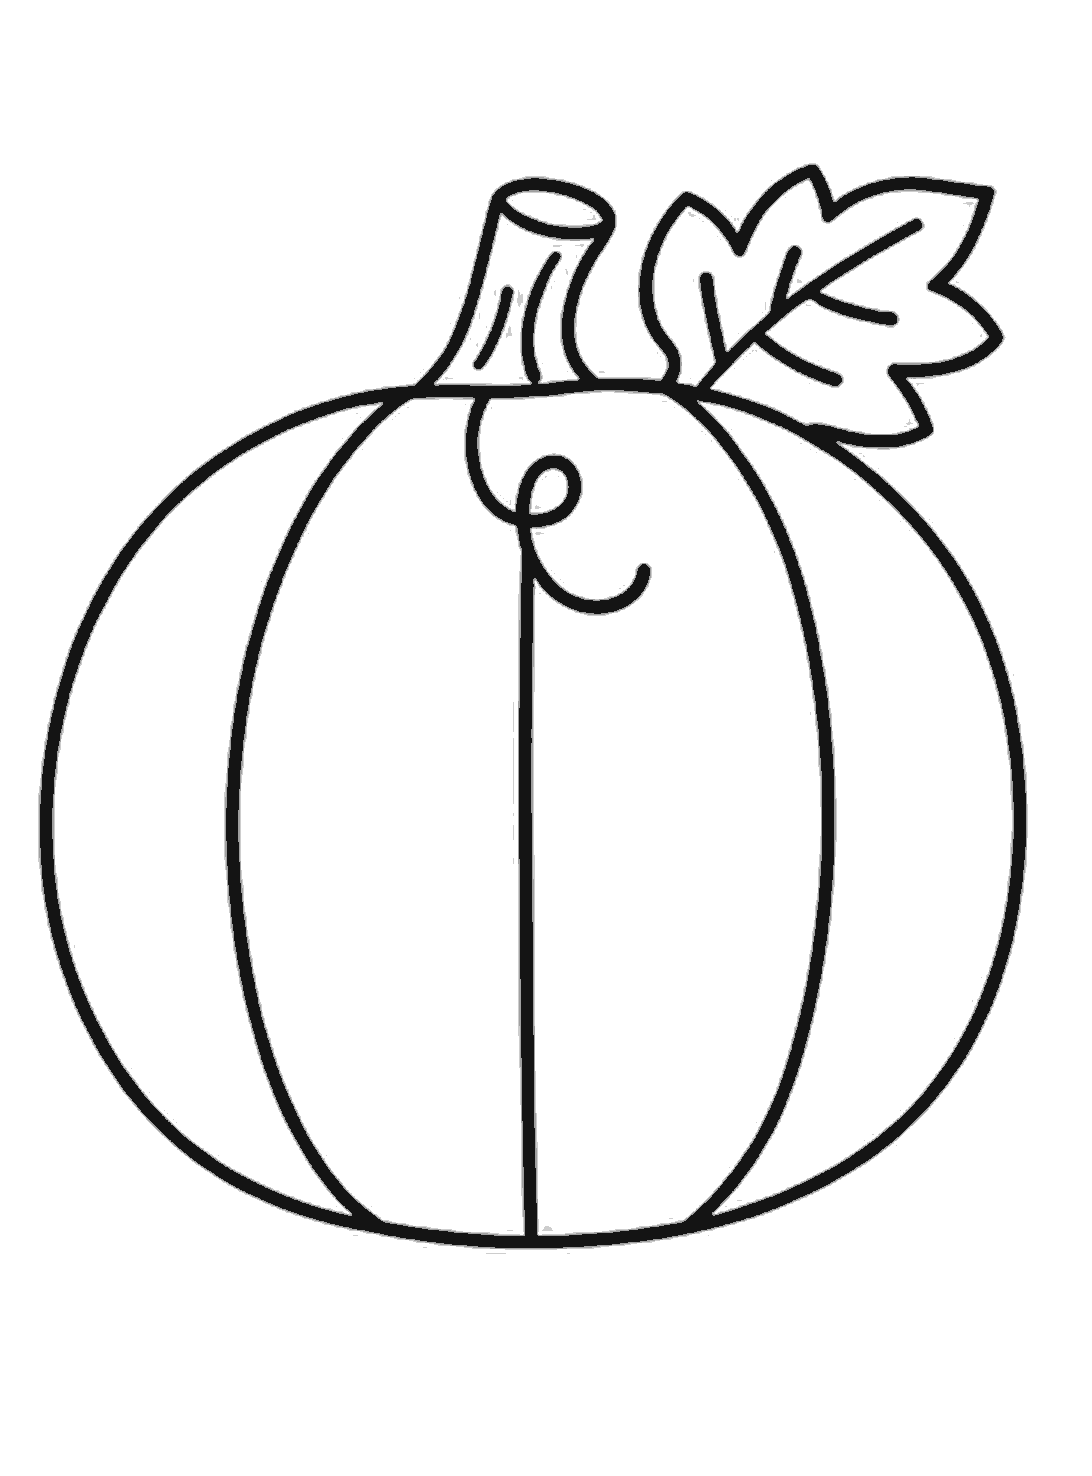
Finished
Finish and clean up
Go over the pumpkin outline and the section lines you are keeping. Then rub out the pale dotted guides to finish your drawing.
Tips for this one
- Use light pressure for the guide shapes so they are easy to rub out.
- Long curved lines look best when you draw them slowly.
- If the two sides are a bit different, your pumpkin will still look natural.
Now try this
- Draw a jack-o'-lantern face on the pumpkin.
- Add a patch of grass or fallen leaves around it.
- Draw two smaller pumpkins beside the big one.
Questions
- What if my pumpkin is not even on both sides
- That is fine. Real pumpkins are often a little uneven. The different curves can make it look more real.
- Do I have to draw the middle line straight
- It can be mostly straight, like in this picture. If it bends a tiny bit, that is fine too. Pumpkins are round and soft, not perfect shapes.
- Should I color the pumpkin when I finish
- Yes, if you want to. Orange is the usual choice for the pumpkin, with a green stem and leaf. You can also try yellow, brown, or even a funny made-up color.