
How to Draw a Tree
- 8 steps
- Ages 5 and up
- About 15 minutes
- easy
This tree is a good drawing for young children and anyone who wants an easy nature picture. You only need a pencil, an eraser, and something dark to trace the final lines. Start with light guide shapes first. Then add the fluffy top, a few leaf bumps inside, and the branches and trunk. At the end, go over the lines you want to keep and rub out the dotted guides.
What you need: a pencil, an eraser, black pen or dark pencil, paper.
Print this guide as a PDF, 334 KB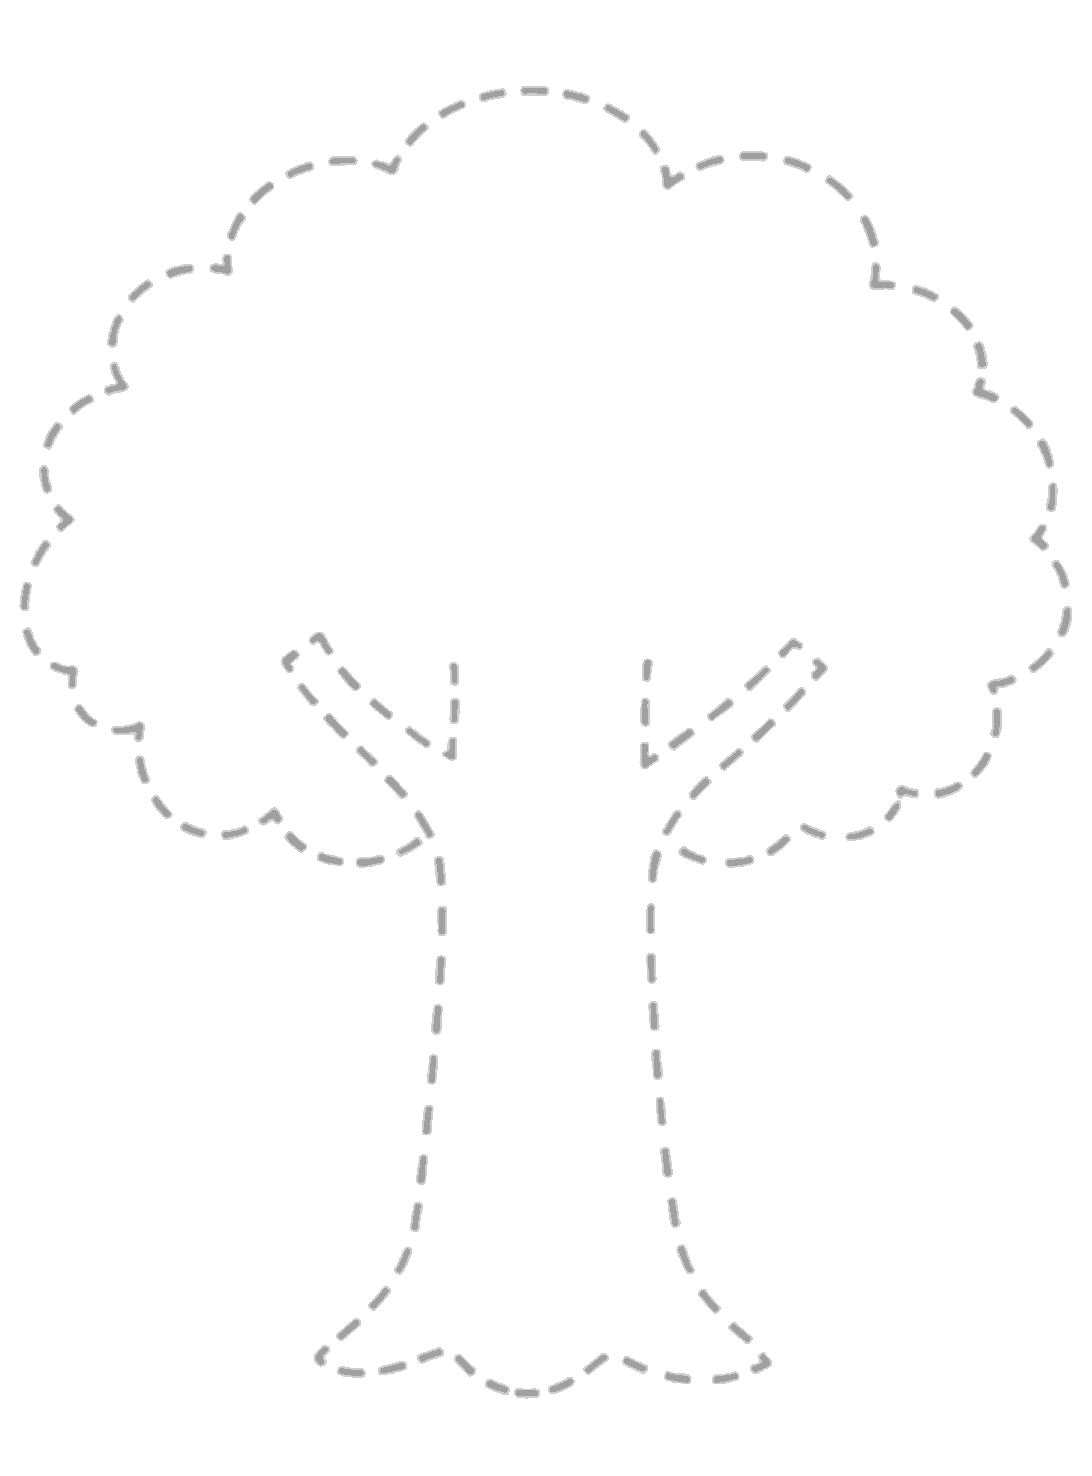
Step 1
Sketch the guide shape
Draw the tree very lightly with dotted guide lines. Make a big rounded leafy top, two slanting branch guides inside, and a long trunk with a wavy bottom.
Step 2
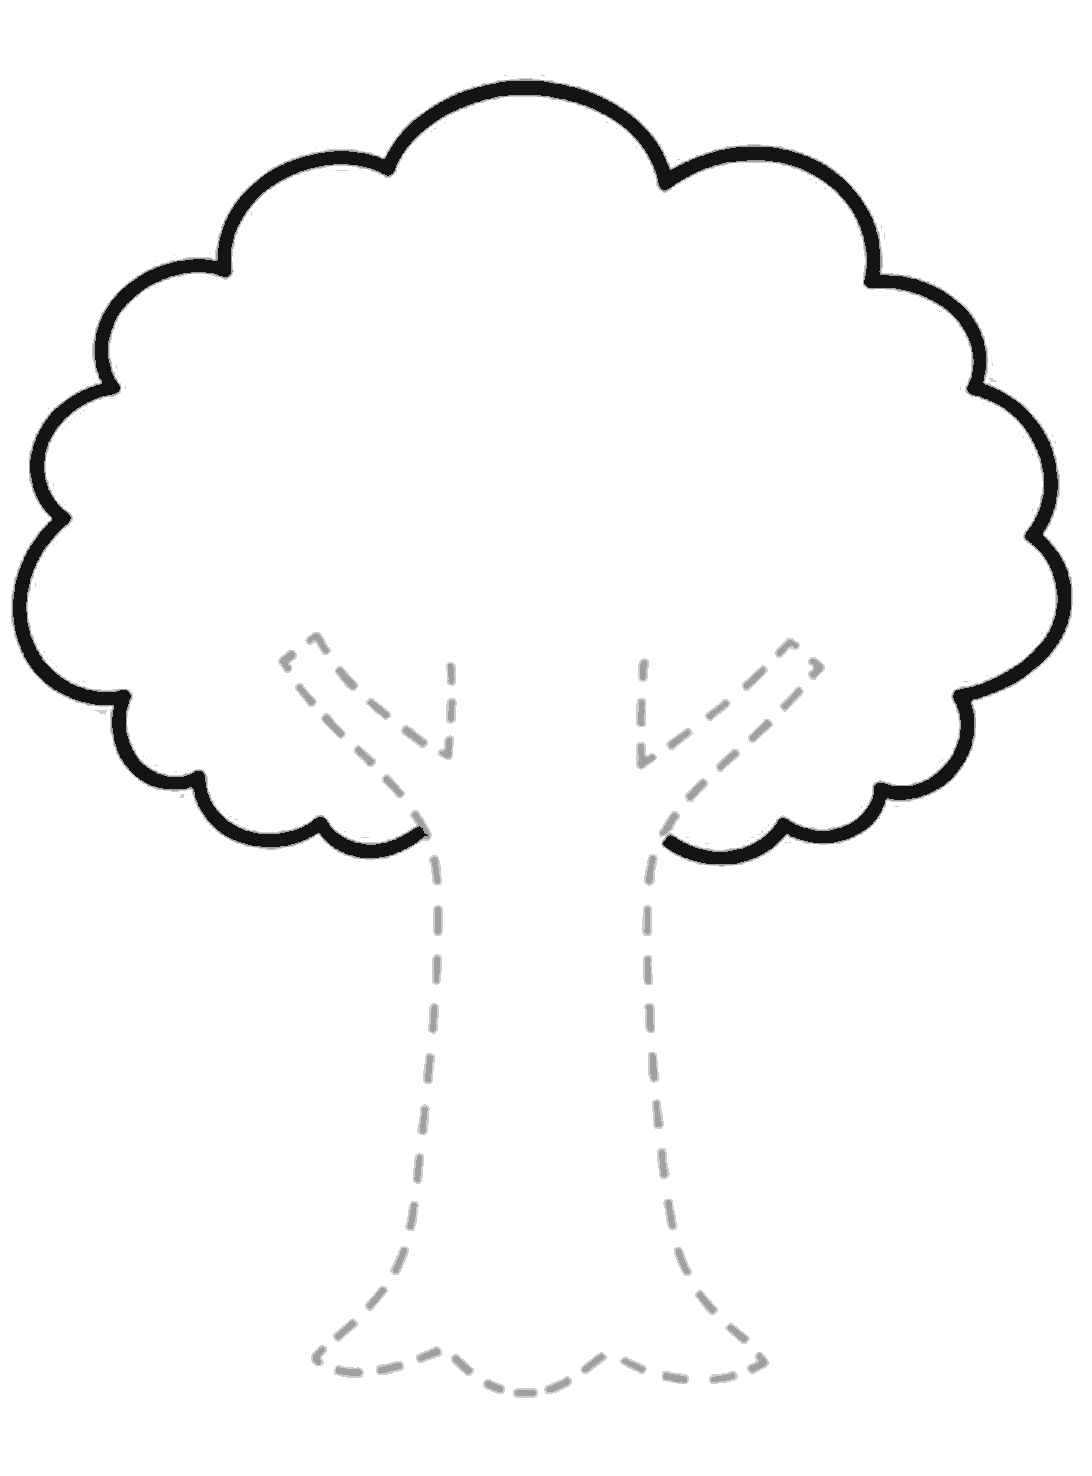
Trace the leafy top
Draw the outside of the treetop in soft, bumpy curves. Follow the big dotted shape from one side to the other, but leave the trunk and branch guides alone.
Step 3
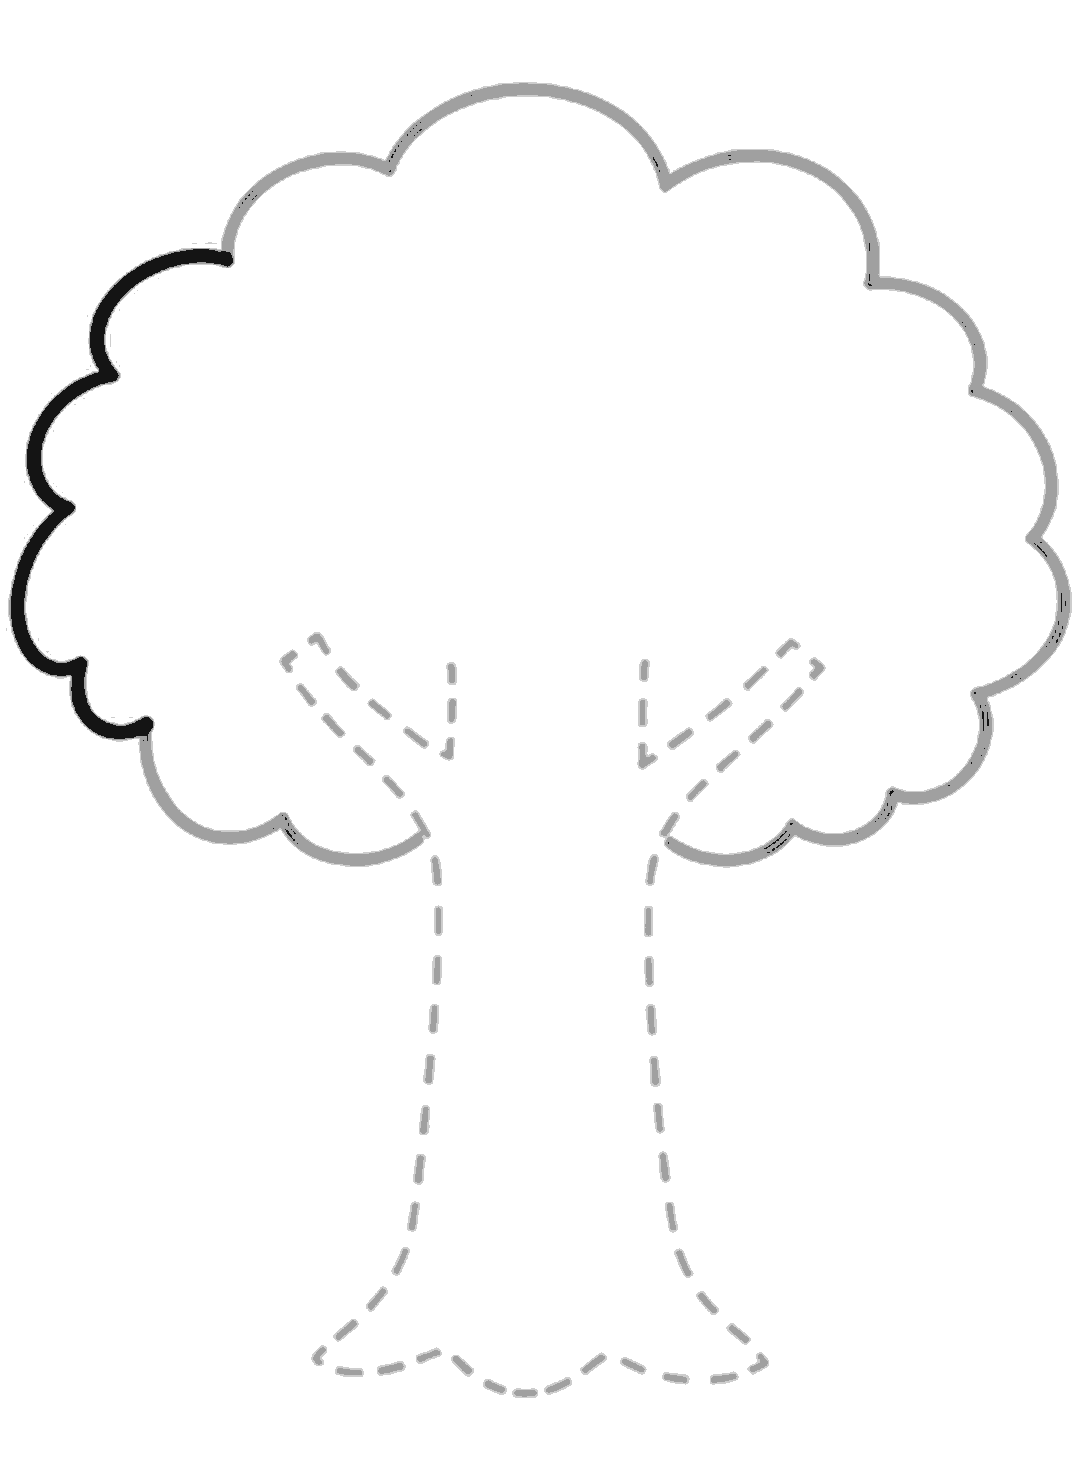
Finish the left side
Add the next part of the treetop on the left side. Continue the same rounded, cloud-like edge down toward the lower left of the canopy.
Step 4
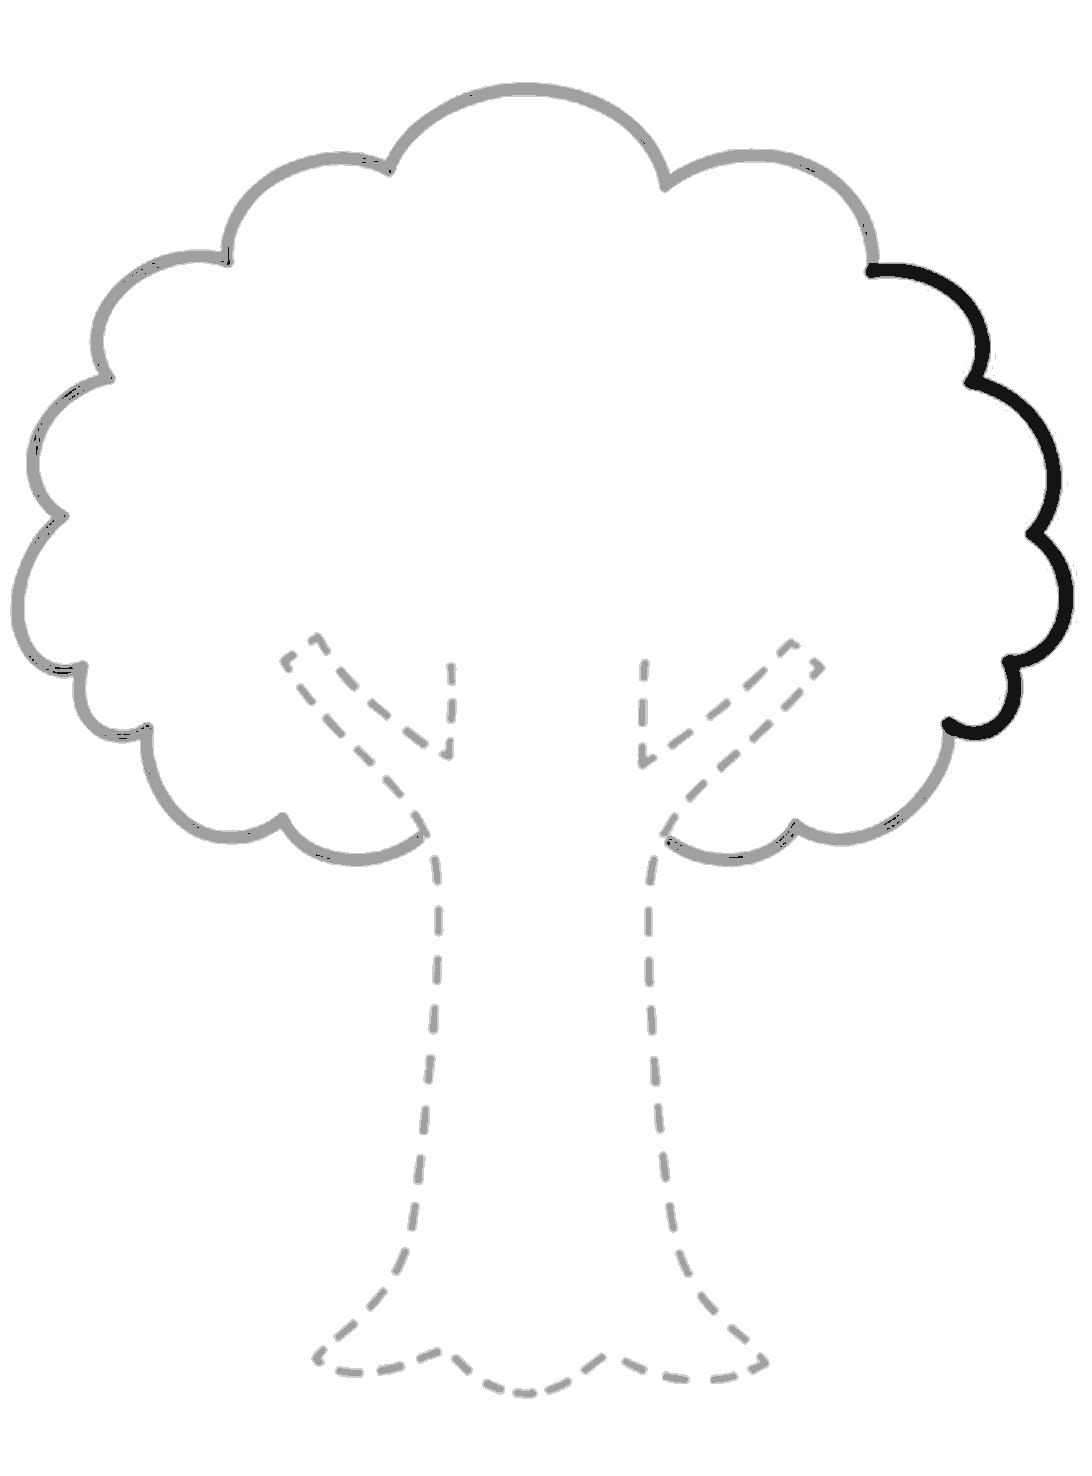
Finish the right side
Draw the matching bumpy outline on the right side of the treetop. Bring it down to the lower right edge of the canopy.
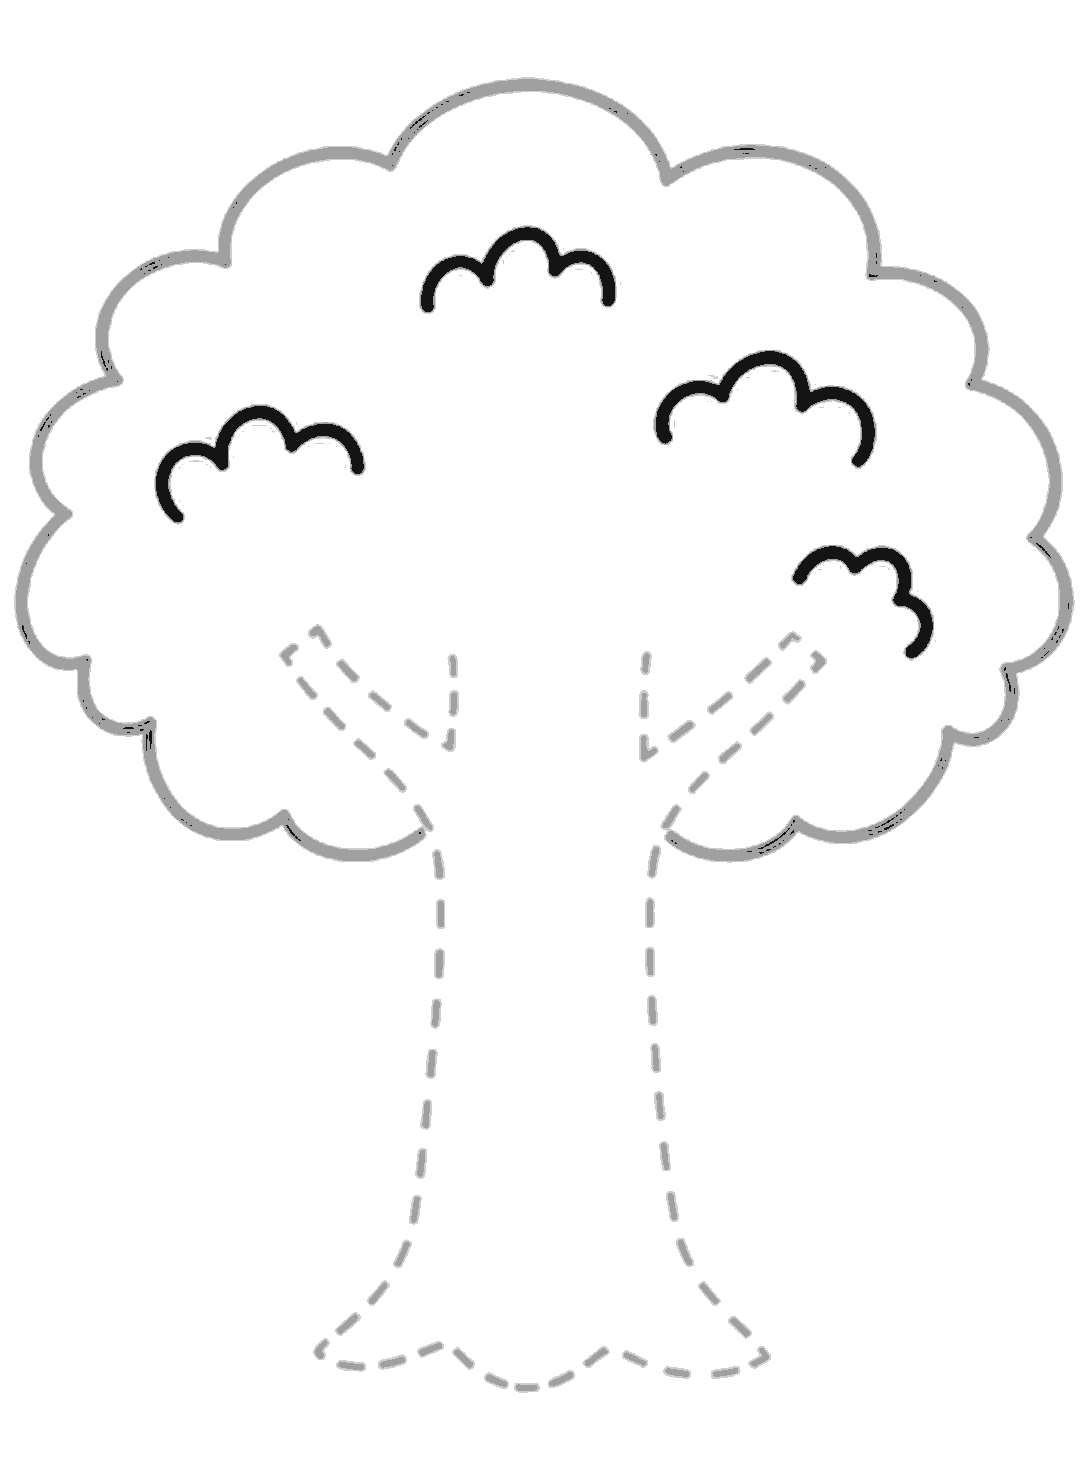
Step 5
Add leaf bumps inside
Draw four small curved leaf shapes inside the treetop. Spread them out with one near the top, one on the left, and two on the right.
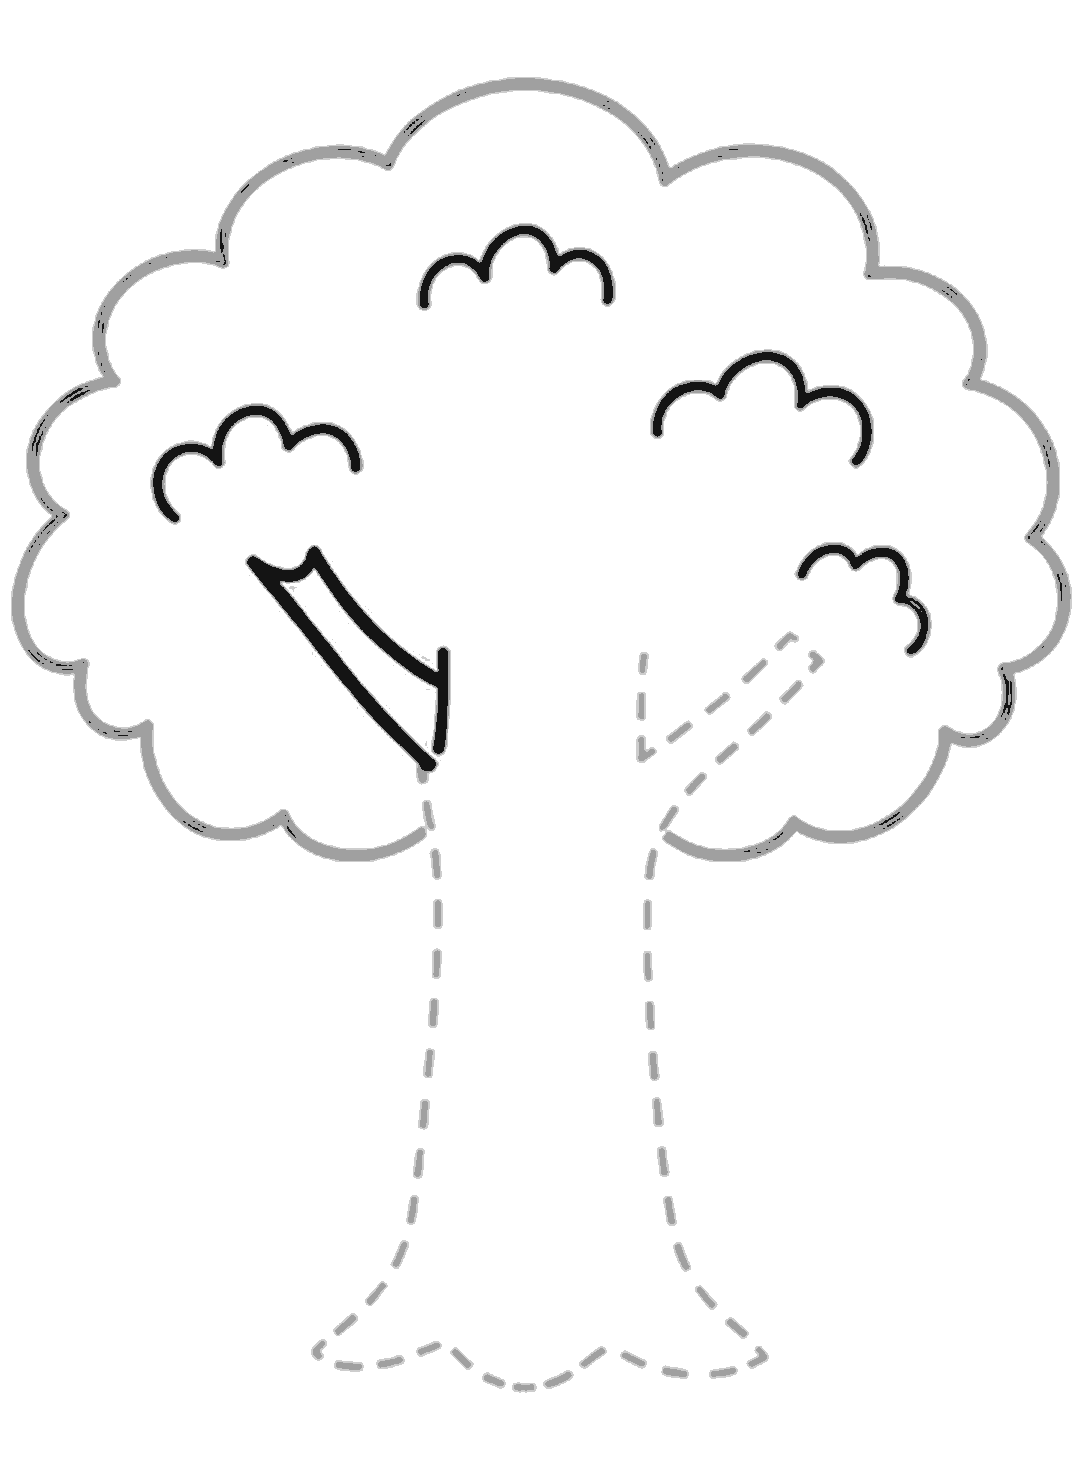
Step 6
Draw the left branch
Use the left dotted guide to draw a thick branch. Start inside the leaves, curve it down, and join it near the middle of the trunk area.
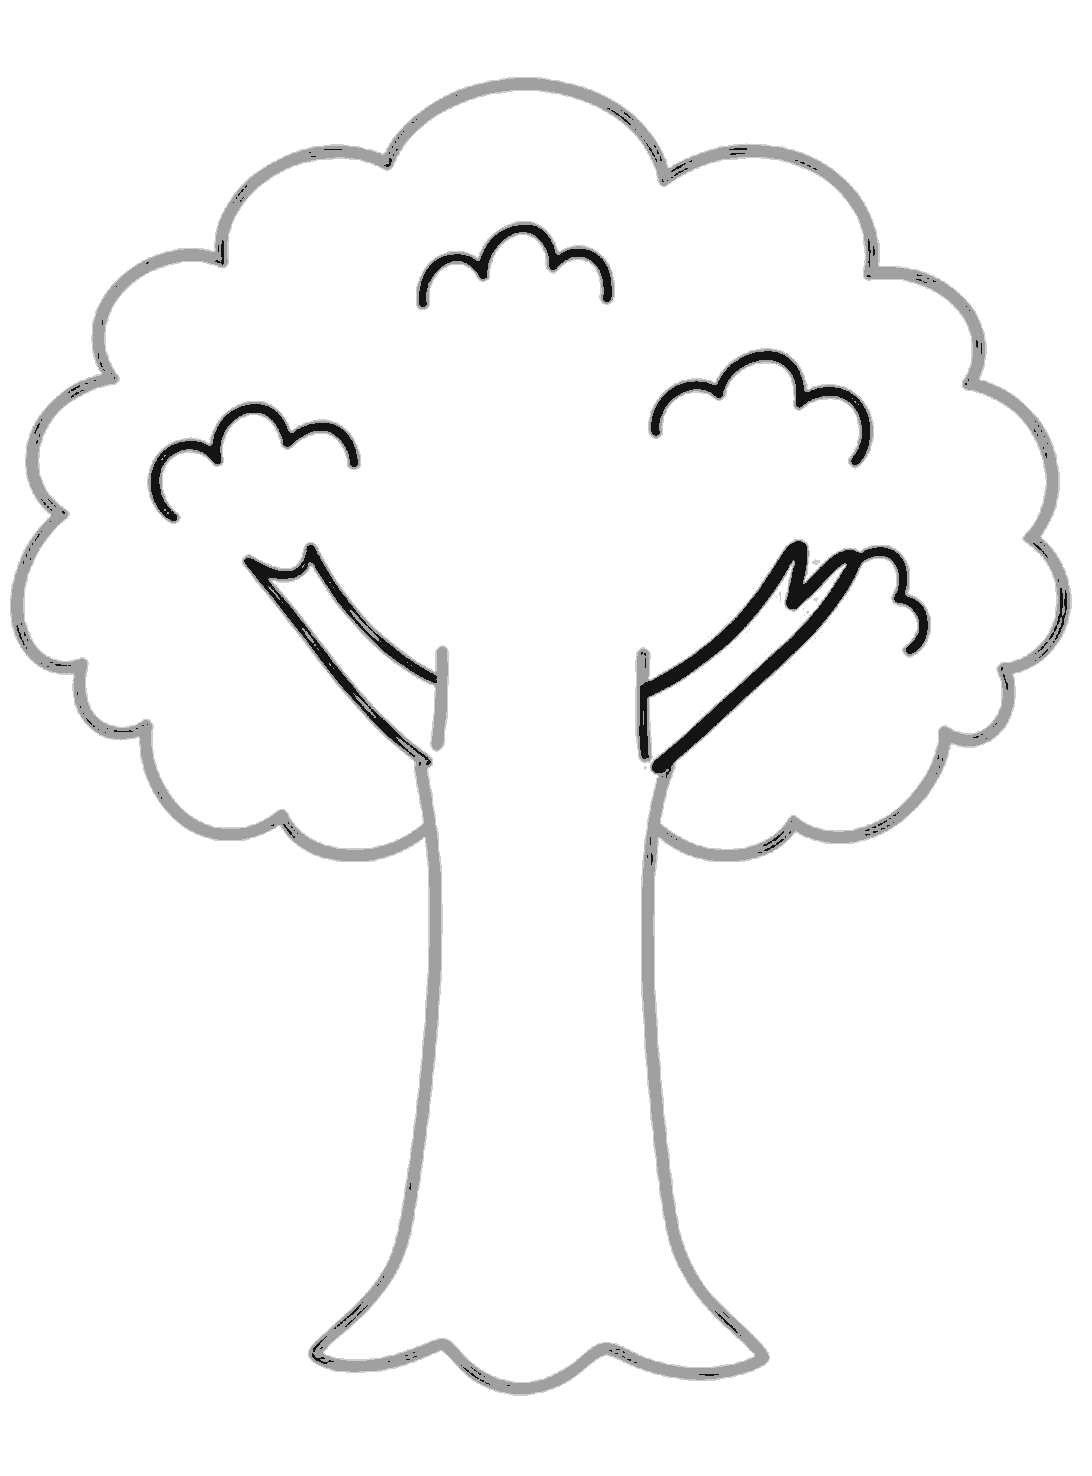
Step 7
Draw the right branch and trunk
Draw the right branch to match, using the dotted guide. Then draw the two long sides of the trunk and the wavy shape at the bottom.
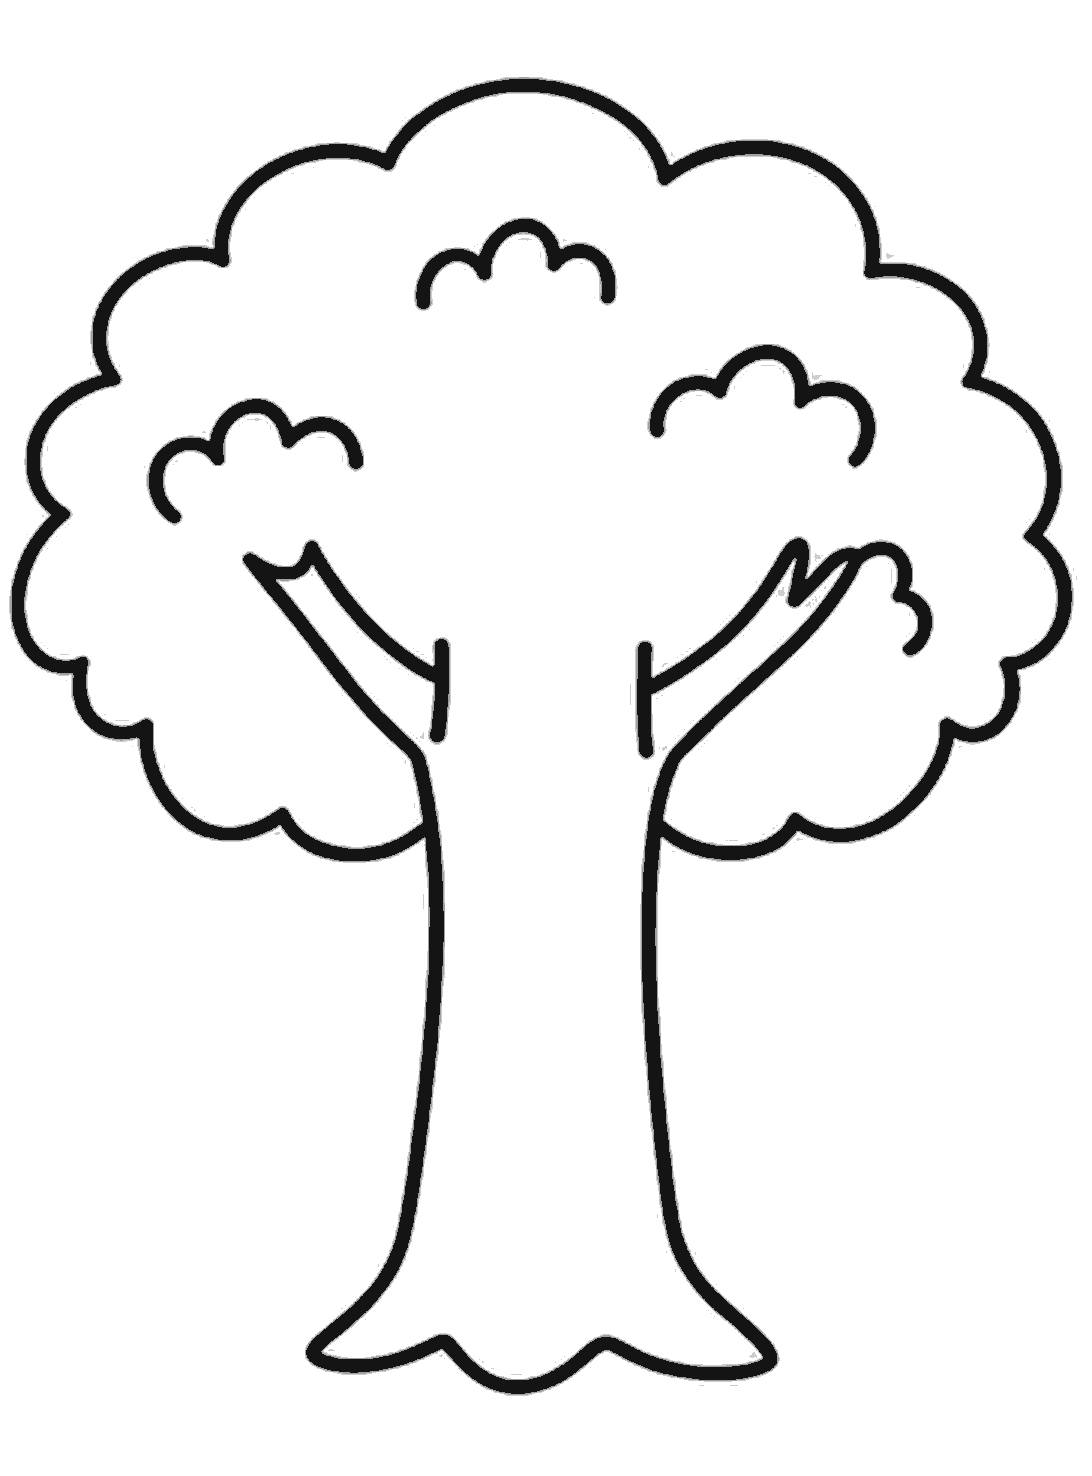
Finished
Darken and clean up
Go over all the lines you are keeping with a darker pencil or pen. Rub out the pale dotted guides so the finished tree looks neat.
Tips for this one
- Keep the first guide lines very light.
- Use round bumps to make the leaves look soft.
- If the two sides do not match, that is fine. Real trees are not exact.
Now try this
- Draw apples hanging in the tree.
- Add grass and flowers under the trunk.
- Make it an autumn tree with falling leaves.
Questions
- Does my treetop need to look exactly the same?
- No. A tree can be wider, taller, or more lumpy. Small changes make it look natural.
- What if I drew the trunk too thin or too wide?
- You can fix it when you draw the dark outline. Just move the trunk lines a little inward or outward before you erase the guides.
- Can I color the tree after I finish it?
- Yes. Green leaves and a brown trunk are a simple choice. You can also make it pink, orange, or any colors you like.